Test of the Searcher
Test of the Searcher is a one-time, solo quest in Lineage 2 BoHPTS for characters of level 39+. It starts with Luther in Hunters Village.
This quest is one of the three marks of:
A Searcher has the ability to find hidden things. To obtain the mark of the searcher, visit Alex in Floran Village. He was once known as the best scout in the kingdom.
Test of the Searcher walkthrough
The third quest for the second profession for the daggers and the spoiler (Treasure Hunter, Plainswalker, Abyss Walker and Bounty Hunter): Test of the Searcher. This is the third quest in the chain of three quests for the second profession for the spoilers and all the dagger users; the reward for doing it is the third mark,  Mark of Searcher.
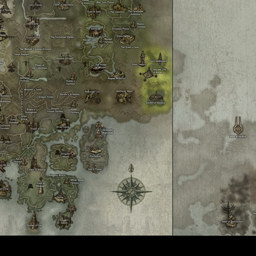
The map of chief Kalkis
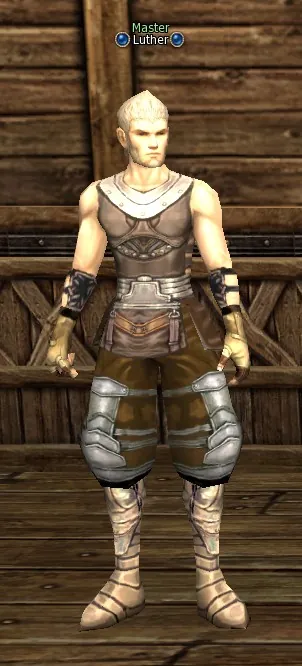
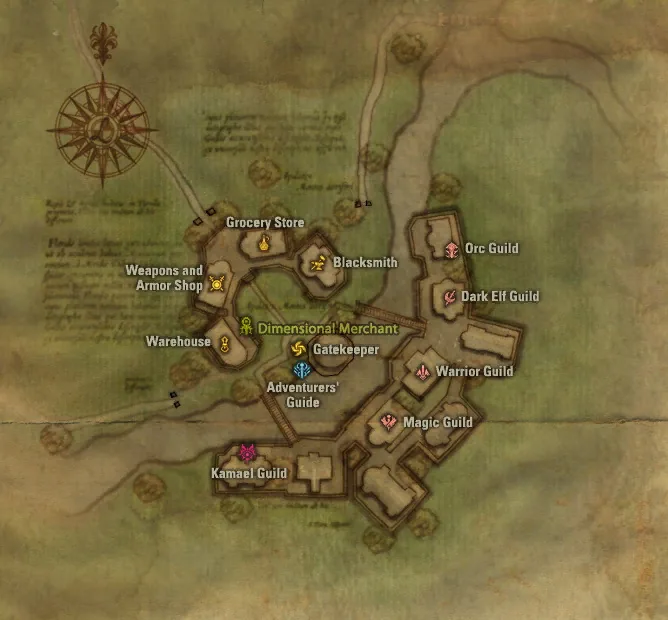
Hunters Village. Find Master Luther in the Warriors Guild and take the quest. You receive:
 Luther's Letter.
The quest is taken at level 39 in the warriors guild of Hunters Village (teleport from Oren or Aden) from the NPC Master Luther.
Floran Village. Find Captain Alex at the town gate. You receive:
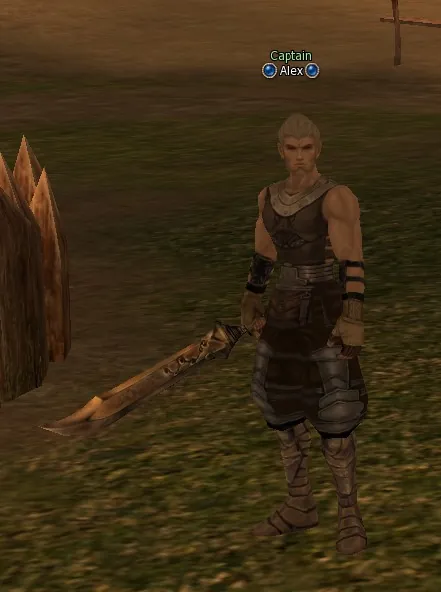
 Alex's Warrant.
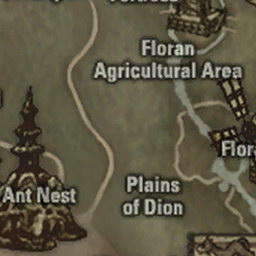
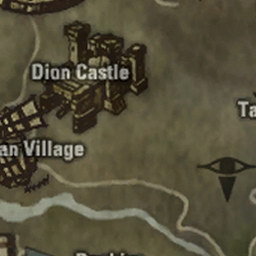
He sends you to find Captain Alex near Floran Village (you can run from Dion or teleport to the Plains of Dion). Alex stands by the last house in the village on the eastern side.
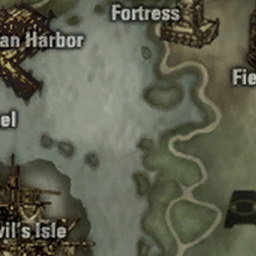
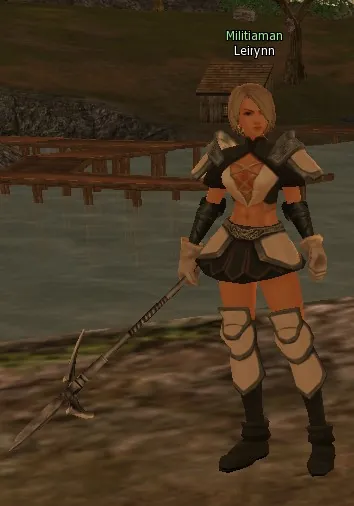
Find Militiaman Leirynn by the bridge. You receive:
 Leirynn's 1st Order.
From him we return through Floran to the western side and look for Militiaman Leirynn next to the bridge.
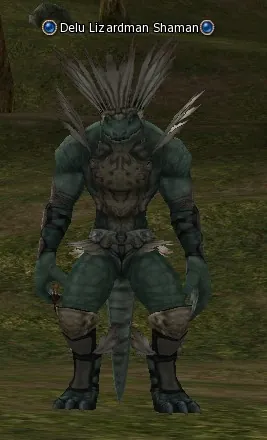
Hunt Delu Lizardman Shaman (lv. 35) until you have:
 Delu Totem ×10.
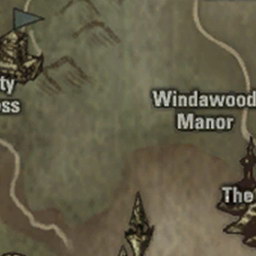
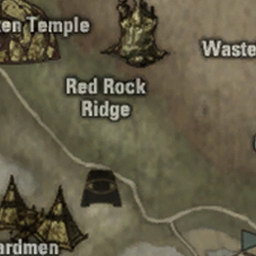
We set off to knock out 10 pieces of Delu's Totem from the mobs Delu Lizardman Shaman (there is a heap of them around Floran, most of all in the east). I never understood what those quest mobs are that are summoned right after we start beating the shamans. It seems the item drops after the shaman and the quest mob affects nothing, but just in case I kicked the quest ones too.
Return to Militiaman Leirynn by the bridge. You receive:
 Leirynn's 2nd Order.
We hand the items in to Leirynn.
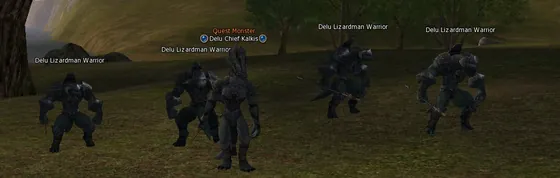
Kill Delu Chief Kalkis (lv. 37) to get:
 Chief Kalki's Fang,
  Strange Map.
Now we go to beat the quest mob of level 37, Delu Chief Kalkis. It is a little farther east than Alex, literally a couple of metres to walk. The mob is a group one: around the quest one there is a guard of ordinary mobs, but the mobs are level 30, there will be no problems.
Return to Militiaman Leirynn by the bridge. You receive:
 Leirynn's Report.
We knock out Chief Kalki's Fang and give it to Leirynn.
Return to Captain Alex at the town gate. You receive:
 Alex's Letter.
Then we return to Alex.
Wine for an old guard
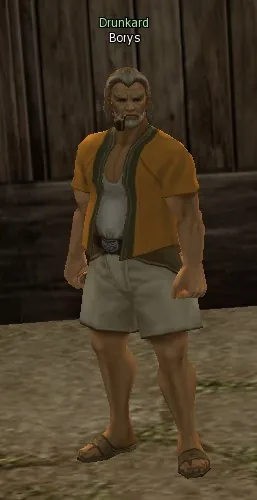
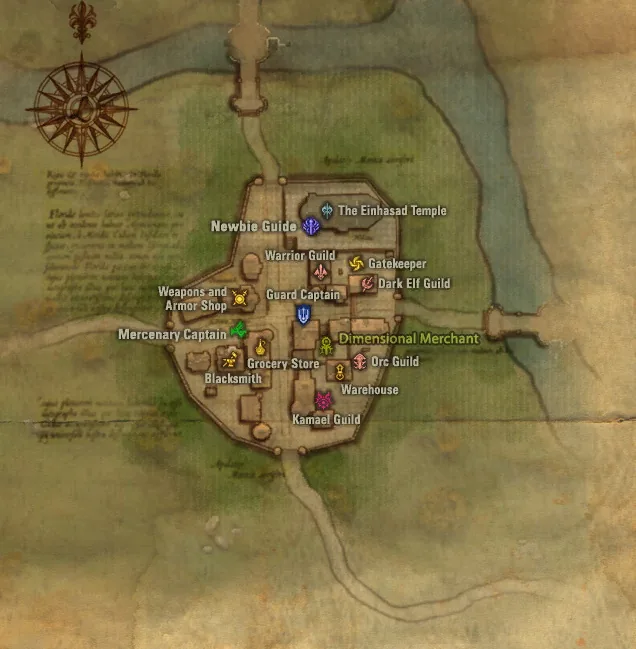
Town of Gludio. Find Drunkard Borys next to the smithy. You receive:
 Wine Catalog.
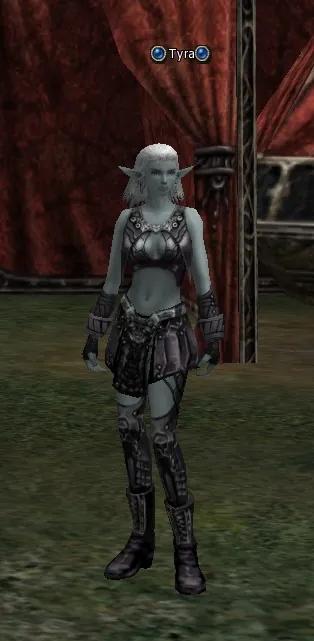
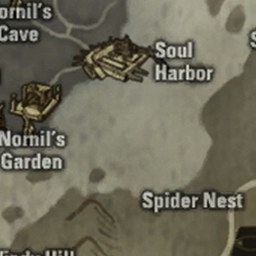
From Alex we teleport to Gludio and look there for Drunkard Borys behind the smithy; the little fellow complains of the cruellest hangover, which is cured only with top-grade Malrukian grape juice, which, in its turn, can be got from the NPC Tyra, who, in her turn ))), stands at the teleport point in the Spider Nest (teleport from the dark elven village).
Spider Nest (teleport from Dark Elf Village). Talk to Tyra. You receive:
 Tyra's Contract.
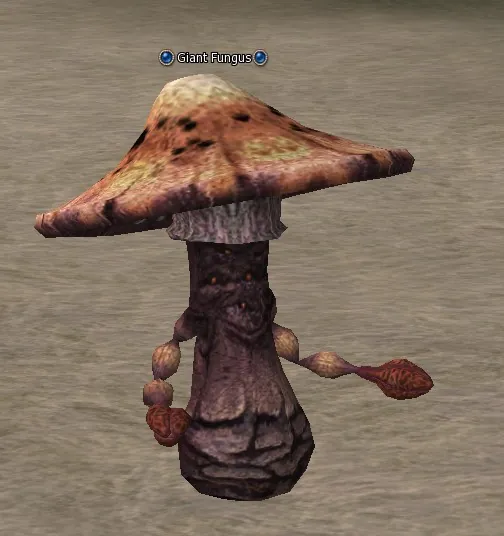
We overcome all these "whiches"; Tyra agrees to cure the drunkard, but for that she needs ten items Red Spore Dust knocked out of the Giant Fungus.
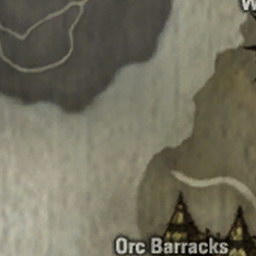
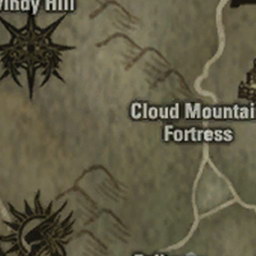
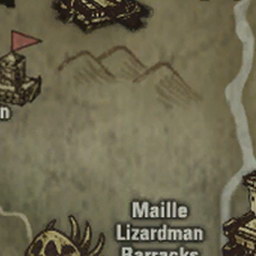
Sea of Spores (teleport from Town of Oren). Hunt Giant Fungus (lv. 40) until you have:
 Red Spore Dust ×10.
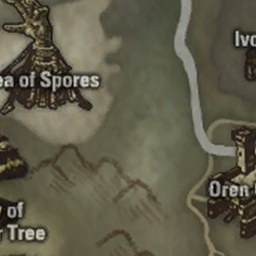
We move to the Sea of Spores (teleport from Oren); the mobs are right next to the teleport point.
Spider Nest (teleport from Dark Elf Village). Return to Tyra. You receive:
 Malrukian Wine.
We knock the items out, give them to Tyra and get the "medicine" (interestingly, it is called Malrukian Wine and is no grape juice at all).
Town of Gludio. Return to Drunkard Borys next to the smithy. You receive:
 Old Order.
We solemnly hand it to Borys, but this brute does not grow kinder and sends us off somewhere far away, concretely to Bodyguard Jax.
Pieces of the map and the treasure
Wasteland (teleport from Gludin Village). Talk to Bodyguard Jax. You receive:
 Jax's Diary.
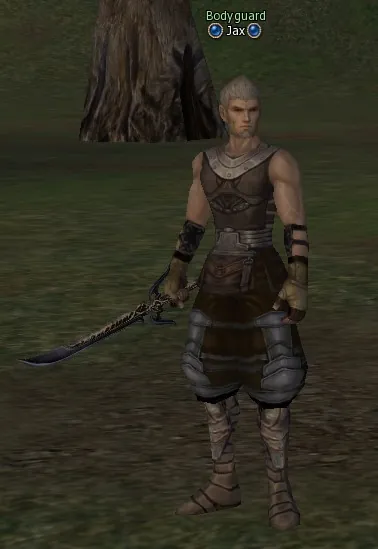
For a change, he stands at the southern entrance to the Ant Nest: we teleport from Gludin to the Wasteland, the NPC stands right at the teleport point between the wagons with the hucksters. Jax demands that four items be knocked out of each of two mobs.
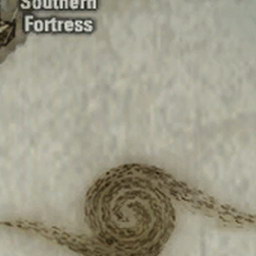
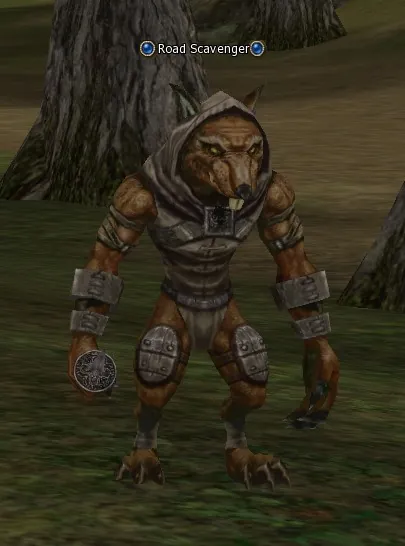
Death Pass. Hunt Road Scavenger (lv. 37) until you have:
 1st Torn Map Piece ×4.
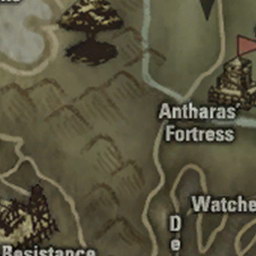
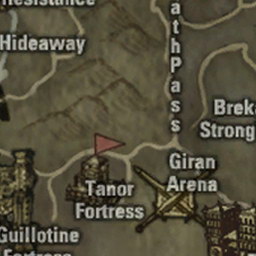
From the Road Scavenger in the Death Pass (teleport to Dragon Valley from Giran and to the left): 4 pieces of Torn Map Piece-1.
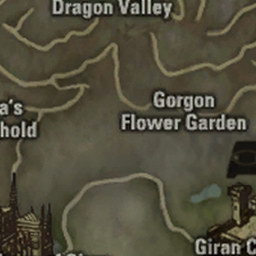
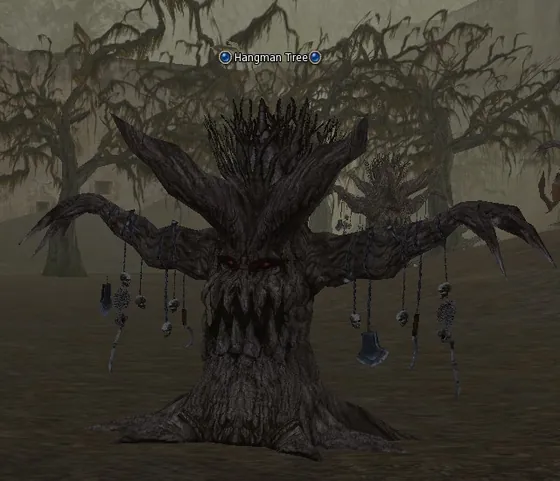
Execution Grounds. Hunt Hangman Tree (lv. 35) until you have:
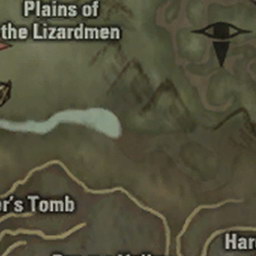
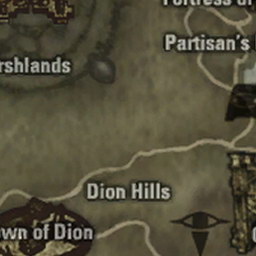
2nd Torn Map Piece ×4.From the Hangman Tree in the Execution Grounds (on foot from Giran or Dion): 4 pieces of Torn Map Piece-2. The drop is not 100%, you will have to run about a little. When you knock out all 4 pieces, they turn into a certain map.
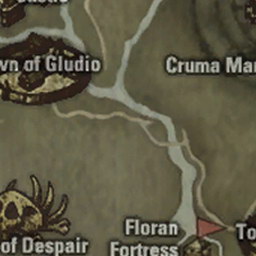
Wasteland (teleport from Gludin Village). Return to Bodyguard Jax. You receive:
 Combined Map.
All the items we hand in to Jax, and he gives out the map (so old drunkard Borya did not deceive us after all).
Floran Agricultural Area. Talk to Tree. You receive:
 Rusted Key.
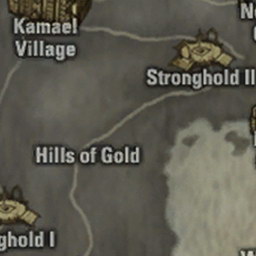
With the map we set off farther: a tree has to be found and the gold shaken out of it. For me the tree was to the south of Dion, on a rise; in any case look at the map, it shows where to run. We find the tree (by the way, it turned out to be nearer to run from Floran); the tree summons a chest.
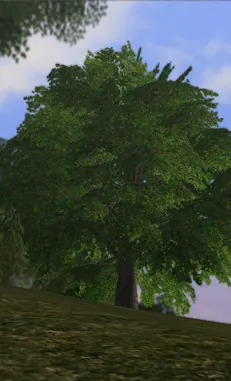
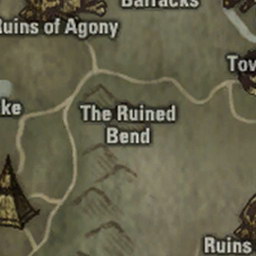
Talk to Strong Wooden Chest. Hand over:
Rusted Key. You receive:  Gold Bar ×20.
In the dialogue with the chest there are two items: open the chest (it should not be chosen, you will be told that you have no key) and the item "quest", which is the one we poke, and then we take the Gold Bar (20 pieces) out of the chest.
Floran Village. Return to Captain Alex at the town gate. You receive:
Alex's Recommend.We pass them on to Alex and get the letter of recommendation.
Hunters Village. Return to Master Luther in the Warriors Guild. You receive:
Mark of Searcher.We return to Master Luther and for our labours get the mark Mark of Searcher.
And at once we hand in the quests for the second profession. The spoiler (Bounty Hunter) checks that all three marks are in place and trots off to Giran to the warehouse chief (the NPC who sits in the centre). The Plainswalker and the Treasure Hunter go to the warriors guild in Giran to Grand Master Hannavalt, and the Abyss Walker to the dark elven guild in Giran to Grand Master Angus; in the dialogue choose the top line, the one about asking about a change of profession, choose our profession and press the line "change the profession". Congratulations, you have got the second profession.
Tips
- Now and then a Delu Lizardman Assassin ambushes you; it carries totems as well.
- Tyra lives in a tent in the Dark Elven lands, and the fungus for her grows in the Sea of Spores near Oren: plan that leg as one loop with a teleport back.
Rewards
- EXP894,888
- SP61,408
 Adena×161,806
Quest journal
Scout of the Kingdom
A Searcher has the ability to find hidden things. To obtain the mark of the searcher, visit Alex in Floran Village. He was once known as the best scout in the kingdom.
Go to: Alex
Alex's Aide
Alex asks you to meet with Leirynn, his aide. She'll tell you what to do.
Go to: Militiaman Leirynn
Shaman of the Delu Lizardmen
Leirynn orders you to kill the Delu Lizardman Shaman in this area.
Monster to Hunt - Delu Lizardman Shaman
Go to: Floran Agricultural Area
- Delu Totem×10
Return to Leirynn
You've destroyed the Delu Lizardman Shaman. Report back to Leirynn.
Go to: Militiaman Leirynn
Kakis, Chief of the Delu Tribe
Classified documents have revealed that the Delu Lizardmen's sole purpose was to find something. Chief Kalkis might know something!
Monster to Hunt - Delu Chief Kalkis
Go to: Delu Chief Kalkis
A Suspicious Map
You've defeated Kalkis. He has a suspicious map, doesn't he? Return to Leirynn and find out more about it.
Go to: Militiaman Leirynn
Report to Captain Alex
Leirynn doesn't know what the map is for and asks you to take it to Captain Alex.
Go to: Alex
Search For the Lost Gold Bars
The map shows the forgotten gold chest left from the old Lord's elite! Go see the Gludio village's then-elite Boris to find out abut the information.
Go to: Drunkard Borys
Loosen the Drunkard's Lips
Borys isn't going to say a word unless you bring him the best malrukian wine that Tyra can find.
Go to: Trader Tyra
Red Spore Dust
Tyra is willing to exchange the wine for 10 pouches of red spore dust. You can get red spore dust from the giant fungus at the Sea of Spores!
Go to: Sea of Spores
Return to Tyra
You've obtained 10 pouches of red spore dust. Take them to Tyra and trade them for malrukian wine.
Go to: Trader Tyra
A Happy Drunkard
Take the malrukian wine to Borys and get the information!
Go to: Drunkard Borys
The Gold Thief
The four royal guards conspired together to conceal the lord's gold. One of them is a man whose name is Jax. He must be protecting merchant convoys in the southern section of the Wastelands. Let's go find him!
Go to: Bodyguard Jax
Find the Torn Map
The guards tore the map into 4 pieces and ran away. One of them was killed by road scavengers and another lost his life to the hangman tree. Find the map pieces!
Monsters to be hunted -
Death Pass: Road Scavengers
Execution Grounds: Hangman Trees
Return to Jax
You've found the pieces of the map that were held by Solt and Makel. Visit Guard Jax to complete the map!
Go to: Bodyguard Jax
The Treasure's Location
As you piece together the 4 parts of the map, a coordinate appears. Go there!
Go to: ???
A Treasure Box
You've discovered a rusty box and a key. Can you open it?
The Gold Bars Are Discovered!
You've discovered 20 gold bars in the rusty box! Take them to Alex right away!
Go to: Alex
Alex's Letter of Recommendation
Alex writes you a letter of recommendation to give to Master Luther. Take it to him now!
Go to: Master Luther
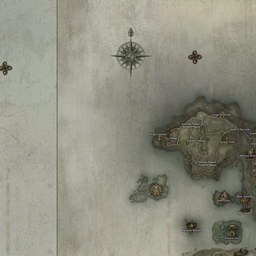
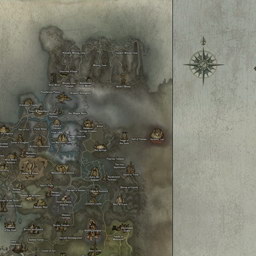
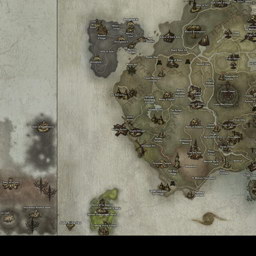
Map
Quest items
Quests: level 35–43
Comments
No comments yet. Know something useful about this page? Share it.