Necromancer class transfer quest
Quests: Trial of the Scholar → Testimony of Trust → Test of Witchcraft
To become a Necromancer at level 40 you need three marks: Mark of Scholar, Mark of Trust and Mark of Witchcraft. Each one is the reward of its own quest, open from levels 35, 37 and 39. The whole way is below in order: open a step, do the quest and mark it as done, and the page shows the next one.
The path of the class: Human Wizard first class transfer quest → Necromancer class transfer quest → Soultaker third class transfer quest
- 1First markTrial of the Scholar · lv. 35

- 2Second markTestimony of Trust · lv. 37

- 3Third markTest of Witchcraft · lv. 39

- 4Class changeNecromancer · lv. 40
If an NPC refuses to give the next part of a quest and says you lack experience, gain the next level (35 → 36 or 37 → 38) and talk to him again.
Necromancer class transfer quest: first mark (level 35)
Quest: Trial of the Scholar · reward: Mark of Scholar · given by Magister Mirien
The first quest for the second profession for all the mages and summoners (Sorcerer, Necromancer, Warlock, Spellsinger, Elemental Summoner, Spellhowler and Phantom Summoner): Trial of the Scholar. This quest is filled mostly with running about.
Crystal of Purity for Sylvain
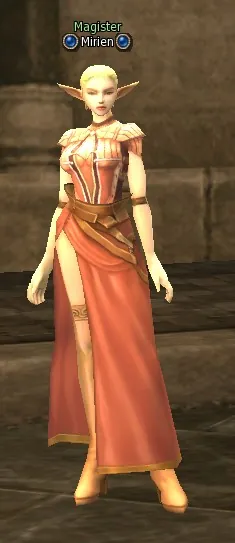
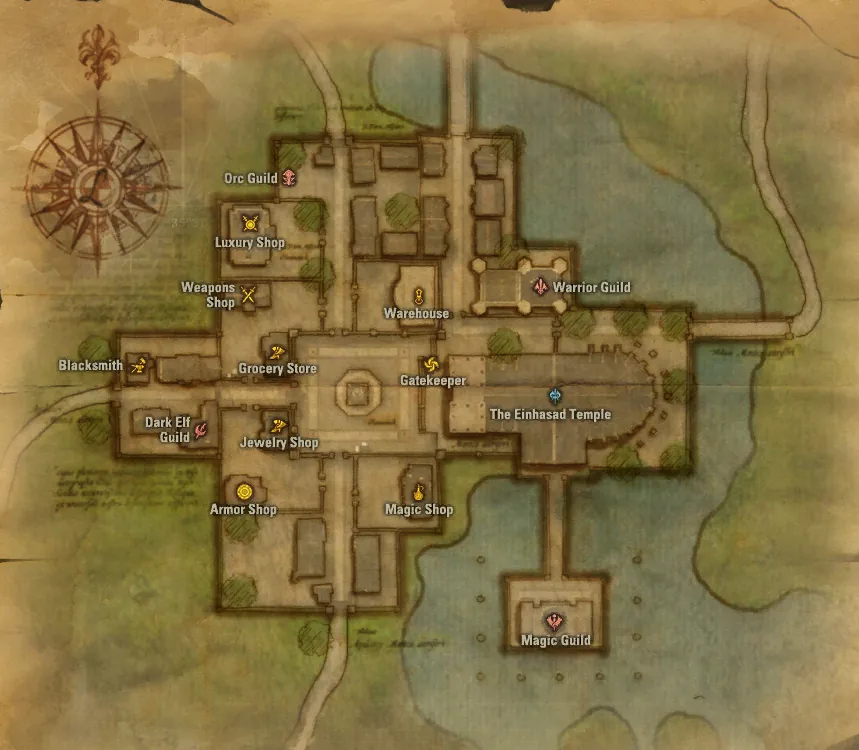
Town of Dion. Find Magister Mirien in the temple and take the quest. You receive:
 Mirien's 1st Sigil.
The quest is taken at level 35 from Magister Mirien, who is in the temple of Dion.
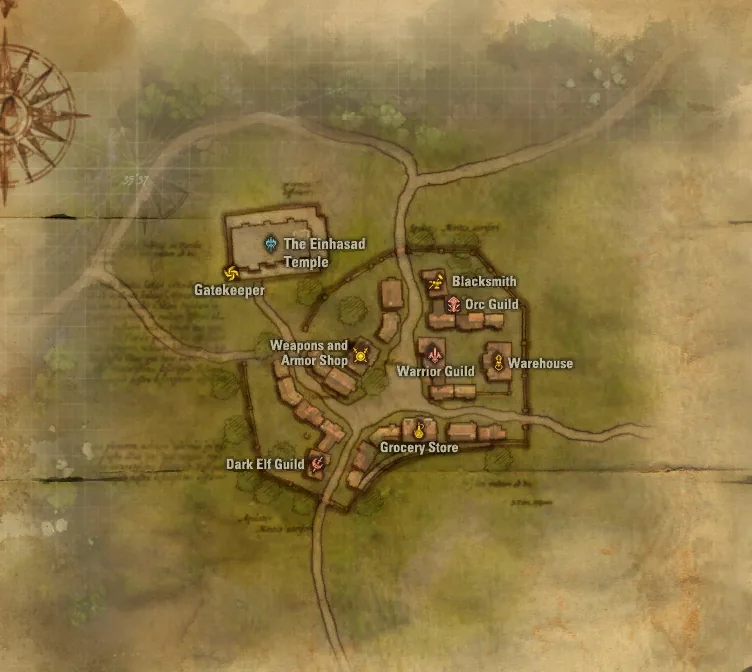
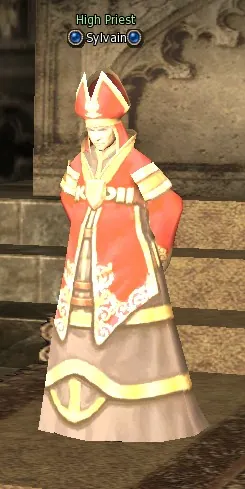
Find High Priest Sylvain in the temple. You receive:
 Sylvain's Letter.
Mirien sends you to High Priest Sylvain, who is right here in the temple.
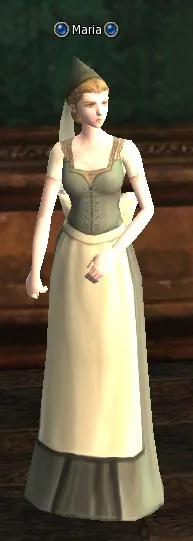
Find Maria in the grocery store. You receive:
 Maria's 1st Letter.
And from him we go to the grocery shop of Dion to the NPC Maria.
Find Captain Lucas at the town gate. You receive:
 Lucas's Letter.
Maria sends us to the guard Captain Lucas, who is on duty at the southern gate of Dion.
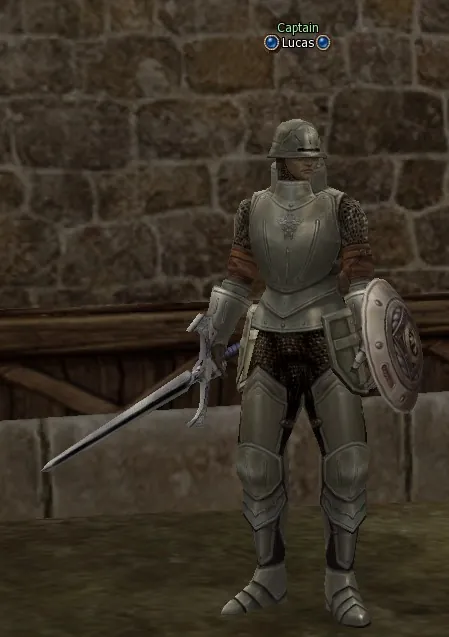
Return to Maria in the grocery store.
From Lucas we return to Maria again.
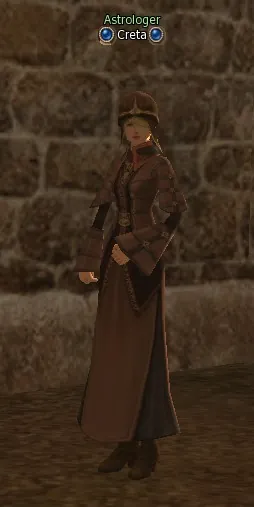
Floran Village. Find Astrologer Creta near the warehouse. You receive:
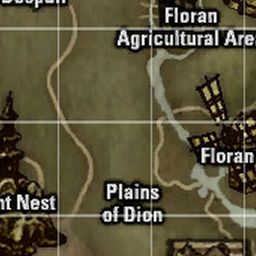
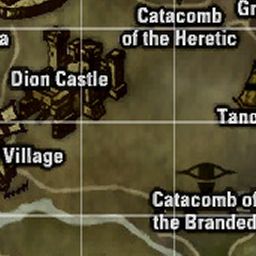
Creta's 1st Letter.And now she sends us to Floran Village, to the NPC Astrologer Creta (teleport from Dion to the location Plains of Dion, and from there on foot to the village). In the talk with Creta we choose the first answer and get a letter.
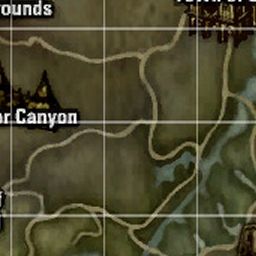
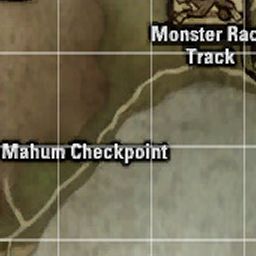
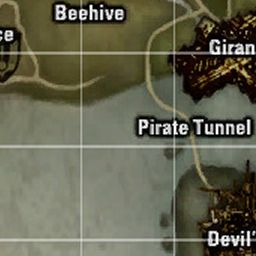
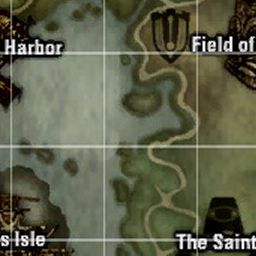
Town of Dion. Return to Maria in the grocery store. You receive:
 Lucilla's Handbag.
And carry it to Dion to Maria.
Floran Village. Return to Astrologer Creta near the warehouse. You receive:
 Creta's Painting1.
Again we run to Floran to Astrologer Creta and again get an item.
Town of Dion. Return to Maria in the grocery store.
And carry it to Maria.
Return to Captain Lucas at the town gate.
Then, for a change, we are sent to Captain Lucas.
Return to Maria in the grocery store.
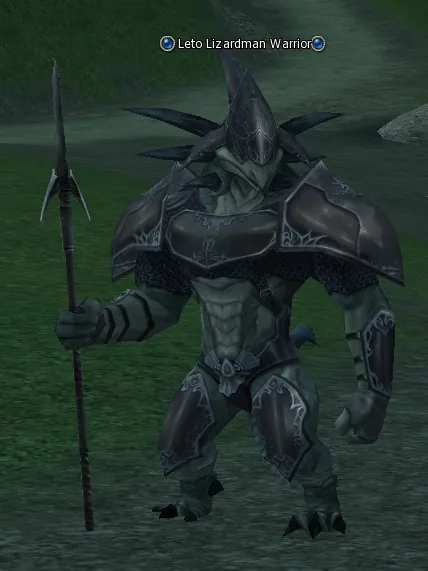
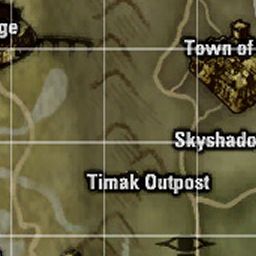
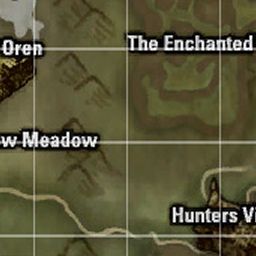
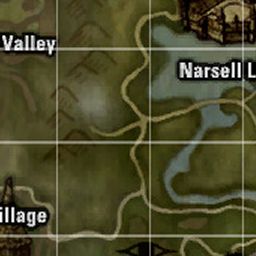
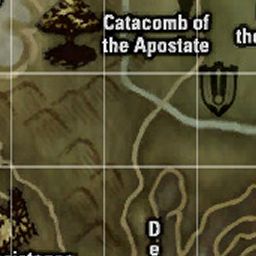
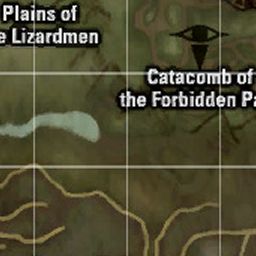
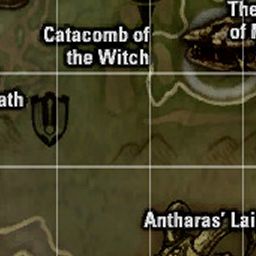
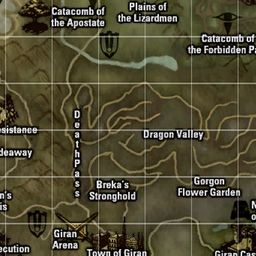
Plains of the Lizardmen (teleport from Town of Oren). Hunt Leto Lizardman Warrior (lv. 38) until you have:
 Brown Scroll Scrap ×5.
And from him to the location Plains of the Lizardmen to pick at the mobs Leto Lizardman Warrior until we get five items Brown Scroll Scrap.
Town of Dion. Return to Maria in the grocery store. You receive:
 Crystal of Purity.
The items we knocked out we give to Maria and get the Crystal of Purity.
Return to High Priest Sylvain in the temple. You receive:
 Symbol of Sylvain.
We carry it to the temple of Dion to High Priest Sylvain. The old fellow gives out the Symbol of Sylvain.
Return to Magister Mirien in the temple. You receive:
 Mirien's 2nd Sigil.
Then we talk to the start NPC, Magister Mirien.
Samples for Jurek
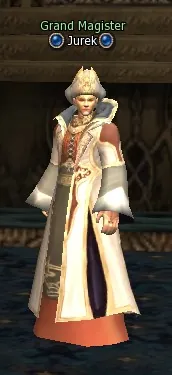
Giran Castle Town. Find Grand Magister Jurek in the Mages Guild. You receive:
 Jurek's List.
Now she sends us to Grand Magister Jurek in the mages guild in Giran (it is not in the temple but across the little bridge on the right side of the temple). Now Jurek is a practical man, no "blah-blah-blah": we go straight to beat mobs.
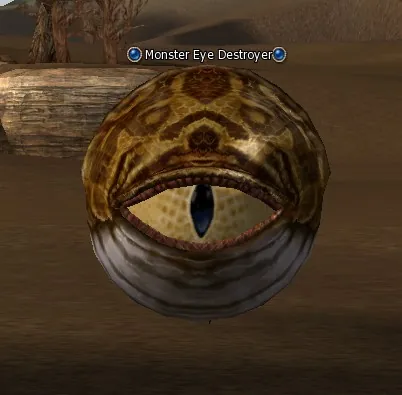
Plains of Dion (teleport from Town of Dion). Hunt Monster Eye Destroyer (lv. 26) until you have:
 Monster Eye Destroyer Skin ×5.
5 Monster Eye Destroyer Skin from the mobs Monster Eye Destroyer; the nearest ones are in the location Plains of Dion (little balls that spit magic), we saw them when we ran to Floran.
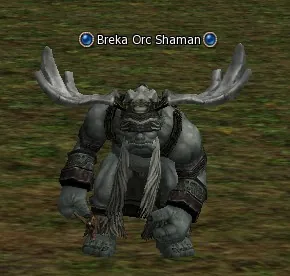
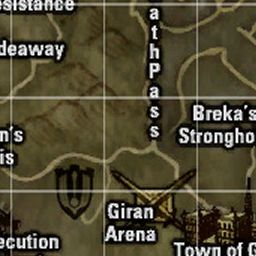
Breka's Stronghold (teleport from Giran Castle Town). Hunt Breka Orc Shaman (lv. 34) until you have:
 Shaman's Necklace ×5.
5 Shaman's Necklace from the mobs Breka Orc Shaman (teleport from Giran, the last line); two of the mobs stand on the right.
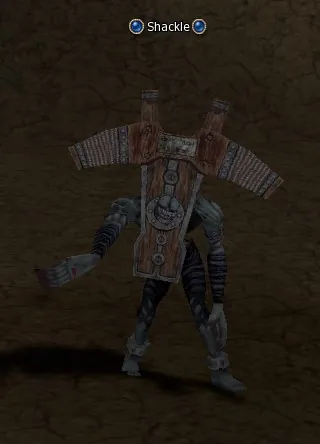
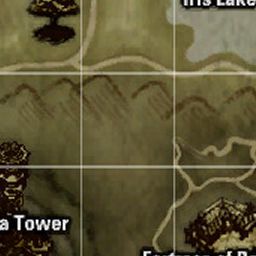
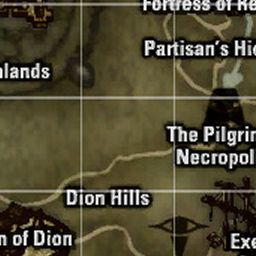
Dragon Valley (teleport from Giran Castle Town). Hunt Shackle (lv. 45) until you have:
 Shackle's Scalp ×2.
2 Shackle's Scalp from the mobs Shackle, either in Dragon Valley or in the Ivory Tower Crater. Better in Dragon Valley, they stand right at the teleport point there.
Giran Castle Town. Return to Grand Magister Jurek in the Mages Guild. You receive:
 Symbol of Jurek.
All the items we hand in to Jurek and get the Symbol of Jurek.
Town of Dion. Return to Magister Mirien in the temple. You receive:
 Mirien's 3rd Sigil.
We talk to Mirien in the temple of Dion again.
Scriptures of Knowledge for Cronos
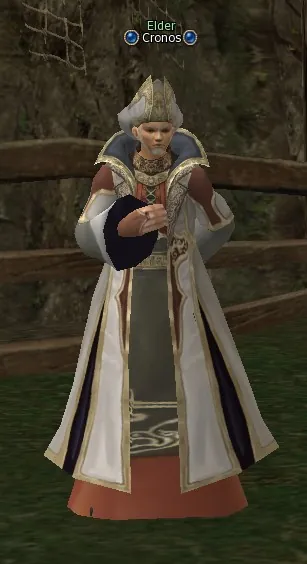
Hunters Village. Find Elder Cronos by the bridge. You receive:
 Cronos Letter.
Now we go to Hunters Village and next to the gatekeeper, where the stairs lead up into a little house, we find the NPC Elder Cronos (in the dialogue with him any answer can be chosen).
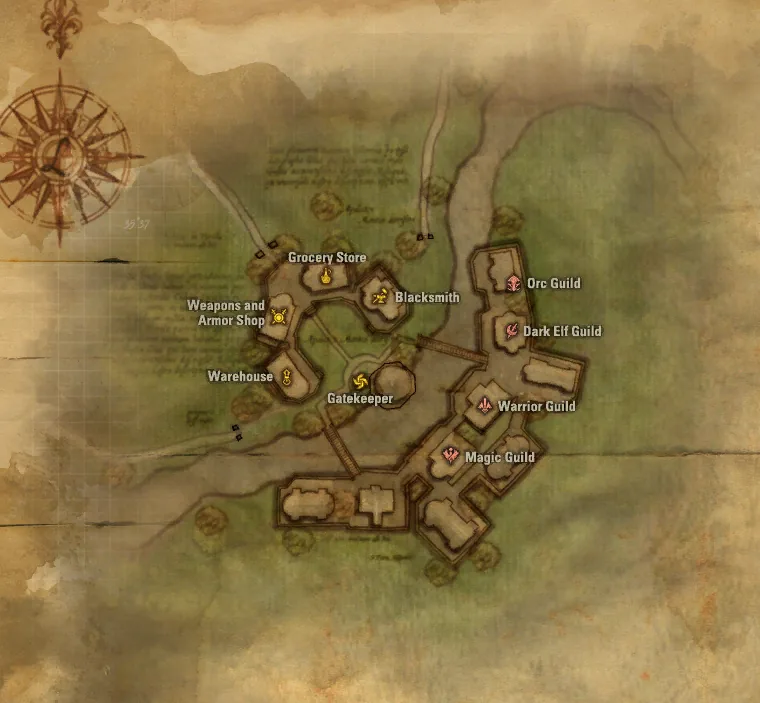
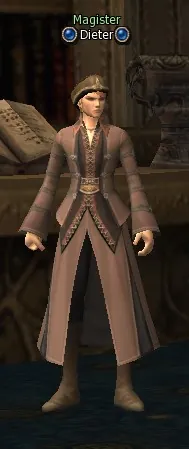
Giran Castle Town. Find Magister Dieter in the Mages Guild. You receive:
 Dieter's Key.
Cronos sends us back to the mages guild of Giran, but now Magister Dieter has to be found there. We go and talk. There now, it begins: we are sent to Floran again, to Astrologer Creta. How much longer?
Floran Village. Return to Astrologer Creta near the warehouse. You receive:
Creta's 2nd Letter.Creta gives something to carry to Dieter.
Giran Castle Town. Return to Magister Dieter in the Mages Guild. You receive:
Dieter's Letter,  Dieter's Diary.
We return to Giran to the NPC.
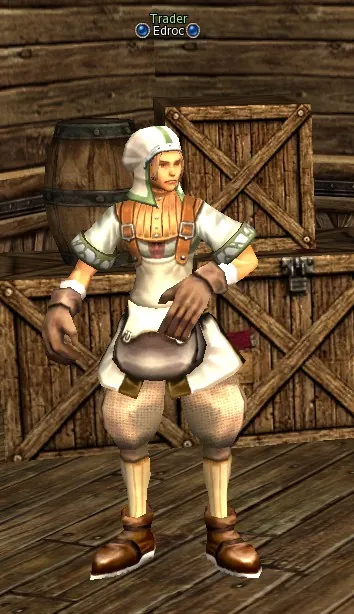
Hunters Village. Find Trader Edroc in the weapon and armor shop. You receive:
 Raut's Letter Envelope.
And then to Hunters Village, where in the weapon and armor shop we talk to Trader Edroc.
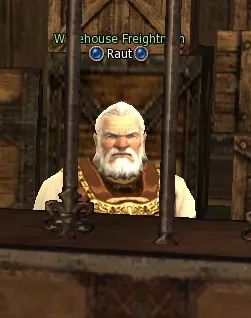
Gludin Village. Find Warehouse Freightman Raut in the warehouse. You receive:
Scripture Chapter 1,  Strong Liquor.
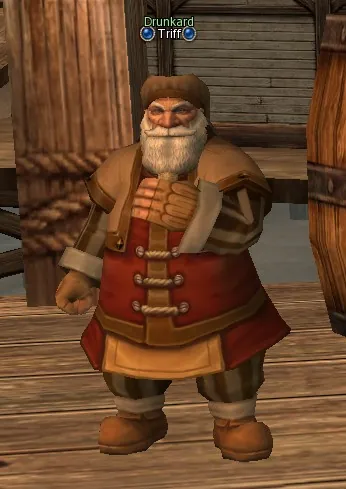
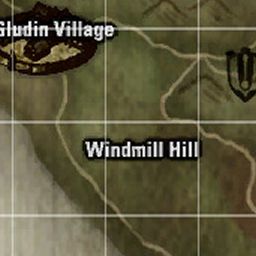
He shoots us off to Gludin Village, where in the warehouse sits, naturally, a warehouse man (only not a keeper, as they write everywhere, but the freightman Raut). Well, with dwarves everything is clear: the huckster at once starts a talk about his unhappy life, and also about his bro Triff, a bum and a drunkard who hangs about somewhere in the docks and to whom a little something ought to be carried for the hair of the dog.
Gludin Harbor. Find Drunkard Triff on the pier. You receive:
 Triff's Ring.
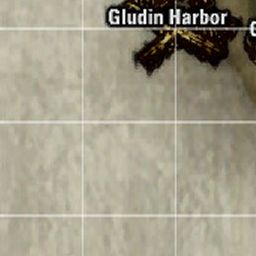
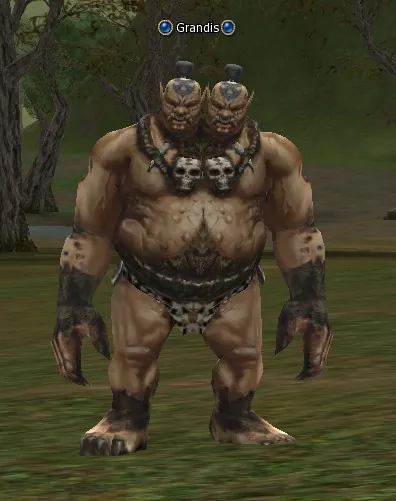
We go to Gludin Harbor, luckily it is quite near, and look for Drunkard Triff on the pier. Books have to be collected. One we already have; we look for the other three. Triff hinted that one of the books can be knocked out of the mobs Grandis in the location Death Pass, and about the two missing ones Warehouse Keeper Valkon in Giran and Blacksmith Poitan in Dion will tell us.
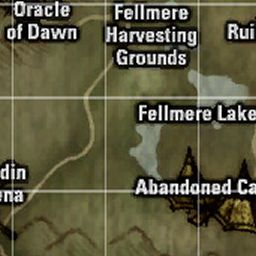
Hardin's Academy. Hunt Grandis (lv. 40) until you have:
 Scripture Chapter 3.
Here in principle you can run in any order, but to do everything compactly we first go to beat Grandis: from Giran you can teleport to Hardin's Academy, the mobs are near there. We knock the book out.
Giran Castle Town. Find Warehouse Keeper Valkon in the warehouse. You receive:
 Valkon's Request.
And now we go to Giran to Warehouse Keeper Valkon.
Town of Dion. Return to Maria in the grocery store. You receive:
Crystal of Purity.From Valkon we go to Dion to Maria.
Giran Castle Town. Return to Warehouse Keeper Valkon in the warehouse. You receive:
 Scripture Chapter 2.
Then to Giran to Valkon again, and we get one more book. The last one remains.
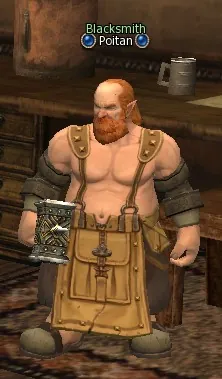
Town of Dion. Find Blacksmith Poitan in the smithy. You receive:
 Poitan's Notes.
For it we go to the smithy of Dion to Blacksmith Poitan.
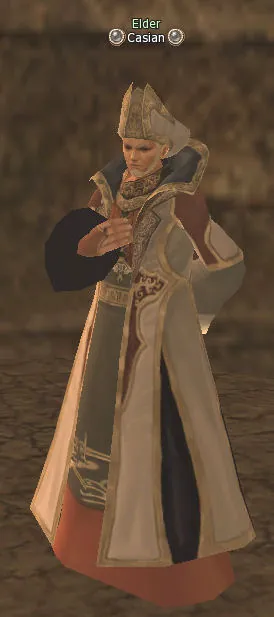
Wasteland (teleport from Gludin Village). Talk to Elder Casian. You receive:
 Casian's List.
Now we have to talk to Elder Casian, who stands not far from the teleport point in the Wasteland (teleport from Gludin Village). An interesting point here: in the order in which I collected these books (what is written above) I have always done this quest, but recently it turned out that this is the only right way: if you come to Elder Casian without the first three books in hand, he will not give you the final task but will tell you to find those books first and then show them to him. So, the final task.
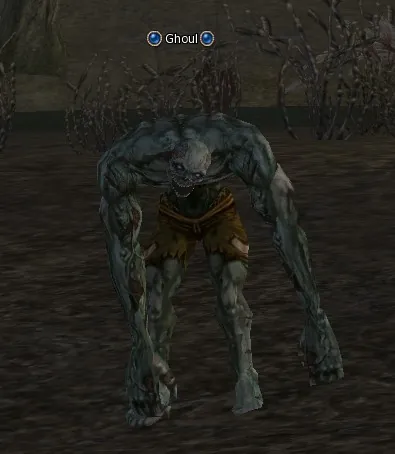
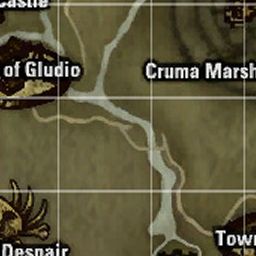
Execution Grounds. Hunt Ghoul (lv. 32) until you have:
 Ghoul's Skin ×10.
10 Ghoul's Skin from the mobs Ghoul in the Execution Grounds.
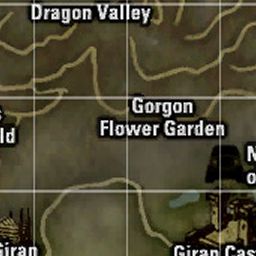
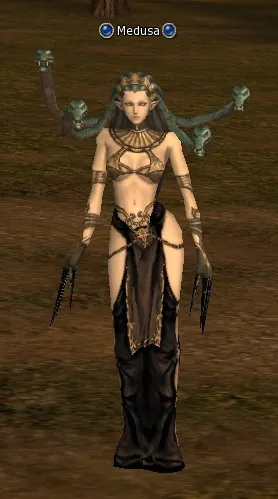
Gorgon Flower Garden. Hunt Medusa (lv. 34) until you have:
 Medusa's Blood ×12.
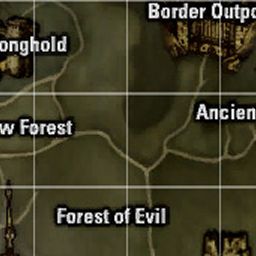
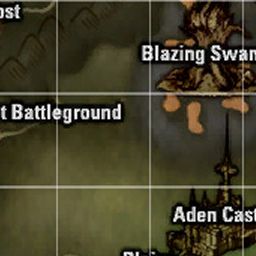
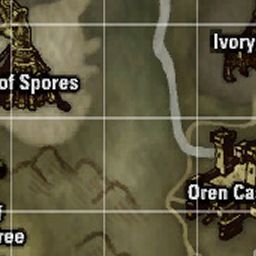
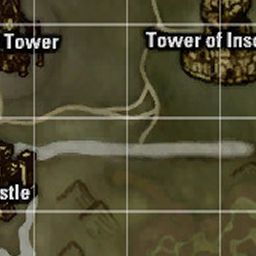
12 Medusa's Blood from the mobs Medusa on the glades between the town of Giran and Giran Castle.
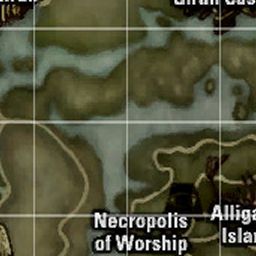
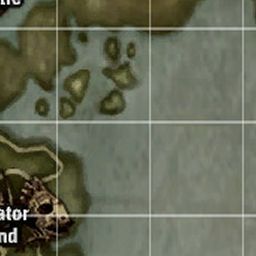
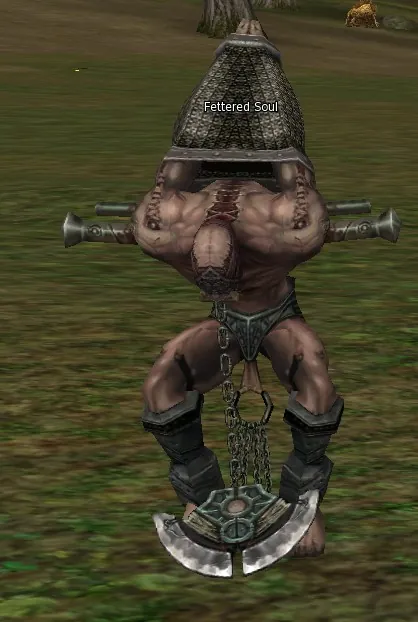
Hardin's Academy. Hunt Fettered Soul (lv. 38) until you have:
 Fettered Soul's Ichor ×5.
5 Fettered Soul's Ichor from the mobs Fettered Soul in the location Death Pass (where we beat the Grandis).
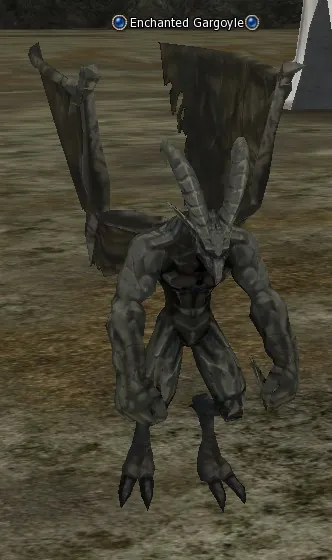
Ivory Tower. Hunt Enchanted Gargoyle (lv. 44) until you have:
 Enchanted Gargoyle's Nail ×5.
5 Enchanted Gargoyle's Nail from the mobs Enchanted Gargoyle in the location Ivory Tower Crater (do not mix them up, there is one more kind of gargoyle there; we need the mobs of level 44).
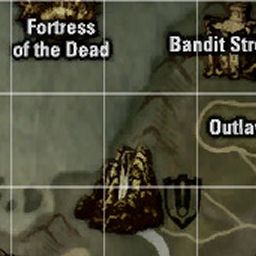
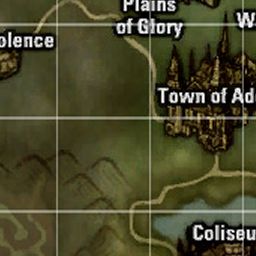
Wasteland (teleport from Gludin Village). Return to Elder Casian. You receive:
Scripture Chapter 4.We knock everything out, carry it to Elder Casian and get the fourth book.
Hunters Village. Return to Elder Cronos by the bridge. You receive:
 Symbol of Cronos.
With all these belongings we go to Hunters Village to Elder Cronos. Damn, so much time has passed that we have even managed to forget that it was he who sent us. We hand all the books in to him.
Town of Dion. Return to Magister Mirien in the temple. You receive:
Mark of Scholar.We return to Dion to Magister Mirien and get the mark Mark of Scholar.
After that everybody goes to do the second (racial) quests. The Necromancer, the Sorcerer and the Warlock go to do the quest for all the humans, Testimony of Trust. The Phantom Summoner and the Spellhowler do the quest for the dark elves, Testimony of Fate. The Elemental Summoner and the Spellsinger the quest for the light elves, Testimony of Life.
Tips
- Shackle is level 45, ten levels above the quest. It lives in Dragon Valley and in the crater of the Ivory Tower; ask for help if you start the mark at 35.
- The materials for Casian are spread over four hunting grounds, and the last one, Enchanted Gargoyle, is level 44 as well. Many players finish this mark closer to level 40.
Necromancer class transfer quest: second mark (level 37)
Quest: Testimony of Trust · reward: Mark of Trust · given by High Priest Hollint
The quest stops halfway until level 38: do the first half at 37 and come back a level later.
The second quest for the second profession for all the humans: Testimony of Trust. The prophets, as in the first quest, will again have to rush round all the races; however, now, for a change, we must make them trust us. For the other classes this is new. I will tell it on behalf of a prophet, because for her and the bishop it is the hardest. Let us begin.
Trust of the Elves
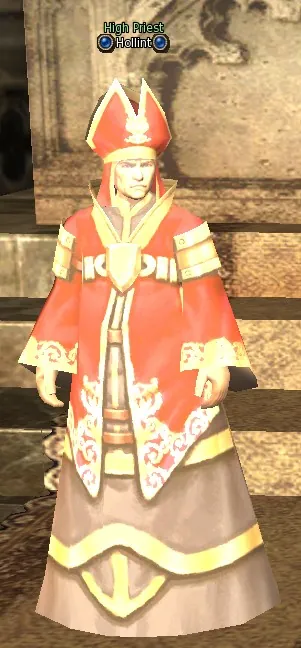
Town of Oren. Find High Priest Hollint in the temple and take the quest. You receive:
Letter to Elf, Letter to Dark Elf.The quest is taken at level 37 from the NPC High Priest Hollint in the temple of Oren.
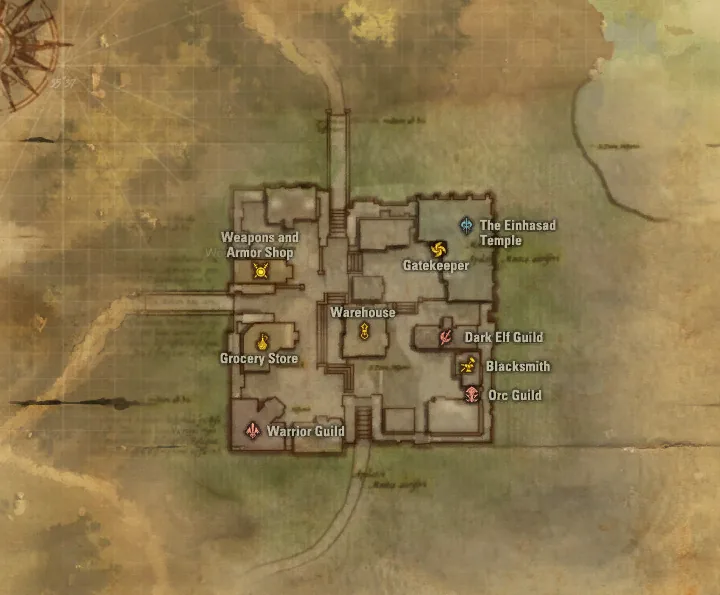
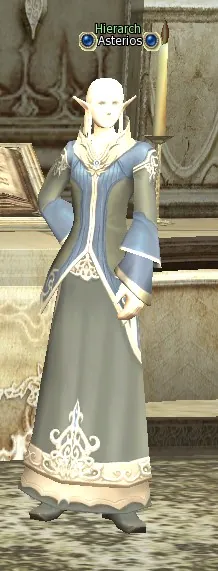
Elven Village. Find Hierarch Asterios in the temple. You receive:
Order of Asterios.Hollint sends us to Hierarch Asterios in the village of the light elves. Asterios needs two quest mobs finished off, which come out of ordinary ones when we start bringing those ordinary ones down.
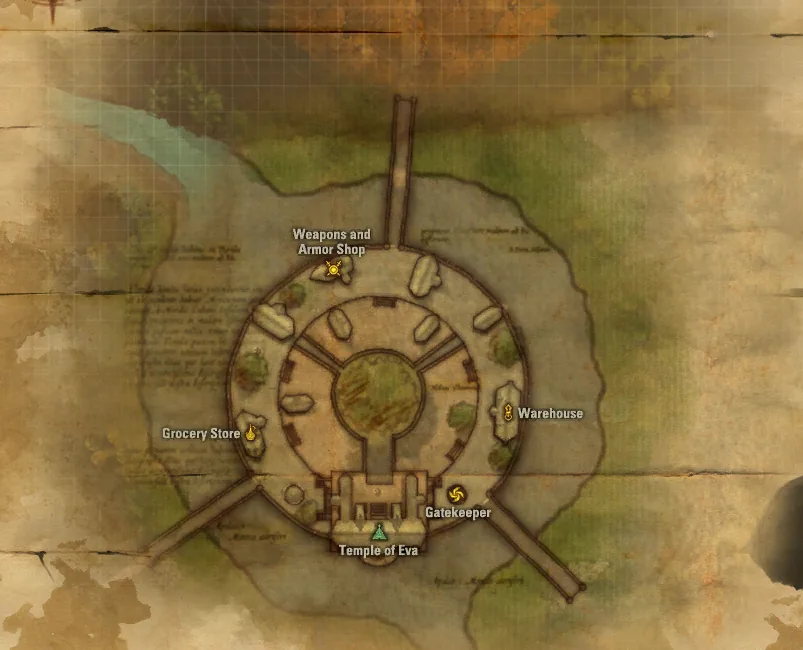
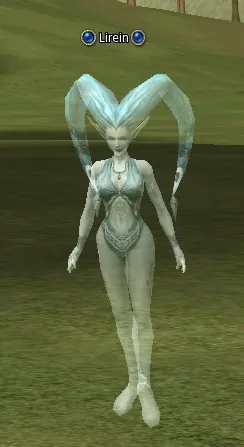
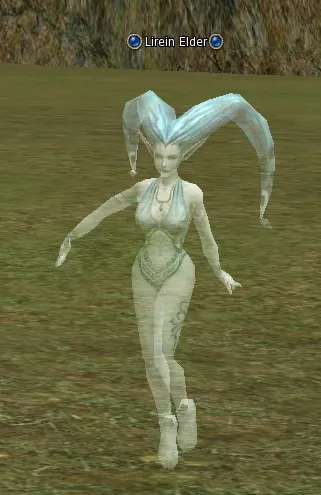
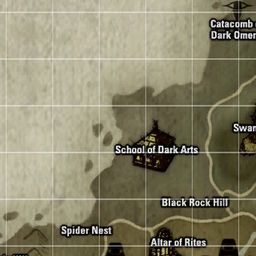
Hunt Lirein (lv. 18), Lirein Elder (lv. 19). Where: Undine Waterfall, The Neutral Zone.
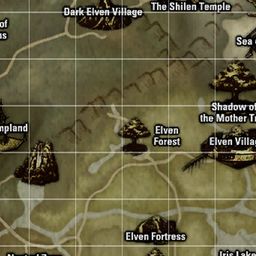
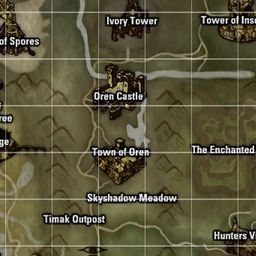
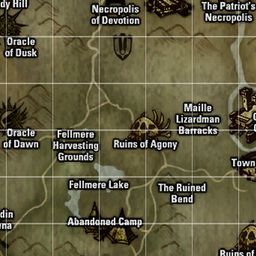
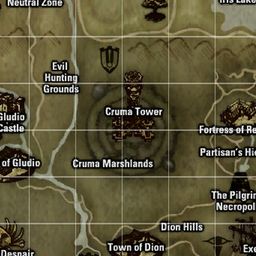
We teleport to the Neutral Zone (from the light or the dark village, it makes no difference) and move towards the light bridge (that is where we also spoiled the recipe for crafting VoP). We beat the mobs Lirein and Lirein Elder until the quest mob Luell of Zephyr Winds appears.
Kill Luell Of Zephyr Winds (lv. 37) to get:
 Breath of Winds.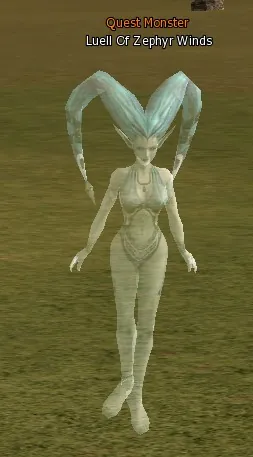
Elven Forest (teleport from Elven Village). Hunt Dryad (lv. 13), Dryad Elder (lv. 14).
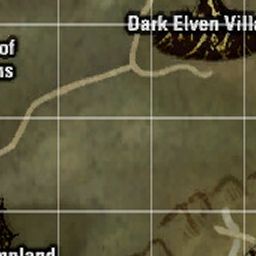
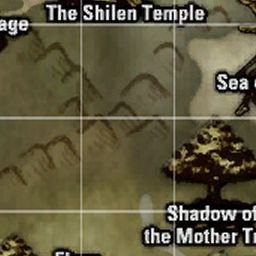
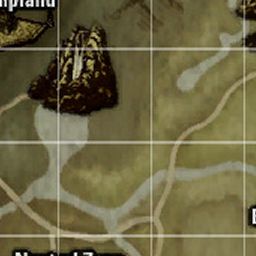
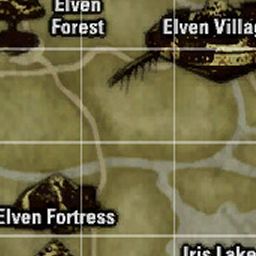
Next we go to where the mark is seen on the map and beat the mobs Dryad and Dryad Elder until the quest mob Actea of Verdant Wilds appears.
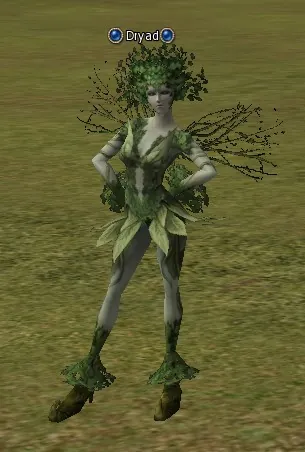
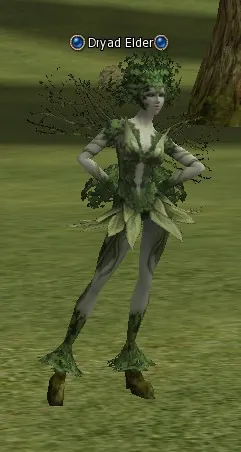
Kill Actea Of Verdant Wilds (lv. 37) to get:
 Seed of Verdure.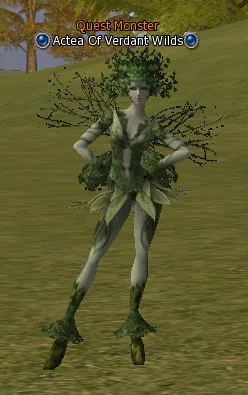
Elven Village. Return to Hierarch Asterios in the temple. You receive:
 Scroll of Elf Trust.
We kill the quest mob and return to Hierarch Asterios with the report. In the light village we have done everything needed.
Trust of the Dark Elves
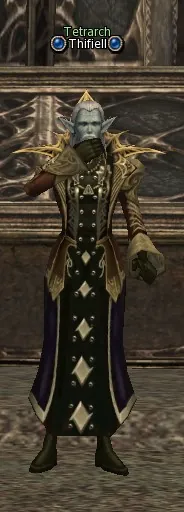
Dark Elf Village. Find Tetrarch Thifiell in the temple. You receive:
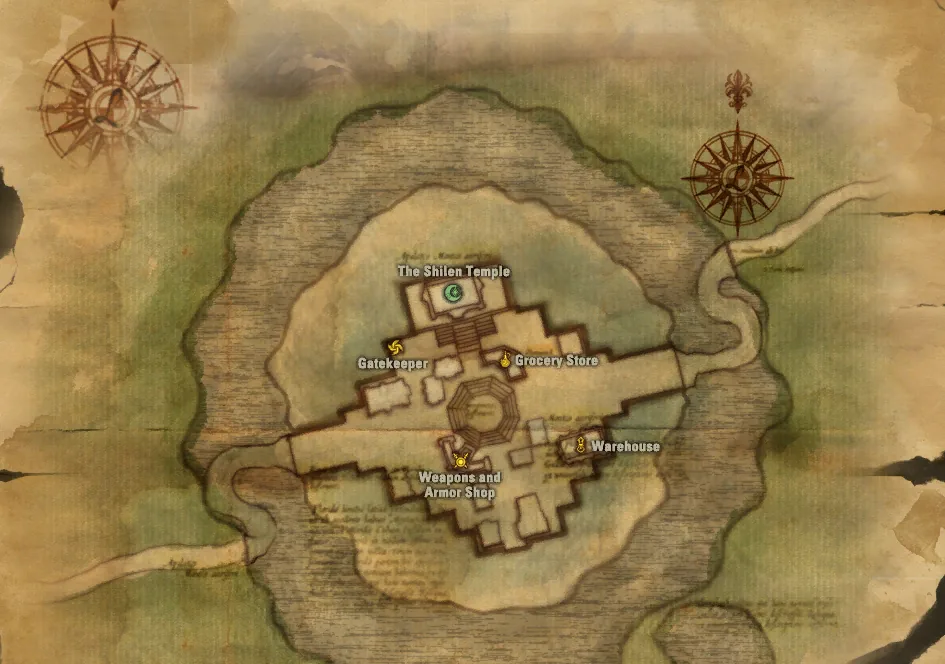
Letter from Thifiell.Now we set off for the village of the dark elves to the NPC Tetrarch Thifiell (he stands in the Temple of Shilen).
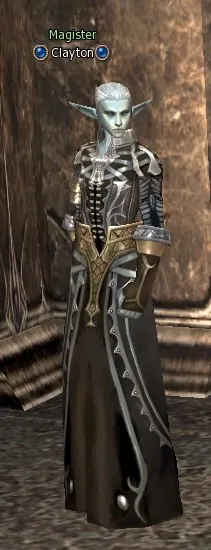
Town of Dion. Find Magister Clayton in the Dark Elven Guild. You receive:
Order of Clayton.Thifiell sends us to Dion, to the guild of the dark mages, to the NPC Magister Clayton, to whom three items have to be brought: Basilisk Plasma, Honey Dew and Stakato Ichor. Keep in mind that although the quest shows that one item of each has to be knocked out, in fact you have to knock out ten other items of each kind, which, when ten are gathered, turn into the one we need.
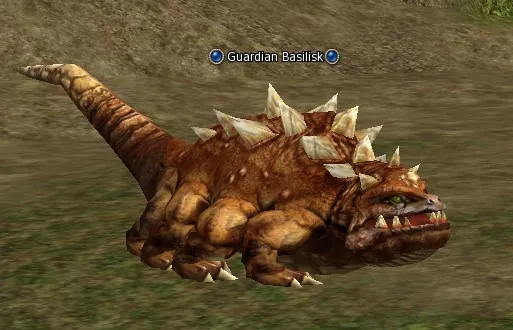
Death Pass. Hunt Guardian Basilisk (lv. 36) until you have:
Blood of Guardian Basilisk ×10.Basilisk Plasma is knocked out of the Guardian Basilisk in the Death Pass (teleport from Giran to Dragon Valley).
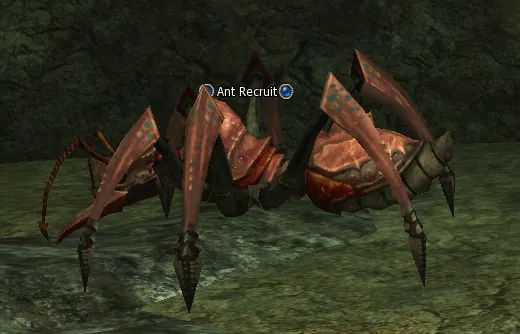
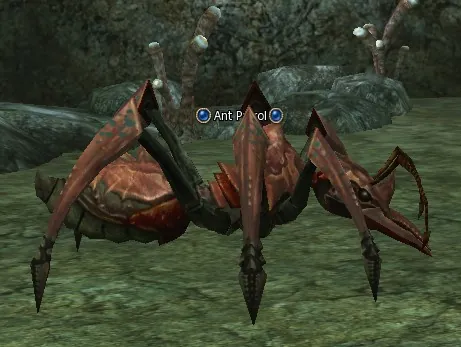
Wasteland (teleport from Gludin Village). Hunt Ant Recruit (lv. 33), Ant Patrol (lv. 34), Ant Guard (lv. 35), Ant Soldier (lv. 35), Ant Warrior Captain (lv. 36) until you have:
 Giant Aphid ×10.
Honey Dew from the Soldier Ant (it is written that you have to go to the Wasteland, but we go straight to the Ant Nest cave, there are many of these ants there).
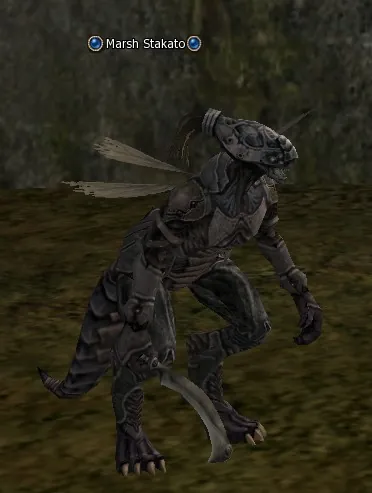
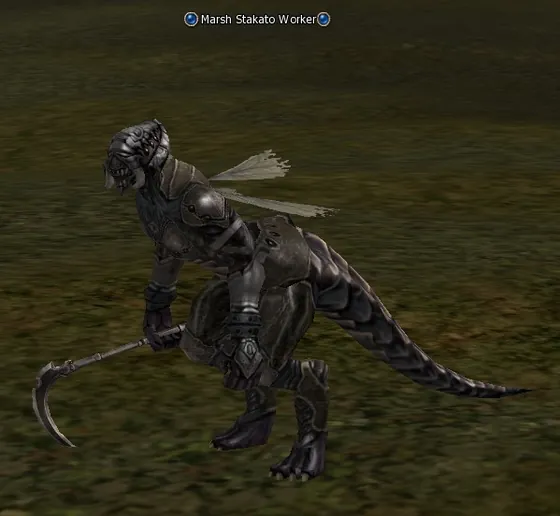
Cruma Tower (teleport from Town of Dion). Hunt Marsh Stakato (lv. 29), Marsh Stakato Worker (lv. 31), Marsh Stakato Soldier (lv. 33), Marsh Stakato Drone (lv. 35) until you have:
 Stakatos Fluids ×10.
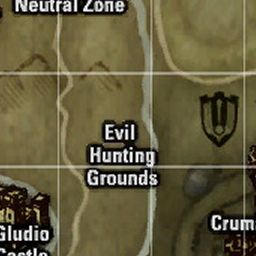
Stakato Ichor from the Marsh Stakato in the location Cruma Marshlands (teleport from Dion).
Town of Dion. Return to Magister Clayton in the Dark Elven Guild.
We collect them and hand all the items in to Clayton.
Dark Elf Village. Return to Tetrarch Thifiell in the temple. You receive:
 Scroll of Dark Elf Trust.
We go with the report to the dark village to Tetrarch Thifiell.
Town of Oren. Return to High Priest Hollint in the temple. You receive:
Letter to Seresin.Then we return to the start NPC in Oren.
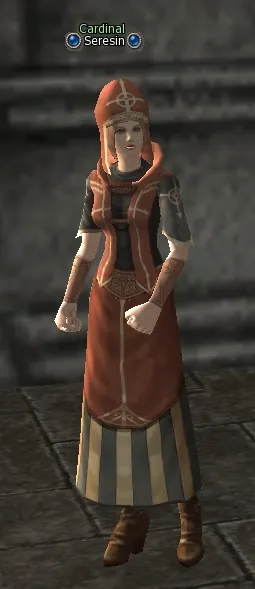
Talk to Cardinal Seresin. You receive:
 Letter to Orc,
  Letter to Dwarf.
The further tasks, connected with the races of the orcs and the dwarves, will be given to us by Cardinal Seresin, who stands right here, at the entrance to the temple in Oren.
Trust of the Orcs
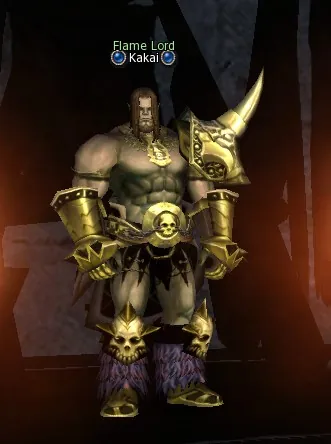
Orc Village. Find Flame Lord Kakai in the main hall of the village. You receive:
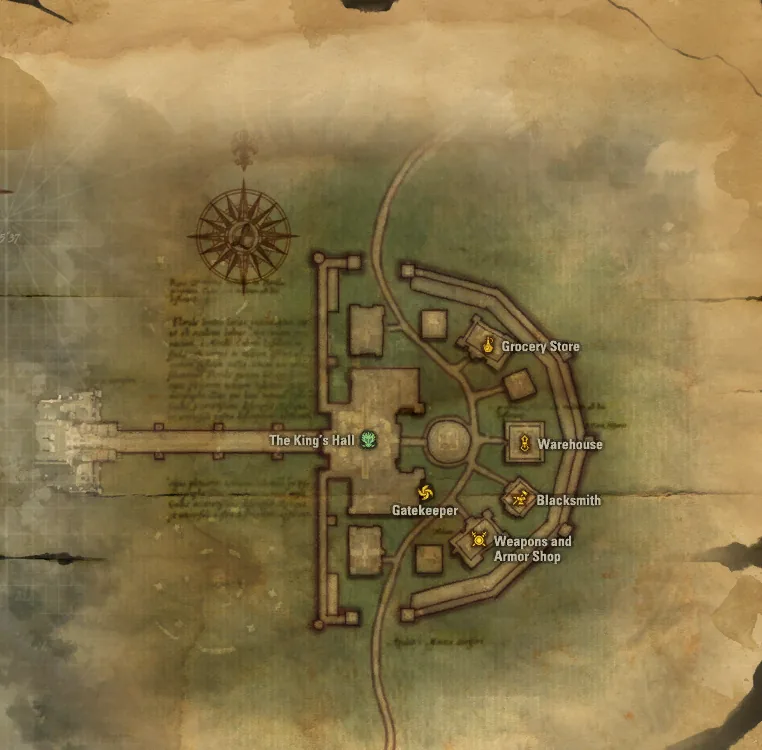
Letter to Manakia.First of all we go to the orc village and look there in the Kings Hall for Flame Lord Kakai (as far as I remember, you have to go up the stairs, he stands up there).
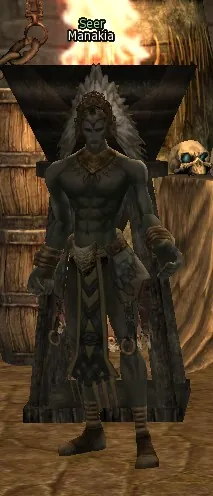
Giran Castle Town. Find Seer Manakia in the Orc Guild.
Kakai sends us to Giran; in the orc guild we look for Seer Manakia.
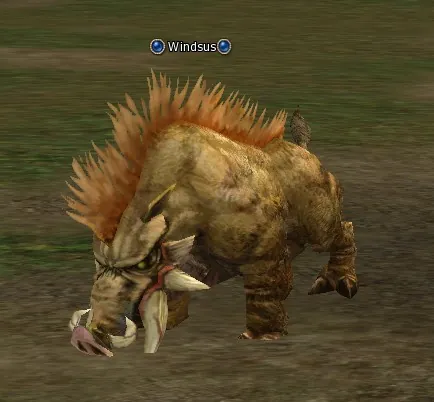
Hardin's Academy. Hunt Windsus (lv. 39) until you have:
 Parasite of Lota ×10.
On his task we teleport to the Death Pass through Dragon Valley (from Giran) and start destroying the boars Windsus to get ten items Parasite of Lota.
Giran Castle Town. Return to Seer Manakia in the Orc Guild. You receive:
Letter of Manakia.We hand the items in to Manakia.
Orc Village. Return to Flame Lord Kakai in the main hall of the village. You receive:
 Scroll of Orc Trust.
And return to the orc village to Kakai. That is it, the orcs trust us now too.
Trust of the Dwarves
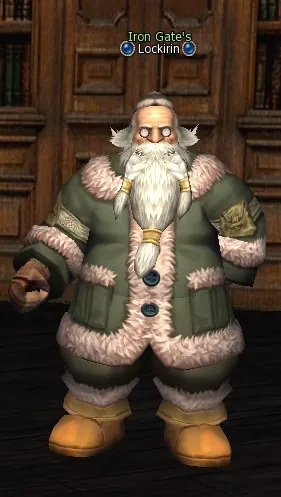
Dwarven Village. Find Iron Gate's Lockirin in the main hall of the village. You receive:
Letter to Nikola.And the last one is the NPC Iron Gate's Lockirin, who stands in the round house in the dwarven village next to the teleport.
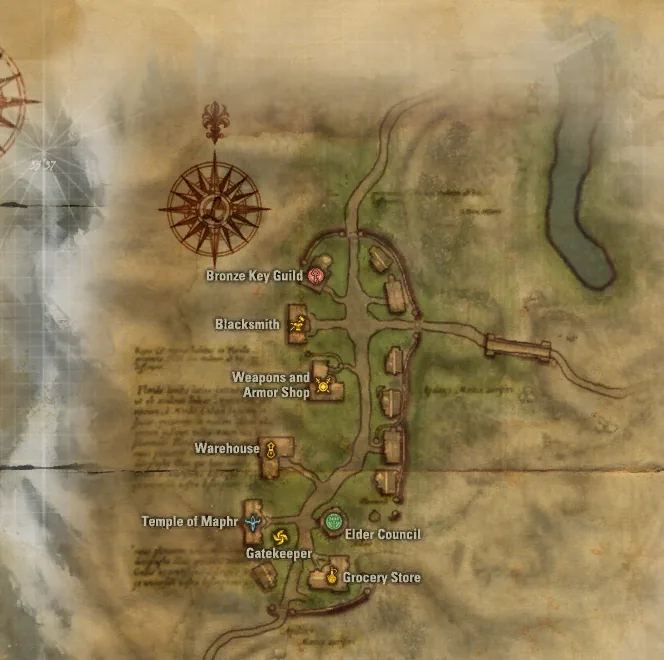
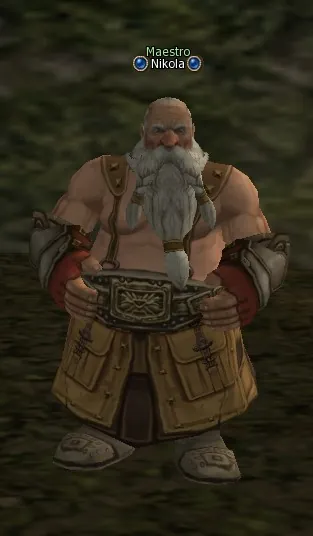
Cruma Tower (teleport from Town of Dion). Talk to Maestro Nikola. You receive:
 Order of Nikola.
Everything is simple here: we set off to Maestro Nikola in the marshes of Cruma. It is handier to teleport to the tower itself, it is nearer to run from it.
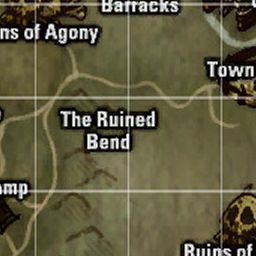
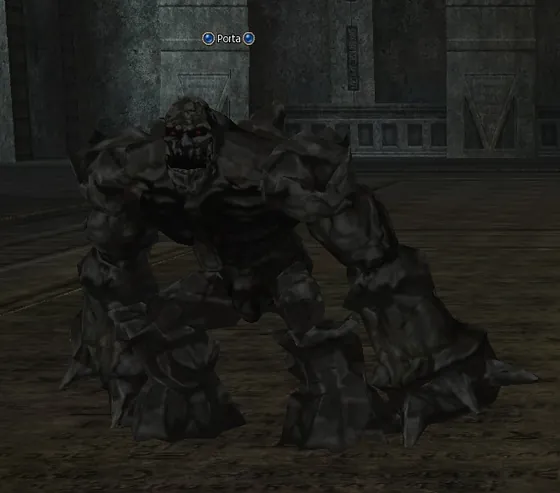
Hunt Porta (lv. 40) until you have:
 Heartstone of Porta ×10.
Nikola demands that we go into the Cruma Tower and collect for him the items Heartstone of Porta, which are knocked, naturally, out of the mobs Porta: those are such golems on the first floor of the tower. Here again there may be a slip in how the items are shown: it may be written that only one is needed, in fact ten are needed.
Return to Maestro Nikola.
We knock them out and hand them in to Nikola.
Dwarven Village. Return to Iron Gate's Lockirin in the main hall of the village. You receive:
 Scroll of Dwarf Trust.
We return to the dwarves. That is it, the dwarves believe us too. Naive ones...
Mark of Trust
Town of Oren. Return to High Priest Hollint in the temple. You receive:
Recommendation of Hollint.With the report we go to Oren to Hollint; he announces that we have done everything right.
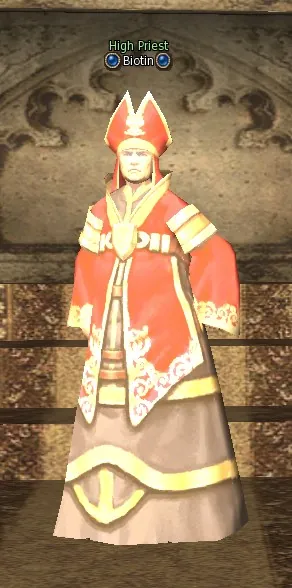
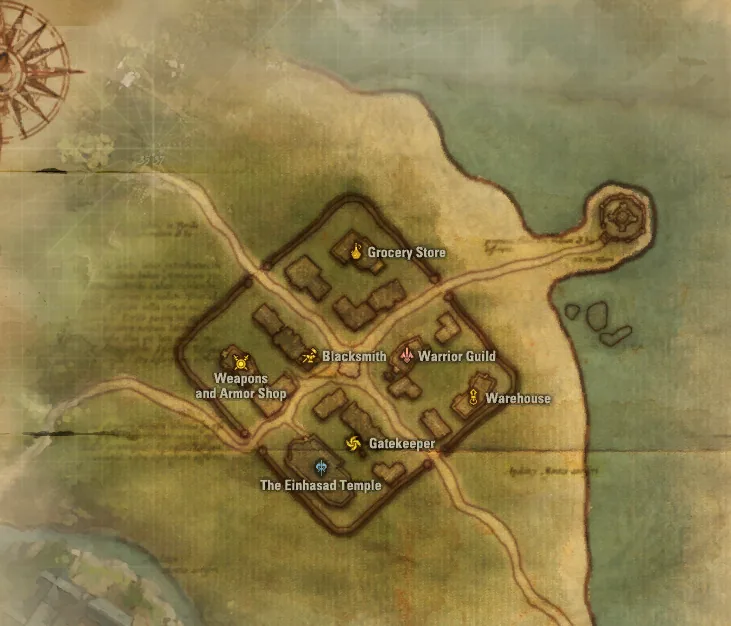
Talking Island. Find High Priest Biotin in the temple. You receive:
Mark of Trust.And he sends us to the human village, to the temple of Talking Island, to the NPC High Priest Biotin, to get the reward in the form of dimensional diamonds and the mark Mark of Trust.
The future Prophet go to do Test of the Reformer. The future Dark Avenger and Necromancer go to do Test of Witchcraft. The future Gladiator go to do Test of the Duelist. The future Treasure Hunter go to do Test of the Searcher. The future Hawkeye go to do Test of Sagittarius. The future Warlock (the cat keepers) go to do Test of the Summoner. The future Sorcerer go to do Test of Magus. The future Paladin and Bishop go to do Test of the Healer. The future Warlord go to do Test of the Champion.
Necromancer class transfer quest: third mark (level 39)
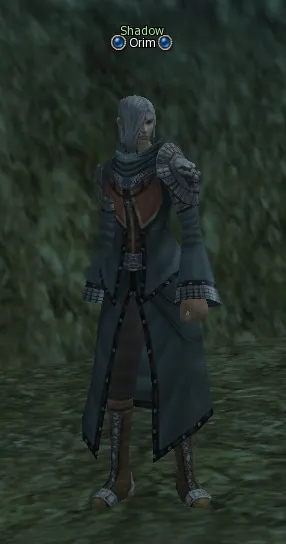
Quest: Test of Witchcraft · reward: Mark of Witchcraft · given by Shadow Orim
The third quest for the second profession for the Dark Avenger, the Necromancer and the Shillien Knight: Test of Witchcraft. This quest is common to all whose profession will stand on the dark side, and those are the Dark Avenger, the Necromancer and the Shillien Knight; they are considered dark sorcerers, unlike the elemental mages and the healers. There is a number of inaccuracies in the descriptions of this quest, and in the hints of the quest tab in the game everything is muddled too, so I will describe the whole walkthrough in detail.
Six gems of Aklantoth
Dragon Valley (teleport from Giran Castle Town). Take the quest from Shadow Orim. You receive:
Orim's Diagram.The quest is taken at level 39 from Shadow Orim, who stands in the location Death Pass (we teleport to Dragon Valley and run towards Oren). Orim wishes us to bring him six many-coloured beads (they even say they are precious). We set off.
Giran Castle Town. Find Trader Alexandria in the luxury shop. You receive:
 Alexandria's Book.
It is not far to go: to the luxury shop in Giran, where we talk to the NPC on the right, Trader Alexandria.

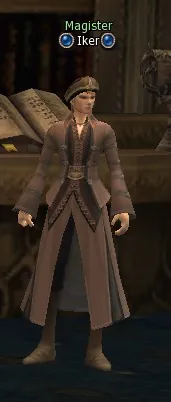
Find Magister Iker in the Mages Guild. You receive:
Iker's List.After her we go to the mages guild of Giran (on the right side of the temple, across the little bridge) to the NPC Magister Iker. Iker needs items that we will have to knock out of mobs.
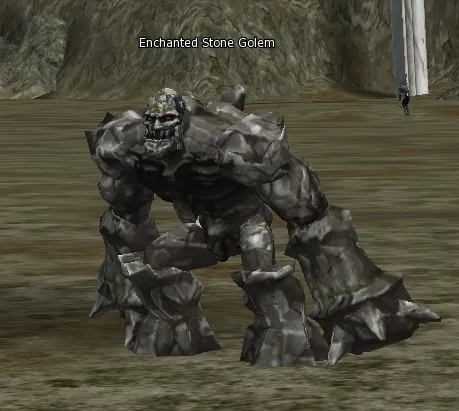
Ivory Tower. Hunt Enchanted Stone Golem (lv. 42) until you have:
 Enchanted Golem Heartstone ×20.
20 Enchanted Golem Heartstone from the mobs Enchanted Stone Golem in the location Ivory Tower Crater.
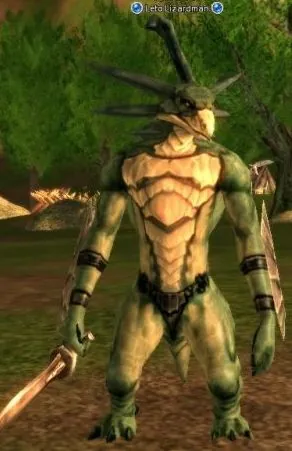
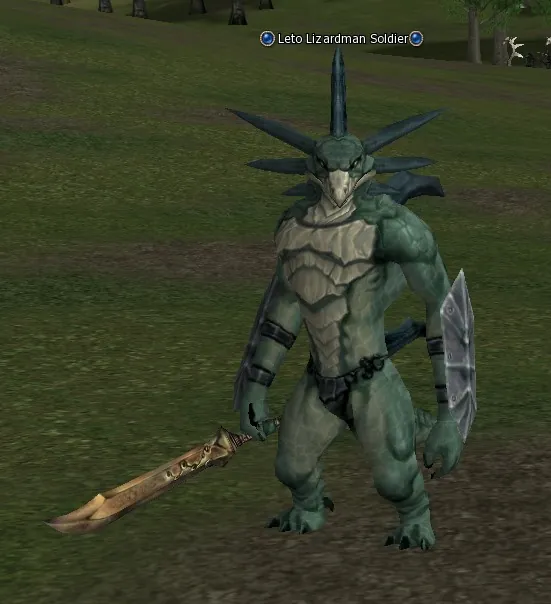
Plains of the Lizardmen (teleport from Town of Oren). Hunt Leto Lizardman (lv. 35), Leto Lizardman Archer (lv. 36), Leto Lizardman Soldier (lv. 37), Leto Lizardman Warrior (lv. 38), Leto Lizardman Shaman (lv. 39), Leto Lizardman Overlord (lv. 40) until you have:
 Leto Lizardman Charm ×20.
20 Leto Lizardman Charm from various Leto Lizardmen in the location Plains of the Lizardmen.
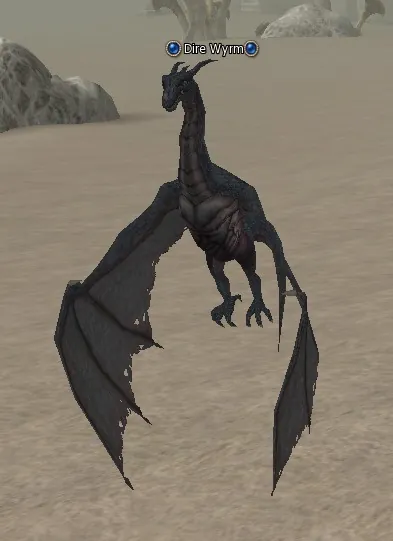
Sea of Spores (teleport from Town of Oren). Hunt Dire Wyrm (lv. 42) until you have:
 Dire Wyrm Fang ×20.
20 Dire Wyrm Fang from the mobs Dire Wyrm in the location Sea of Spores.
Giran Castle Town. Return to Magister Iker in the Mages Guild.
We knock them out, carry them to Iker and get the first bead.
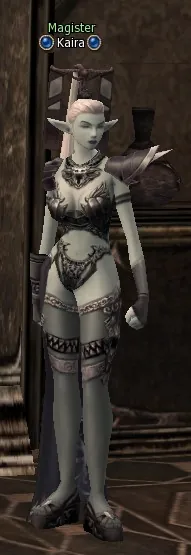
Find Magister Kaira in the Dark Elven Guild.
In the dark elven guild of Giran we talk to Magister Kaira and get the second bead.
Town of Dion. Find Trader Lara in the grocery store. You receive:
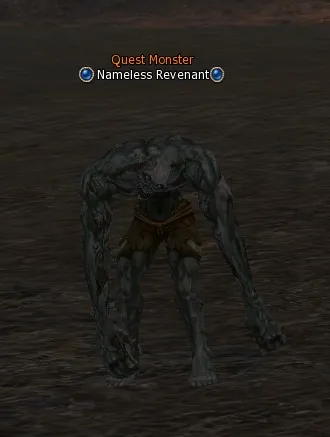
Lara's Memo.Then we go to the grocery shop of Dion to the huckster Trader Lara. She says that the quest mob Nameless Revenant has to be killed; it lives in the Execution Grounds, in the pit at the top, to which it is better to run from Giran, it is a little nearer from there.
Execution Grounds. Hunt Nameless Revenant (lv. 38) until you have:
 Aklantoth 3rd Gem.
We go down into the pit, beat the quest mob (there is a whole heap of them there) and get the third bead.
Gludin Village. Talk to Trader Nestle. You receive:
Nestle's Memo.Now we go to the next huckster, namely to Trader Nestle in the grocery shop of Gludin Village. There is a slip at this point: as many times as you talk to her, so many papers you will have; I stopped only when I had 7 identical papers. But that is no trouble, they can be deleted later.
Talk to Leopold. You receive:
 Leopold's Journal.
We leave the shop and see the NPC Leopold on the left. We talk to him.
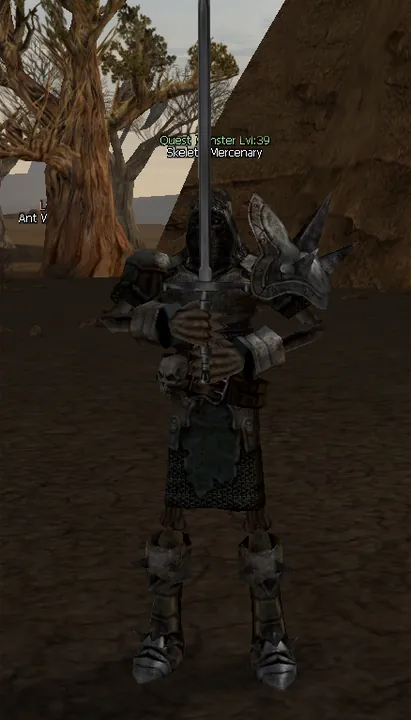
Wasteland (teleport from Gludin Village). Hunt Skeletal Mercenary (lv. 39) until you have:
 Aklantoth 4th Gem,
  Aklantoth 5th Gem,
  Aklantoth 6th Gem.
And we teleport from Gludin to the entrance of the Wasteland. We go inside and look for the quest mobs Skeletal Mercenary. These quest mobs are on two different glades, the respawn is not fast, it makes sense to visit both glades. We knock the last three beads out of them.
Dragon Valley (teleport from Giran Castle Town). Return to Shadow Orim.
All the collected beads we carry to the start NPC Orim. From this place the walkthrough differs from what is published on various sites. When I came to hand the items in, two lines appeared: "Ask about the undead" and "Give the beads to Orim". Like a clever girl, I pressed the second line; after that an inscription in red appeared, such as I had seen in no quest, Orim yelled something, a new item appeared in the dialogue with him, I pressed it, and the quest mob Drevanul Prince Zeruel appeared, pinched all the beads and vanished. In short, at this point Orim starts swearing hard and cursing himself for having let the quest monster Drevanul Prince Zeruel out of confinement. And who is to catch it back? Why, we, of course. But it can be caught only with a special quest sword, for which we now set off.
Sword of Binding and Soultrap Crystal
Giran Castle Town. Return to Magister Iker in the Mages Guild. You receive:
 Iker's Amulet,
  Soultrap Crystal.
We talk to Orim once more and get two letters. First we go to the mages guild of Giran to Magister Iker, who gives you the Soultrap Crystal, with which the escaped demon can be caught.
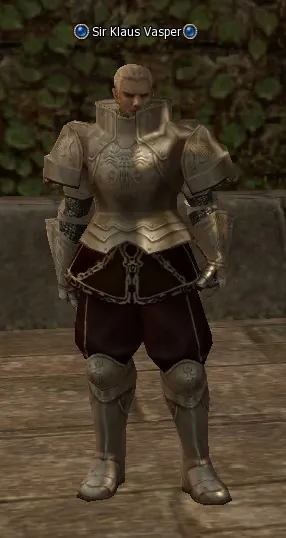
Gludin Village. Find Sir Klaus Vasper next to the Warriors Guild. You receive:
Sir Vasper's Letter.Then we go to Gludin, where in front of the training hall stands Sir Klaus Vasper.
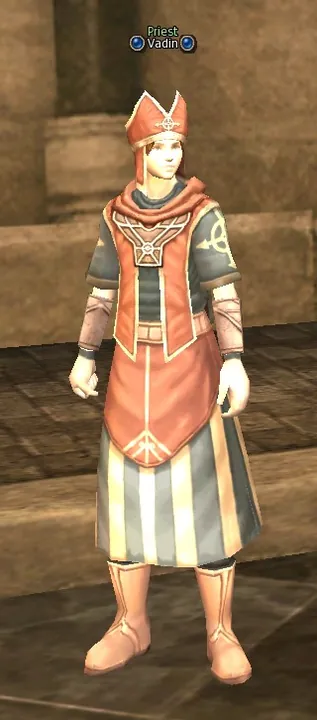
Town of Oren. Find Priest Vadin in the temple. You receive:
 Vadin's Crucifix.
And after him to the temple of Oren to the NPC Priest Vadin.
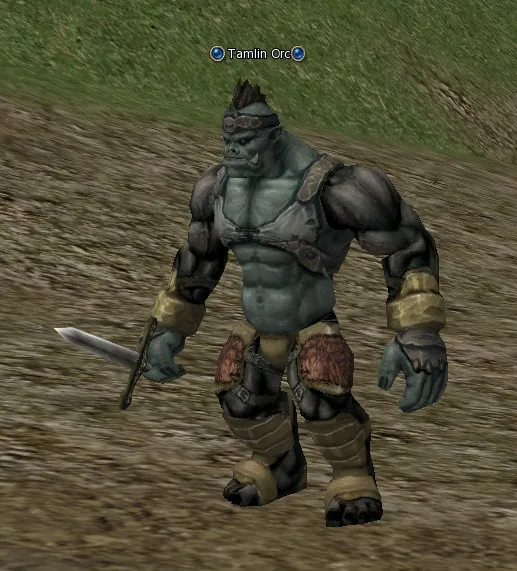
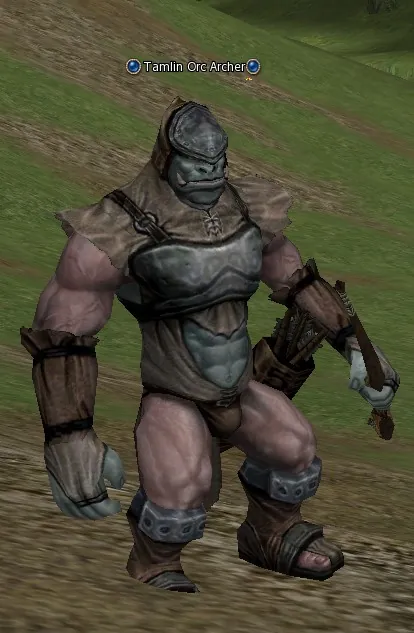
Hunters Valley. Hunt Tamlin Orc (lv. 41), Tamlin Orc Archer (lv. 42) until you have:
Tamlin Orc Amulet ×20.We go to knock 20 amulets out of the Tamlin orcs (we leave Hunters Village through the gate by the Olympiad pillar). The drop is so-so.
Town of Oren. Return to Priest Vadin in the temple. You receive:
Vadin's Sanctions.Having collected the amulets, we hand them in to Priest Vadin.
Gludin Village. Return to Sir Klaus Vasper next to the Warriors Guild. You receive:
 Sword of Binding.
Then we return to Gludin to Sir Klaus Vasper and get the Sword of Binding. We put it on the panel next to your main weapon, because the last blow on the quest mob has to be struck precisely with it.
Sealing Zeruel
Floran Village. Talk to Fisher Evert.
Now we teleport to the location Plains of Dion and run towards Floran Village. Before reaching Floran, on the pier we look for the NPC Fisher Evert, talk to him and in the dialogue press the line "pull out Sword of Binding": the quest mob Drevanul Prince Zeruel is summoned.
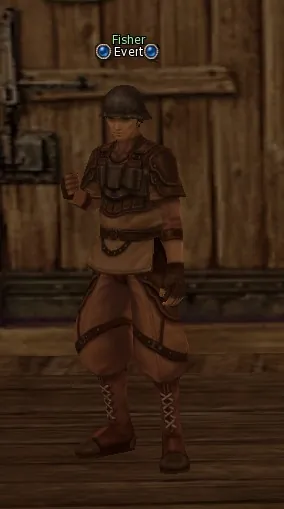
Kill Drevanul Prince Zeruel (lv. 42) to get:
 Zeruel Bind Crystal.
We beat it with the quest sword and get the items. Interestingly, all this time the arrow above the head pointed towards Orim, and only now has that direction become right.
Dragon Valley (teleport from Giran Castle Town). Return to Shadow Orim. You receive:
Mark of Witchcraft.We return to Orim, hand in all the items one by one and get the mark Mark of Witchcraft.
After doing all three quests and getting the three marks, the Dark Avenger has to go to the warriors guild in Giran to Grand Master Hannavalt, the Necromancer to the mages guild in Giran to Grand Magister Jurek, and the Shillien Knight to the dark elven guild in Giran to Grand Master Angus. In the dialogue choose the top line, the one about asking about a change of profession, choose our profession and press the line "change the profession". Congratulations, you have got the second profession.
Tips
- Casters can weaken the demon with spells and switch to the sword only for the last hits: what matters is the weapon in your hands when he dies.
Changing the class to Necromancer (level 40)
With Mark of Scholar, Mark of Trust, Mark of Witchcraft in the inventory, talk at level 40 to the head of your guild in any large town (Grand Master, Grand Magister, High Priest and others). He takes the marks and changes the class to Necromancer.
Next: Soultaker third class transfer quest from level 76 (Saga of the Soultaker).