Warlord class transfer quest
Quests: Trial of the Challenger → Testimony of Trust → Test of the Champion
To become a Warlord at level 40 you need three marks: Mark of Challenger, Mark of Trust and Mark of Champion. Each one is the reward of its own quest, open from levels 35, 37 and 39. The whole way is below in order: open a step, do the quest and mark it as done, and the page shows the next one.
The path of the class: Warrior first class transfer quest → Warlord class transfer quest → Dreadnought third class transfer quest
- 1First markTrial of the Challenger · lv. 35

- 2Second markTestimony of Trust · lv. 37

- 3Third markTest of the Champion · lv. 39

- 4Class changeWarlord · lv. 40
If an NPC refuses to give the next part of a quest and says you lack experience, gain the next level (35 → 36 or 37 → 38) and talk to him again.
Warlord class transfer quest: first mark (level 35)
Quest: Trial of the Challenger · reward: Mark of Challenger · given by Kash
This mark is made only of boss fights: take a party or come a few levels higher.
The first quest for the second profession for all the melee damage dealers (Bladedancer, Destroyer, Gladiator, Swordsinger, Tyrant and Warlord): Trial of the Challenger. The quest is so simple and quick that it is downright annoying: why does such happiness go to the damage dealers too, why not give it to the Shillien Elder or the Elven Elder. No such luck. Well, never mind, at least somebody got lucky. In this quest we have to be speleologists for a while: visit three caves and one dungeon. No tedious grinding of heaps of mobs. A freebie has arrived.
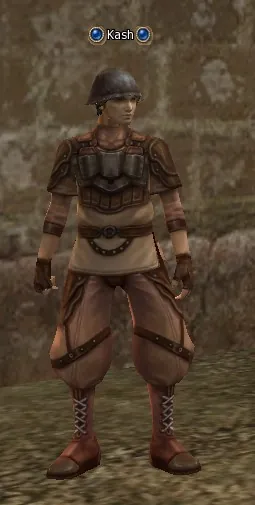
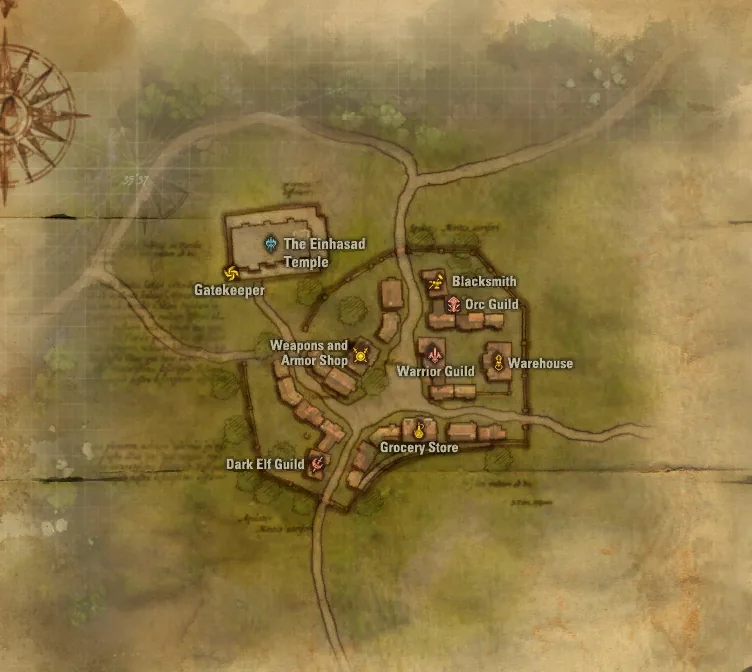
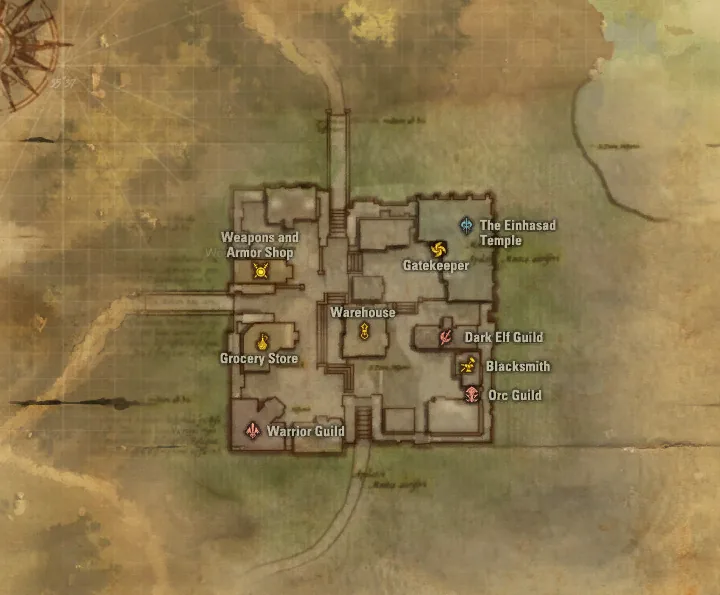
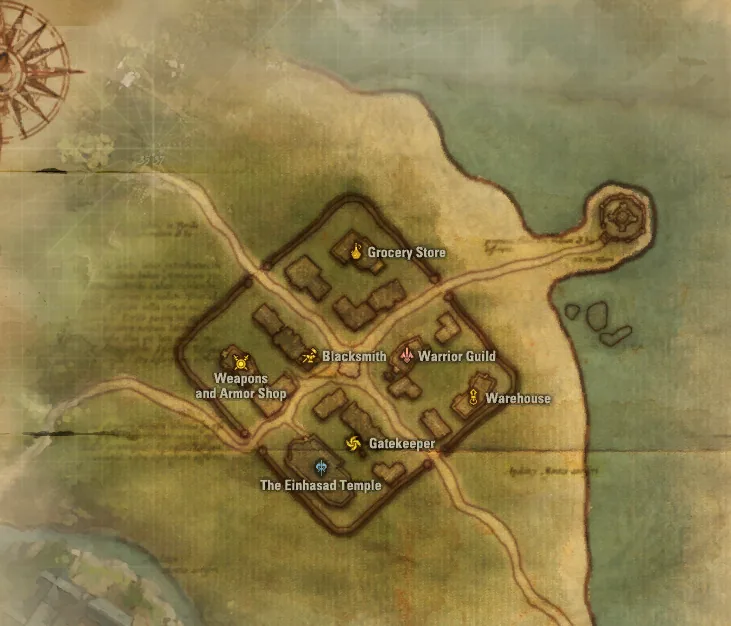
Town of Dion. Find Kash in the Warriors Guild and take the quest. You receive:
 Letter of Kash.
The quest is taken at level 35 from the NPC Kash behind the warriors guild of Dion (in the yard between the warriors guild and the warehouse).
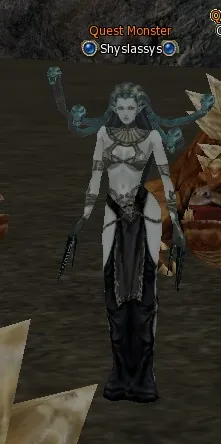
Undine Waterfall. Kill Shyslassys (lv. 36) to get:
 Broken Key.
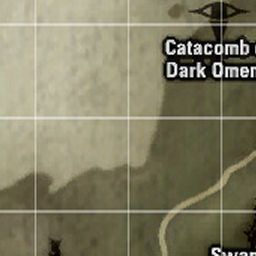
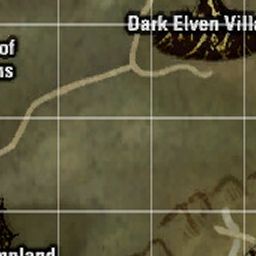
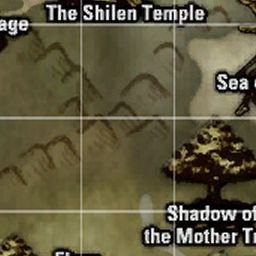
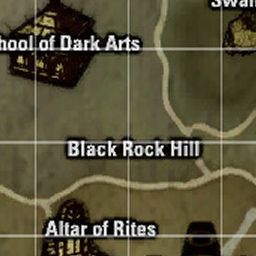
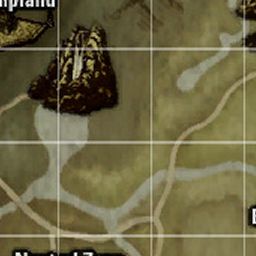
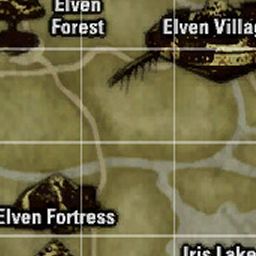
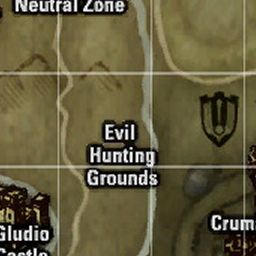
The first quest mob Kash sends us to is called by the strange name Shyslassys (it looks as if somebody among the developers had all his teeth knocked out, and such a name was all he could utter). The quest mob lives in a cave under the waterfall in the location not far from the Swampland (teleport from the dark elven village; the NPC recommends running from the Neutral Zone, but it is much farther from there). We teleport to the Swampland and run to the waterfall. Several NPCs and several quest trees will stand there; we run past them and into the cave under the waterfall, and in the left branch stands the quest mob with its guards. We beat all the mobs; I left this very Shshshslshshsh for last, because after it a chest appears.
Talk to Chest Of Shyslassys. Hand over:
Broken Key. You receive:  Scroll of Shyslassys.
In the dialogue with the chest, Chest of Shyslassys, we press the line "use some key" (that line is the one and only there, you will not miss).
Town of Dion. Return to Kash in the Warriors Guild. Hand over:
Scroll of Shyslassys.Then we return to Kash in Dion.
Giran Castle Town. Find Martien at the north gate.
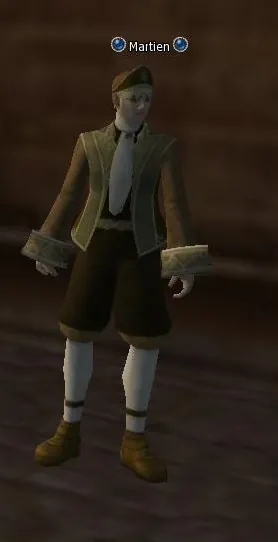
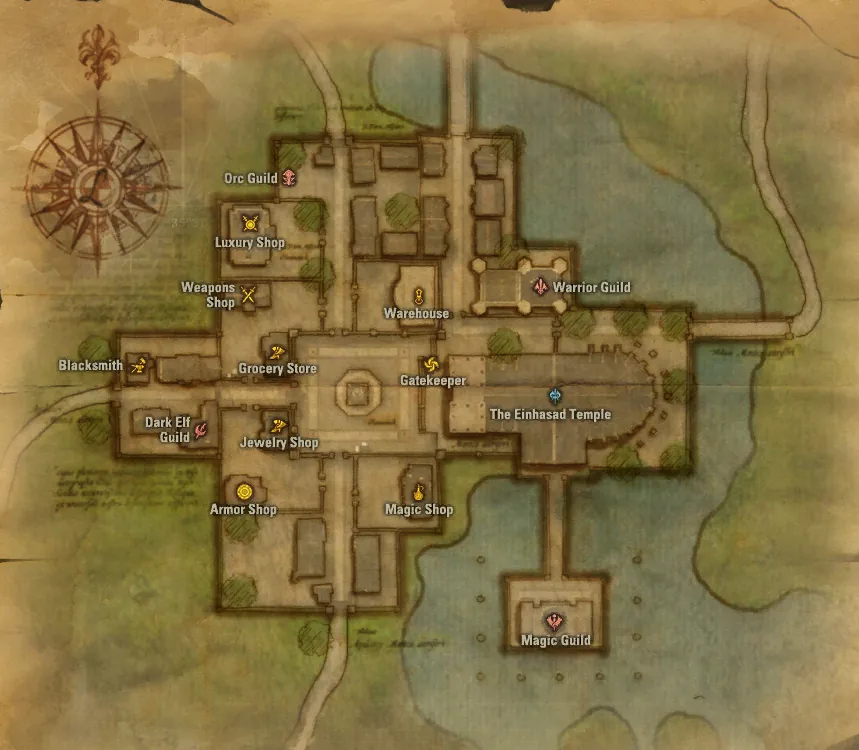
Kash sends us to Giran, to the NPC Martien, who stands at the upper right exit from the town.
Floran Village. Kill Gorr (lv. 36) to get:
 Watcher's 1st Eye.
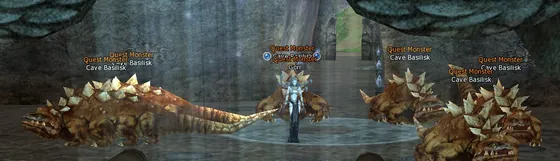
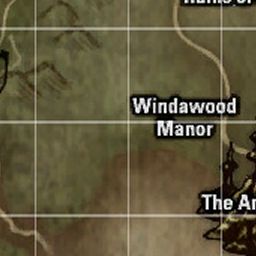
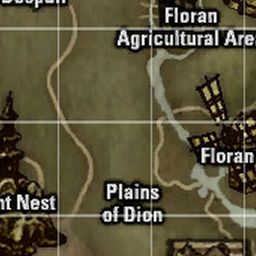
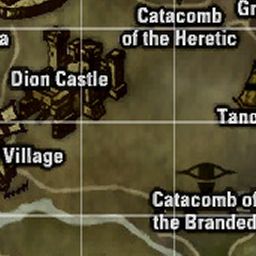
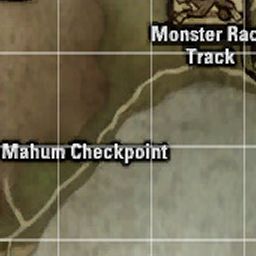
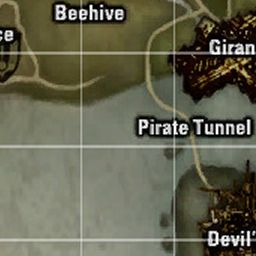
Martien says that we have to run to the outskirts of Floran, but in fact the next cave is next to the Monster Derby Track, so we teleport from Dion to the Plains of Dion; to the right of the track there will be a mountain, and on its right side there is the entrance to the cave. We go inside and see the quest mobs, among which is the main one, Gorr. We beat them all and get the quest item.
Giran Castle Town. Return to Martien at the north gate.
We return to Martien.
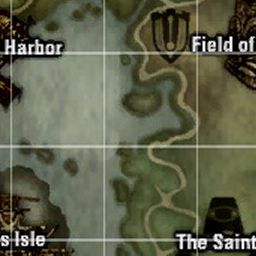
Bee Hive (teleport from Town of Dion). Kill Baraham (lv. 36) to get:
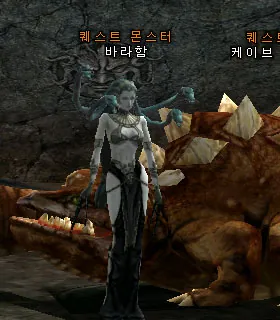
Watcher's 2nd Eye.The next cave is in the location Beehive; it is the cave we have to run to for the noblesse quest. The mobs are the same, the key mob is Baraham. We go into the cave and kill all the mobs.
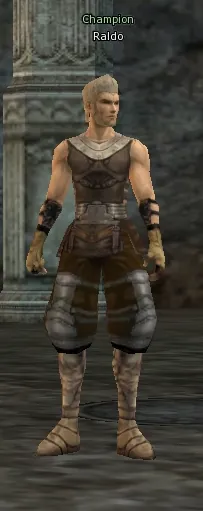
Talk to Champion Raldo.
The NPC Champion Raldo appears and tells us that we ought to go to the dwarven village and have a talk with the dwarf Filaur.
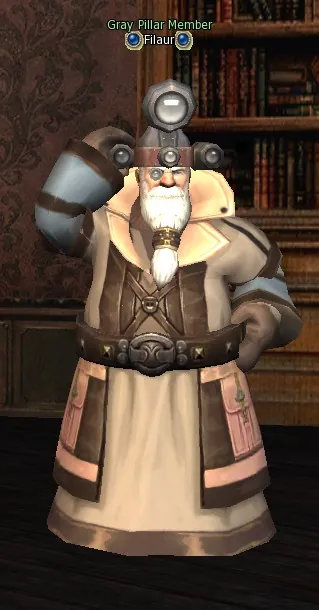
Dwarven Village. Find Gray Pillar Member Filaur in the main hall of the village.
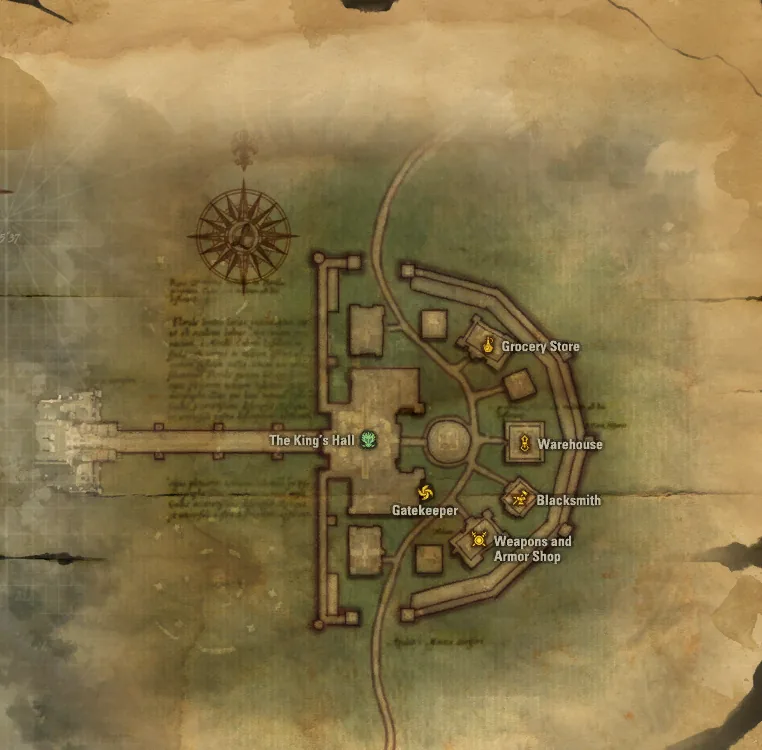
Filaur stands in the round house opposite the teleport. We run to him; he hints that our way leads farther to the Mithril Mines, where we have to find the quest mob Succubus Queen. No problem.
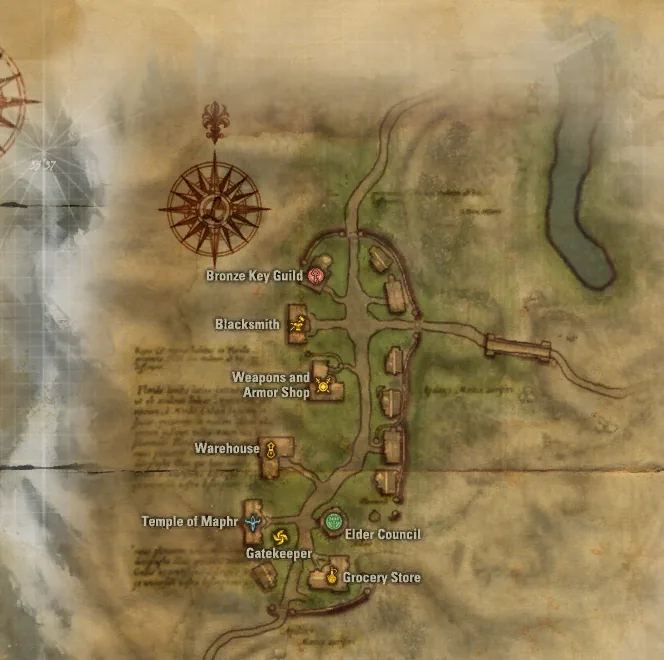
Mithril Mines (teleport from Dwarven Village). Kill Succubus Queen (lv. 34).
At this point I will tell a little more, because many look for this mob for a long time. The Succubus Queen stands at the very bottom of the Mithril Mines, it is just a long run to her. I had not been there for a long time and ran there again now: it all took 12 minutes. The mines have several entrances; I will tell about the way that starts from the usual teleport to the mines. In the mines each room has a way to the level below: either a descent by stairs or simply a road down between the rooms. We need to go down all the time. We enter the mine, pass the first corridor and go left, go down into the next room and left, there will be a wooden staircase. And down again. In short, you have got the principle. Down all the time. You may pay no attention to the mobs, they are small; even if they drain your HP, an ordinary healing potion makes up for it.
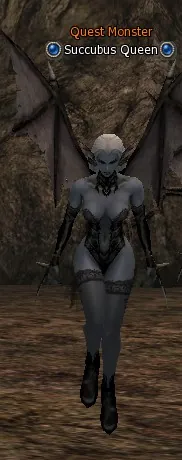
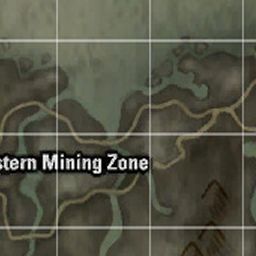
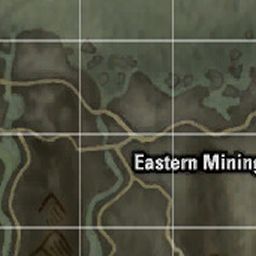
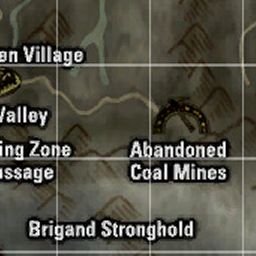
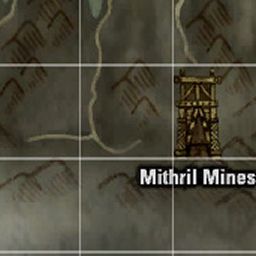
So, going down lower and lower, you soon reach a little bridge. That means you are on the right way. We cross the bridge and continue the descent; farther on there will be some water on the right side, we run past it and on. At some moment you run into a big room with a huge hole in the centre going down in rings. We jump in there; there will be mobs of levels 29-30, but they will not catch you. After the jump we run into the exit that is right in front of you. A few rooms later a light appears ahead. We move in that direction and soon run out into an open space. We keep moving towards the light and run out onto a platform, in the centre of which stands some strange construction, and next to it that very quest mob, the Succubus Queen.
Return to Champion Raldo. You receive:
Mark of Challenger.We kill the quest mob, Champion Raldo appears again, we talk to him and get the mark Mark of Challenger. My congratulations.
Next, racial quests await all the seekers of the second profession. The Gladiator and the Warlord go to do the quest for all the humans, Testimony of Trust. The Bladedancer do the quest for the dark elves, Testimony of Fate. The Swordsinger the quest for the light elves, Testimony of Life. And the Destroyer and the Tyrant the quest for the orcs, Testimony of Glory.
Tips
- I will note one point here which does not matter on Interlude, but surely those who do this quest on later chronicles will come here too. When the Mithril Mines were populated with mobs of 85+, this quest mob was moved to the Abandoned Coal Mines, into the room where Master Toma appears.
- Raldo does not stay long after a fight, so talk to him as soon as he appears.
Warlord class transfer quest: second mark (level 37)
Quest: Testimony of Trust · reward: Mark of Trust · given by High Priest Hollint
The quest stops halfway until level 38: do the first half at 37 and come back a level later.
The second quest for the second profession for all the humans: Testimony of Trust. The prophets, as in the first quest, will again have to rush round all the races; however, now, for a change, we must make them trust us. For the other classes this is new. I will tell it on behalf of a prophet, because for her and the bishop it is the hardest. Let us begin.
Trust of the Elves
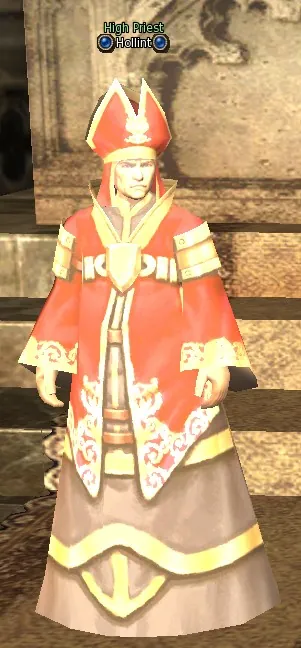
Town of Oren. Find High Priest Hollint in the temple and take the quest. You receive:
 Letter to Elf,
  Letter to Dark Elf.
The quest is taken at level 37 from the NPC High Priest Hollint in the temple of Oren.
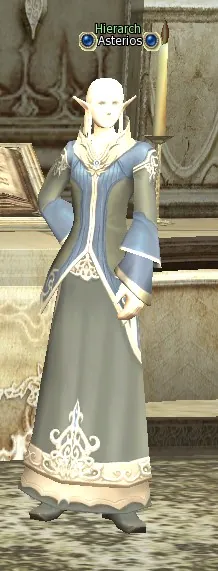
Elven Village. Find Hierarch Asterios in the temple. You receive:
Order of Asterios.Hollint sends us to Hierarch Asterios in the village of the light elves. Asterios needs two quest mobs finished off, which come out of ordinary ones when we start bringing those ordinary ones down.
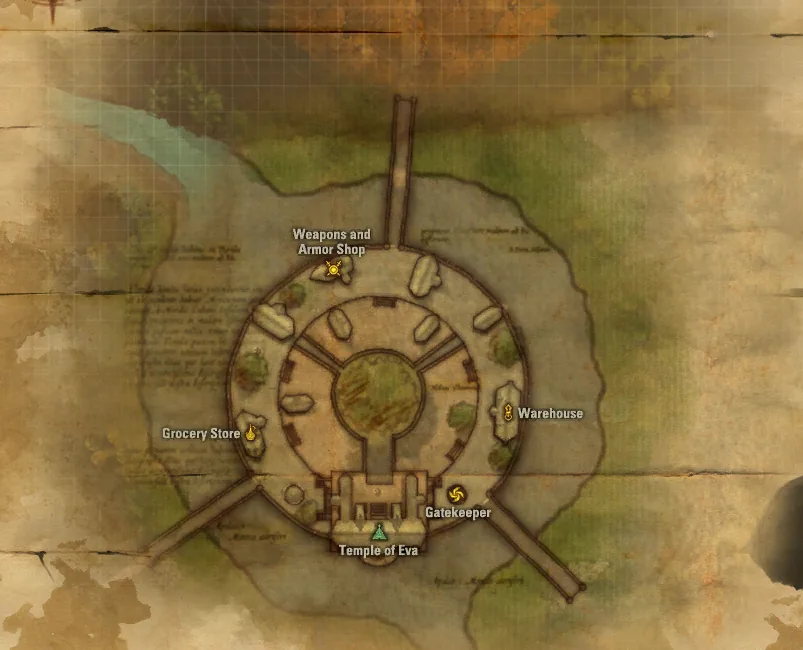
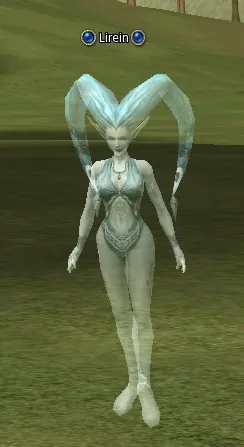
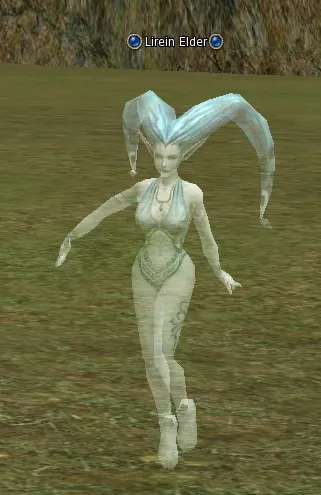
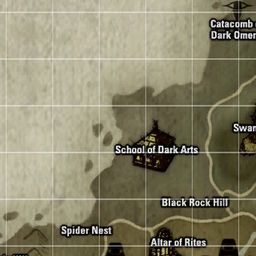
Hunt Lirein (lv. 18), Lirein Elder (lv. 19). Where: Undine Waterfall, The Neutral Zone.
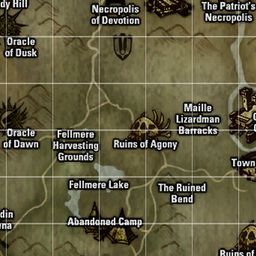
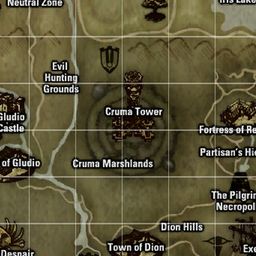
We teleport to the Neutral Zone (from the light or the dark village, it makes no difference) and move towards the light bridge (that is where we also spoiled the recipe for crafting VoP). We beat the mobs Lirein and Lirein Elder until the quest mob Luell of Zephyr Winds appears.
Kill Luell Of Zephyr Winds (lv. 37) to get:
 Breath of Winds.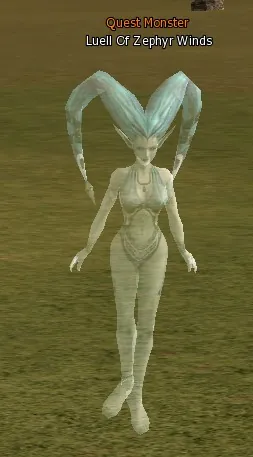
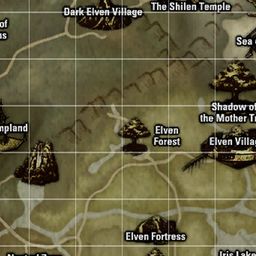
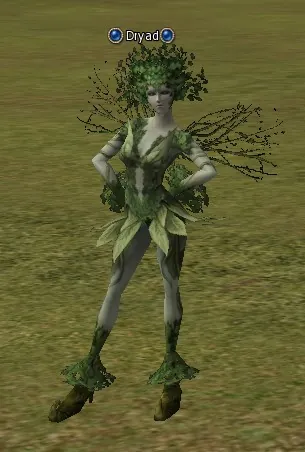
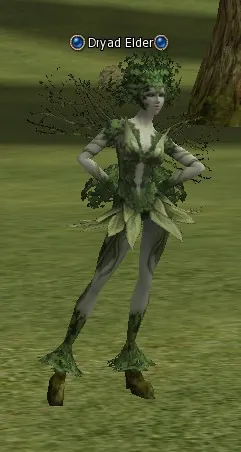
Elven Forest (teleport from Elven Village). Hunt Dryad (lv. 13), Dryad Elder (lv. 14).
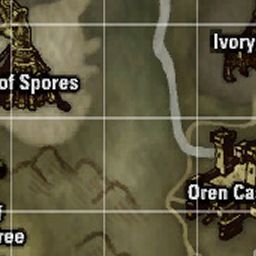
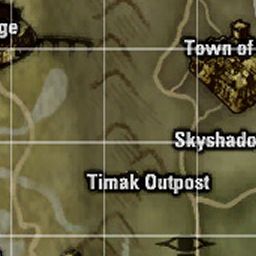
Next we go to where the mark is seen on the map and beat the mobs Dryad and Dryad Elder until the quest mob Actea of Verdant Wilds appears.
Kill Actea Of Verdant Wilds (lv. 37) to get:
 Seed of Verdure.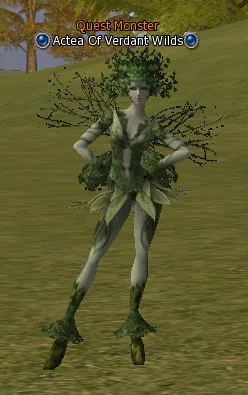
Elven Village. Return to Hierarch Asterios in the temple. You receive:
 Scroll of Elf Trust.
We kill the quest mob and return to Hierarch Asterios with the report. In the light village we have done everything needed.
Trust of the Dark Elves
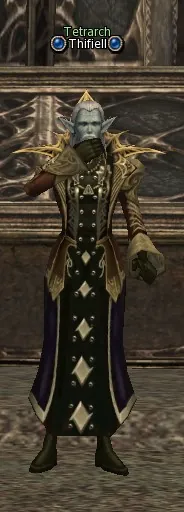
Dark Elf Village. Find Tetrarch Thifiell in the temple. You receive:
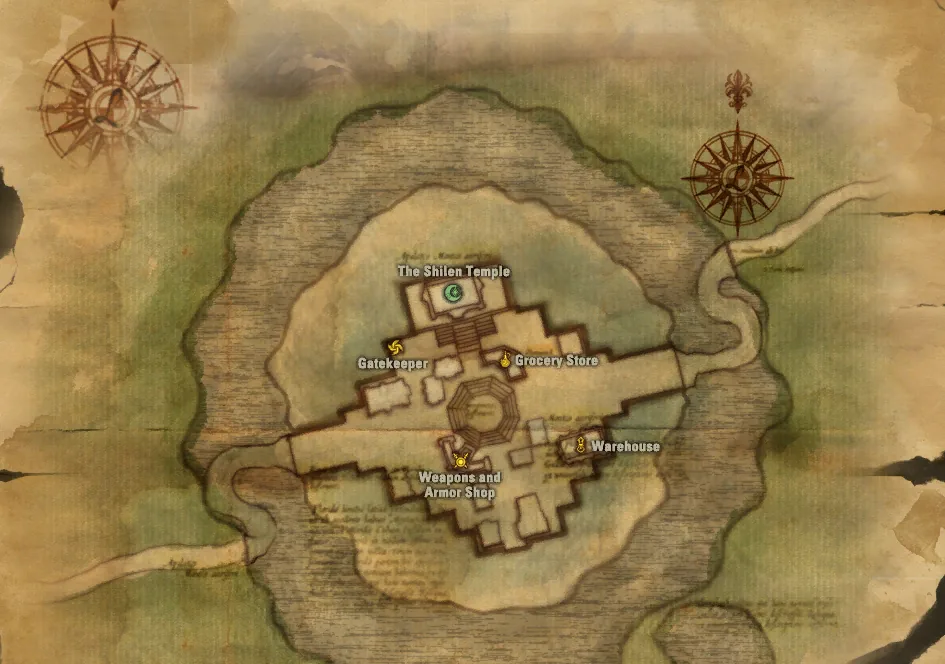
Letter from Thifiell.Now we set off for the village of the dark elves to the NPC Tetrarch Thifiell (he stands in the Temple of Shilen).
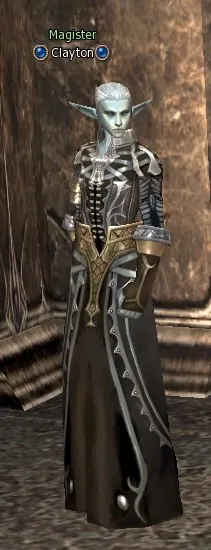
Town of Dion. Find Magister Clayton in the Dark Elven Guild. You receive:
Order of Clayton.Thifiell sends us to Dion, to the guild of the dark mages, to the NPC Magister Clayton, to whom three items have to be brought: Basilisk Plasma, Honey Dew and Stakato Ichor. Keep in mind that although the quest shows that one item of each has to be knocked out, in fact you have to knock out ten other items of each kind, which, when ten are gathered, turn into the one we need.
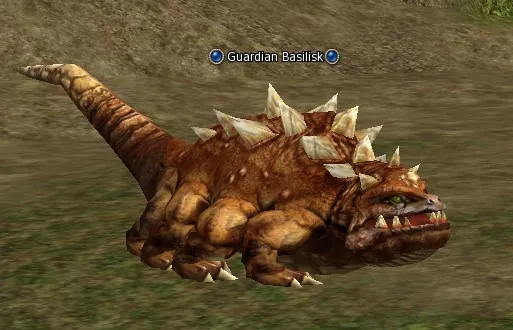
Death Pass. Hunt Guardian Basilisk (lv. 36) until you have:
 Blood of Guardian Basilisk ×10.
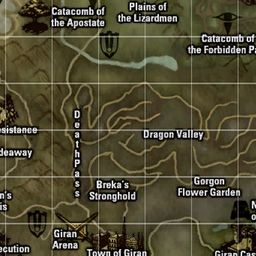
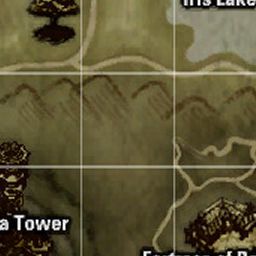
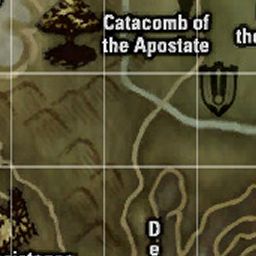
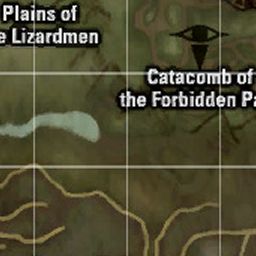
Basilisk Plasma is knocked out of the Guardian Basilisk in the Death Pass (teleport from Giran to Dragon Valley).
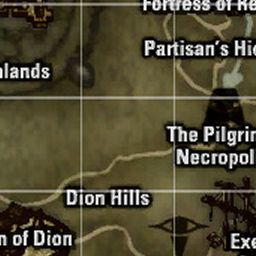
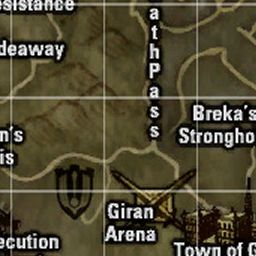
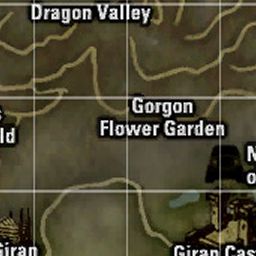
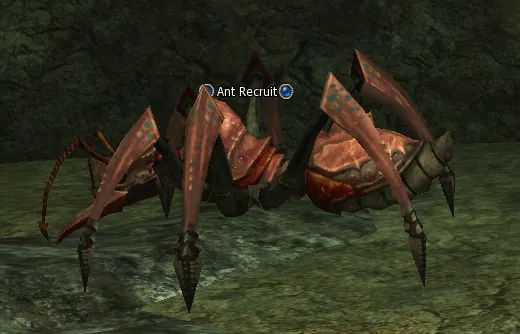
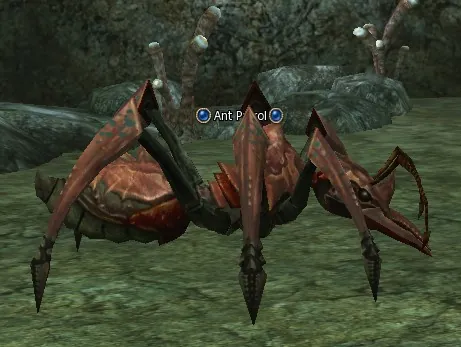
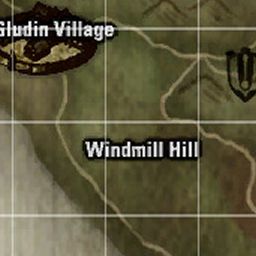
Wasteland (teleport from Gludin Village). Hunt Ant Recruit (lv. 33), Ant Patrol (lv. 34), Ant Guard (lv. 35), Ant Soldier (lv. 35), Ant Warrior Captain (lv. 36) until you have:
 Giant Aphid ×10.
Honey Dew from the Soldier Ant (it is written that you have to go to the Wasteland, but we go straight to the Ant Nest cave, there are many of these ants there).
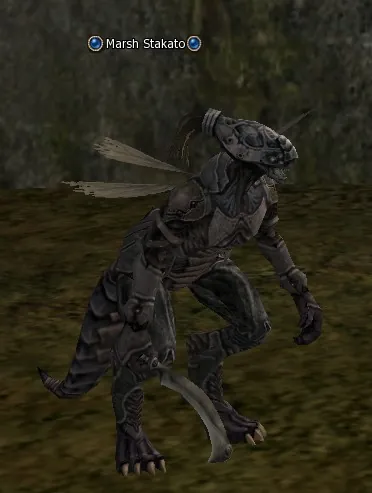
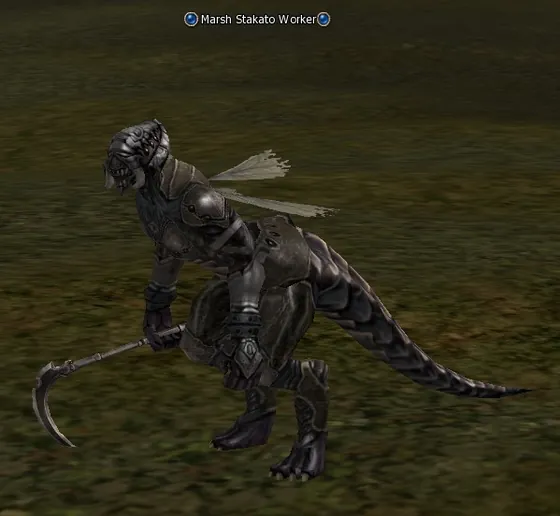
Cruma Tower (teleport from Town of Dion). Hunt Marsh Stakato (lv. 29), Marsh Stakato Worker (lv. 31), Marsh Stakato Soldier (lv. 33), Marsh Stakato Drone (lv. 35) until you have:
 Stakatos Fluids ×10.
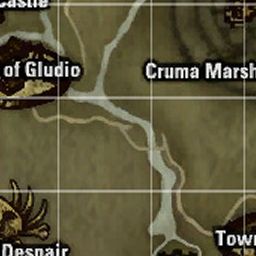
Stakato Ichor from the Marsh Stakato in the location Cruma Marshlands (teleport from Dion).
Town of Dion. Return to Magister Clayton in the Dark Elven Guild.
We collect them and hand all the items in to Clayton.
Dark Elf Village. Return to Tetrarch Thifiell in the temple. You receive:
Scroll of Dark Elf Trust.We go with the report to the dark village to Tetrarch Thifiell.
Town of Oren. Return to High Priest Hollint in the temple. You receive:
Letter to Seresin.Then we return to the start NPC in Oren.
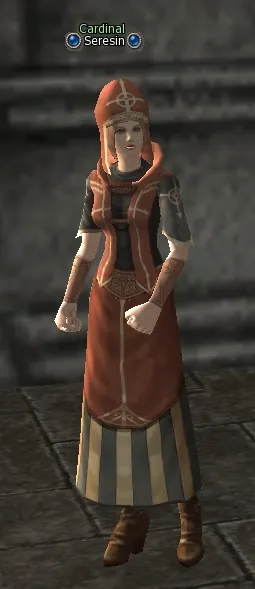
Talk to Cardinal Seresin. You receive:
 Letter to Orc,
  Letter to Dwarf.
The further tasks, connected with the races of the orcs and the dwarves, will be given to us by Cardinal Seresin, who stands right here, at the entrance to the temple in Oren.
Trust of the Orcs
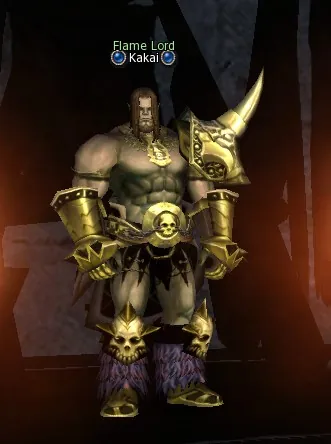
Orc Village. Find Flame Lord Kakai in the main hall of the village. You receive:
 Letter to Manakia.
First of all we go to the orc village and look there in the Kings Hall for Flame Lord Kakai (as far as I remember, you have to go up the stairs, he stands up there).
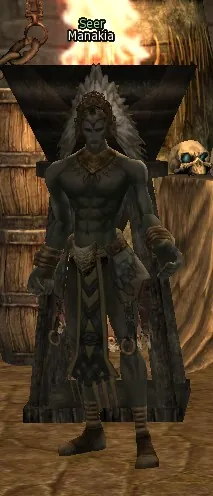
Giran Castle Town. Find Seer Manakia in the Orc Guild.
Kakai sends us to Giran; in the orc guild we look for Seer Manakia.
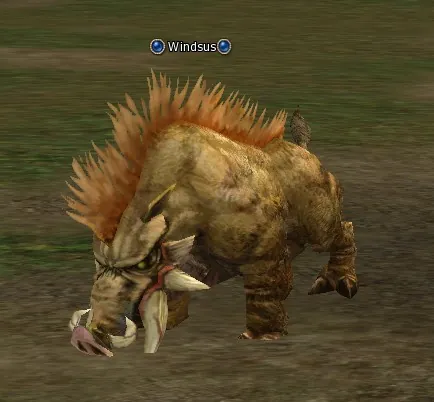
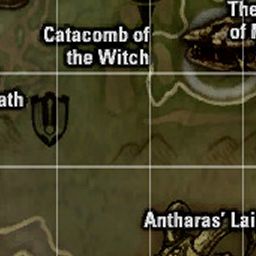
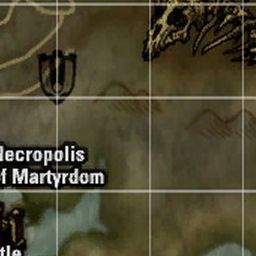
Hardin's Academy. Hunt Windsus (lv. 39) until you have:
 Parasite of Lota ×10.
On his task we teleport to the Death Pass through Dragon Valley (from Giran) and start destroying the boars Windsus to get ten items Parasite of Lota.
Giran Castle Town. Return to Seer Manakia in the Orc Guild. You receive:
 Letter of Manakia.
We hand the items in to Manakia.
Orc Village. Return to Flame Lord Kakai in the main hall of the village. You receive:
 Scroll of Orc Trust.
And return to the orc village to Kakai. That is it, the orcs trust us now too.
Trust of the Dwarves
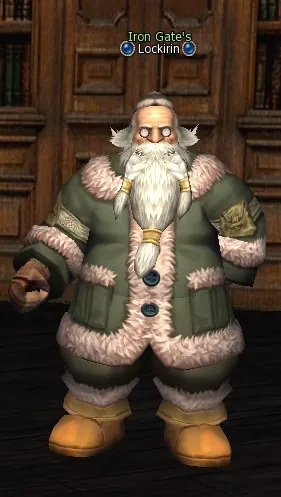
Dwarven Village. Find Iron Gate's Lockirin in the main hall of the village. You receive:
 Letter to Nikola.
And the last one is the NPC Iron Gate's Lockirin, who stands in the round house in the dwarven village next to the teleport.
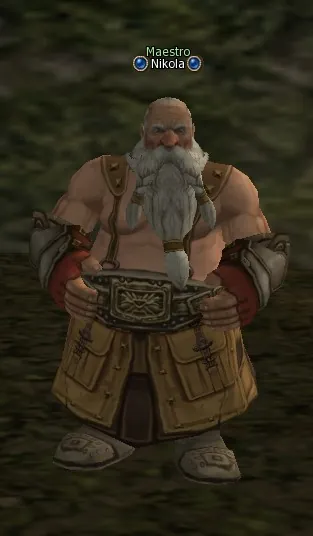
Cruma Tower (teleport from Town of Dion). Talk to Maestro Nikola. You receive:
 Order of Nikola.
Everything is simple here: we set off to Maestro Nikola in the marshes of Cruma. It is handier to teleport to the tower itself, it is nearer to run from it.
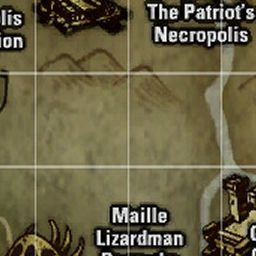
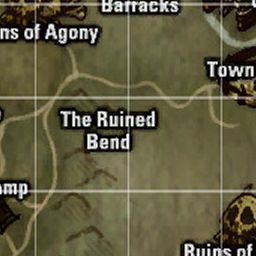
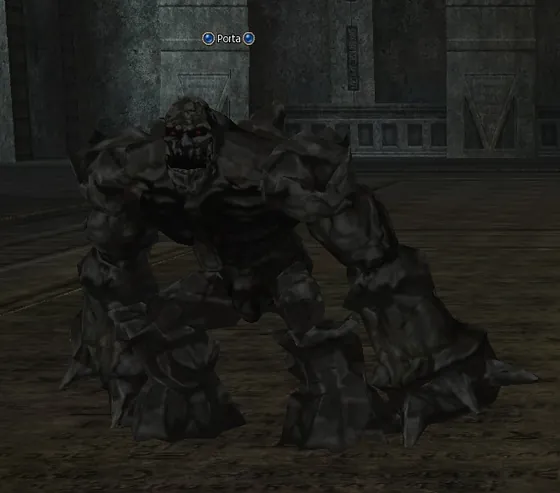
Hunt Porta (lv. 40) until you have:
 Heartstone of Porta ×10.
Nikola demands that we go into the Cruma Tower and collect for him the items Heartstone of Porta, which are knocked, naturally, out of the mobs Porta: those are such golems on the first floor of the tower. Here again there may be a slip in how the items are shown: it may be written that only one is needed, in fact ten are needed.
Return to Maestro Nikola.
We knock them out and hand them in to Nikola.
Dwarven Village. Return to Iron Gate's Lockirin in the main hall of the village. You receive:
 Scroll of Dwarf Trust.
We return to the dwarves. That is it, the dwarves believe us too. Naive ones...
Mark of Trust
Town of Oren. Return to High Priest Hollint in the temple. You receive:
 Recommendation of Hollint.
With the report we go to Oren to Hollint; he announces that we have done everything right.
Talking Island. Find High Priest Biotin in the temple. You receive:
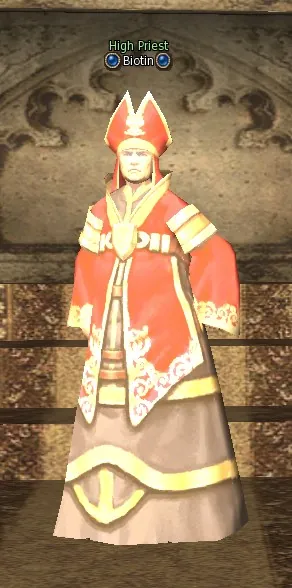
Mark of Trust.And he sends us to the human village, to the temple of Talking Island, to the NPC High Priest Biotin, to get the reward in the form of dimensional diamonds and the mark Mark of Trust.
The future Prophet go to do Test of the Reformer. The future Dark Avenger and Necromancer go to do Test of Witchcraft. The future Gladiator go to do Test of the Duelist. The future Treasure Hunter go to do Test of the Searcher. The future Hawkeye go to do Test of Sagittarius. The future Warlock (the cat keepers) go to do Test of the Summoner. The future Sorcerer go to do Test of Magus. The future Paladin and Bishop go to do Test of the Healer. The future Warlord go to do Test of the Champion.
Warlord class transfer quest: third mark (level 39)
Quest: Test of the Champion · reward: Mark of Champion · given by Veteran Ascalon
The third quest for the second profession for the Warlord and the Destroyer: Test of the Champion. In general this quest implies destroying a large number of mobs, but since both the destroyer and the warlord wield the pike to perfection, doing this quest causes no problems. There are several inaccuracies in various guides on this quest, but I will tell about all of them.
Revenge for Mason
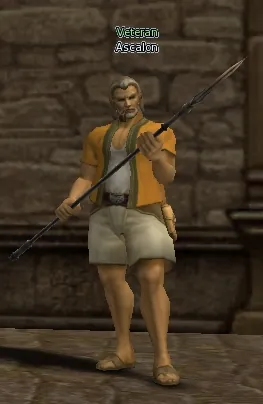
Giran Castle Town. Find Veteran Ascalon outside the weapon shop and take the quest. You receive:
Ascalon's 1st Letter.The quest is taken at level 39 from Veteran Ascalon, who is next to the weapon shop in Giran (it is next to Taurin, but on the other side, where the entrance to the shop is).
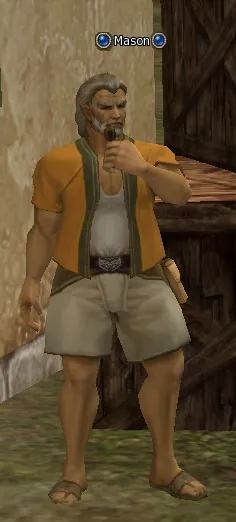
Town of Dion. Find Mason near the warehouse. You receive:
 Iron Rose Ring.
Ascalon sends us to Dion to the NPC Mason. All the guides write that he stands somewhere on the road from Dion to the Execution Grounds. Nothing of the kind: Mason stands in Dion itself, to the left of the warehouse.
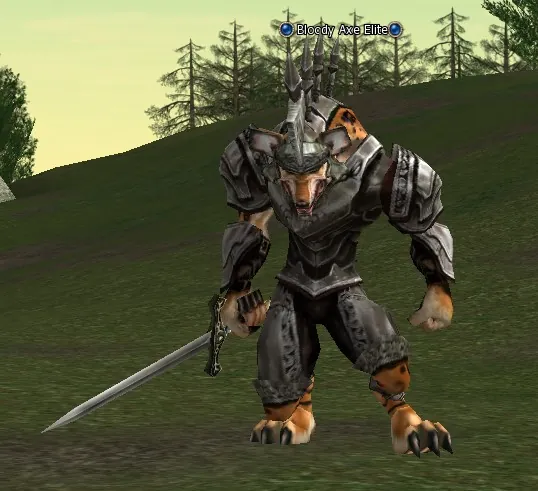
Plains of the Lizardmen (teleport from Town of Oren). Hunt Bloody Axe Elite (lv. 35) until you have:
 Bloody Axe Head ×100.
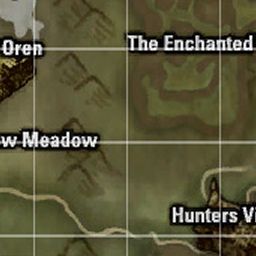
Mason demands that we bring him 100 heads of the mobs Bloody Axe Elite, which are in the location Plains of the Lizardmen. We buff up, teleport to the location and go in the direction opposite to the big tree; literally a few steps, and you see the mobs. First, they are the only aggressive ones there; second, there are quite a lot of them; and most important, if you are doing the quest, the mobs respawn almost instantly, next to you, and more of the same mobs are summoned in addition, also next to you. So pike in hand, we run a small circle gathering all the mobs and crush them with the pike. I needed only 4-5 such runs.
Town of Dion. Return to Mason near the warehouse. You receive:
Mason's Letter.The heads we hand in to Mason; he praises us and suggests returning to Giran to Ascalon for a new task.
Antidote for the guards of Giran
Giran Castle Town. Return to Veteran Ascalon outside the weapon shop. You receive:
Ascalon's 2nd Letter.Talk to Magic Trader Groot. You receive:
 White Rose Insignia.
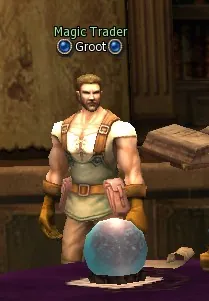
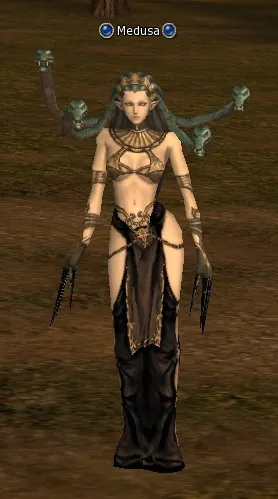
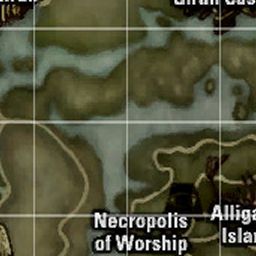
Ascalon kicks us on to the magic shop (the one where we draw dyes) to the trader Magic Trader Groot (the one from whom we buy the shop dyes). Groot gives the task of knocking 30 quest items each out of the mobs Windsus (in the location Death Pass) and out of Medusa and Harpy (in the location Gorgon Flower Garden), 90 items in all. The mobs can be beaten in any order.
Gorgon Flower Garden. Hunt Medusa (lv. 34) until you have:
Medusa's Venom ×30.The hardest was with the medusas, because they stand there in a heap with other mobs; in the end I gave up picking the medusas out of the crowd and went to smash everything in a row.
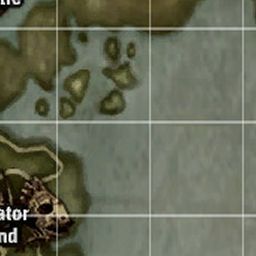
Hardin's Academy. Hunt Windsus (lv. 39) until you have:
 Windsus Bile ×30.
With the boars there are no problems, there are many of them.
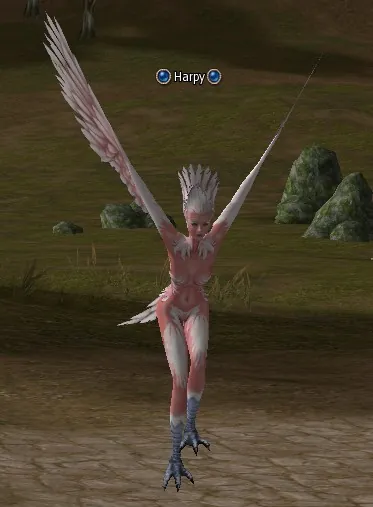
Gorgon Flower Garden. Hunt Harpy (lv. 32) until you have:
 Harpy's Egg ×30.
And the harpies summon up to two quest mobs, Harpy Matriarch, from which the items drop too. In short, I managed.
Giran Castle Town. Return to Magic Trader Groot. You receive:
Groot's Letter.The items we give to the huckster and return to Ascalon for the next task.
Defence of Oren and Giran
Return to Veteran Ascalon outside the weapon shop. You receive:
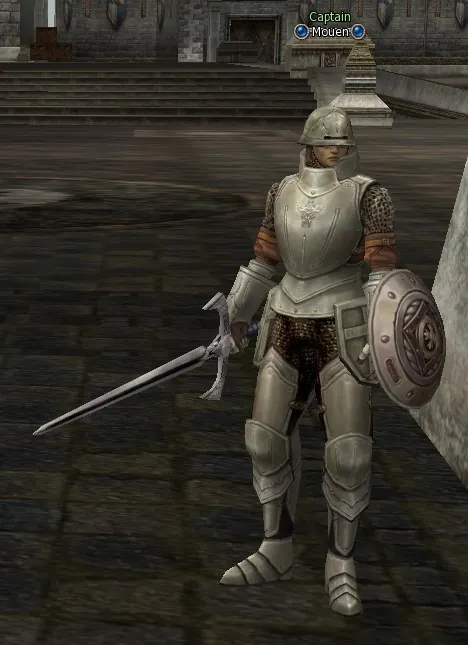
Ascalon's 3rd Letter.Town of Oren. Find Captain Mouen at the town gate. You receive:
Mouen's 1st Order.Now our way lies to the glorious town of Oren, where at the northern gate we find Captain Mouen.
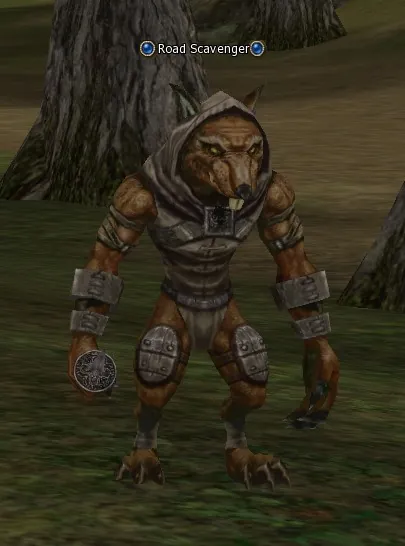
Death Pass. Hunt Road Scavenger (lv. 37) until you have:
 Road Ratman Head ×100.
From him we get the task of collecting 100 items from the mobs Road Scavenger. We teleport to Dragon Valley, the mobs we need will be on the left. They too can summon up to two quest mobs, Road Collector, from which the items we need also drop.
Town of Oren. Return to Captain Mouen at the town gate. You receive:
Mouen's 2nd Order.We give the items to the captain, but the scoundrel does not calm down at that.
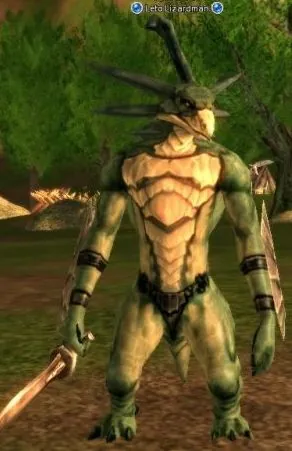
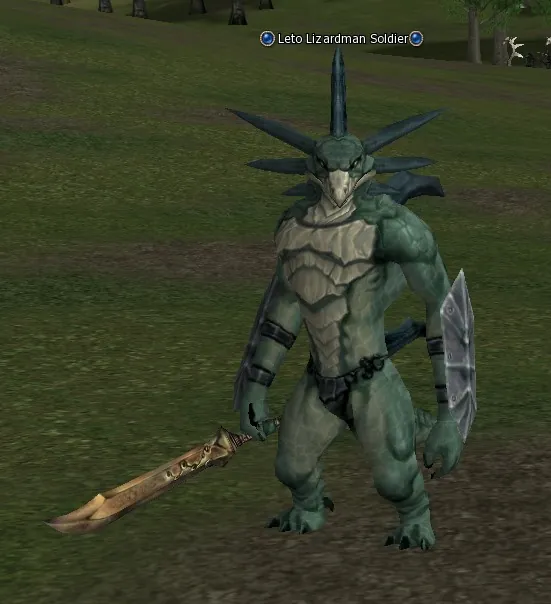
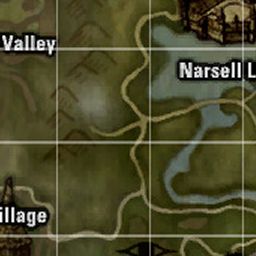
Plains of the Lizardmen (teleport from Town of Oren). Hunt Leto Lizardman (lv. 35), Leto Lizardman Archer (lv. 36), Leto Lizardman Soldier (lv. 37), Leto Lizardman Warrior (lv. 38), Leto Lizardman Shaman (lv. 39), Leto Lizardman Overlord (lv. 40) until you have:
 Leto Lizardman Fang ×100.
He sends us to the Plains of the Lizardmen, where we have already been today, this time to collect 100 fangs from the lizardmen of the Leto race. There are no surprises in the form of quest mobs here, because there are very many Leto Lizardmen themselves. Choose the place that is handier for you there and beat. I try to stand where several Leto Lizardman Overlords respawn, because the key parts for the Brigandine helmet drop from them.
Town of Oren. Return to Captain Mouen at the town gate. You receive:
Mouen's Letter.Having collected these last fangs, we hand them in to the captain.
Giran Castle Town. Return to Veteran Ascalon outside the weapon shop. You receive:
Mark of Champion.We return to Giran to Ascalon and get the mark Mark of Champion as a reward. You can go and get the second profession.
After doing all three quests and getting the three marks, the Warlord has to go to the warriors guild in Giran to Grand Master Hannavalt, and the Destroyer to the orc guild in Giran to High Prefect Penatus. In the dialogue choose the top line, the one about asking about a change of profession, choose our profession and press the line "change the profession". Congratulations, you have got the second profession.
Changing the class to Warlord (level 40)
With Mark of Challenger, Mark of Trust, Mark of Champion in the inventory, talk at level 40 to the head of your guild in any large town (Grand Master, Grand Magister, High Priest and others). He takes the marks and changes the class to Warlord.
Next: Dreadnought third class transfer quest from level 76 (Saga of the Dreadnoughts).