Warsmith class transfer quest
Quests: Trial of the Guildsman → Testimony of Prosperity → Test of the Maestro
To become a Warsmith at level 40 you need three marks: Mark of Guildsman, Mark of Prosperity and Mark of Maestro. Each one is the reward of its own quest, open from levels 35, 37 and 39. The whole way is below in order: open a step, do the quest and mark it as done, and the page shows the next one.
The path of the class: Artisan first class transfer quest → Warsmith class transfer quest → Maestro third class transfer quest
- 1First markTrial of the Guildsman · lv. 35

- 2Second markTestimony of Prosperity · lv. 37

- 3Third markTest of the Maestro · lv. 39

- 4Class changeWarsmith · lv. 40
If an NPC refuses to give the next part of a quest and says you lack experience, gain the next level (35 → 36 or 37 → 38) and talk to him again.
Warsmith class transfer quest: first mark (level 35)
Quest: Trial of the Guildsman · reward: Mark of Guildsman · given by Warehouse Keeper Valkon
The first quest for the second profession for all the dwarves (Bounty Hunter and Warsmith): Trial of the Guildsman. This is the first quest in the chain of three quests for the second profession of the dwarves; the reward for doing it is the first mark, Mark of Guildsman.
The recipe of Altran
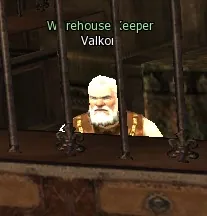
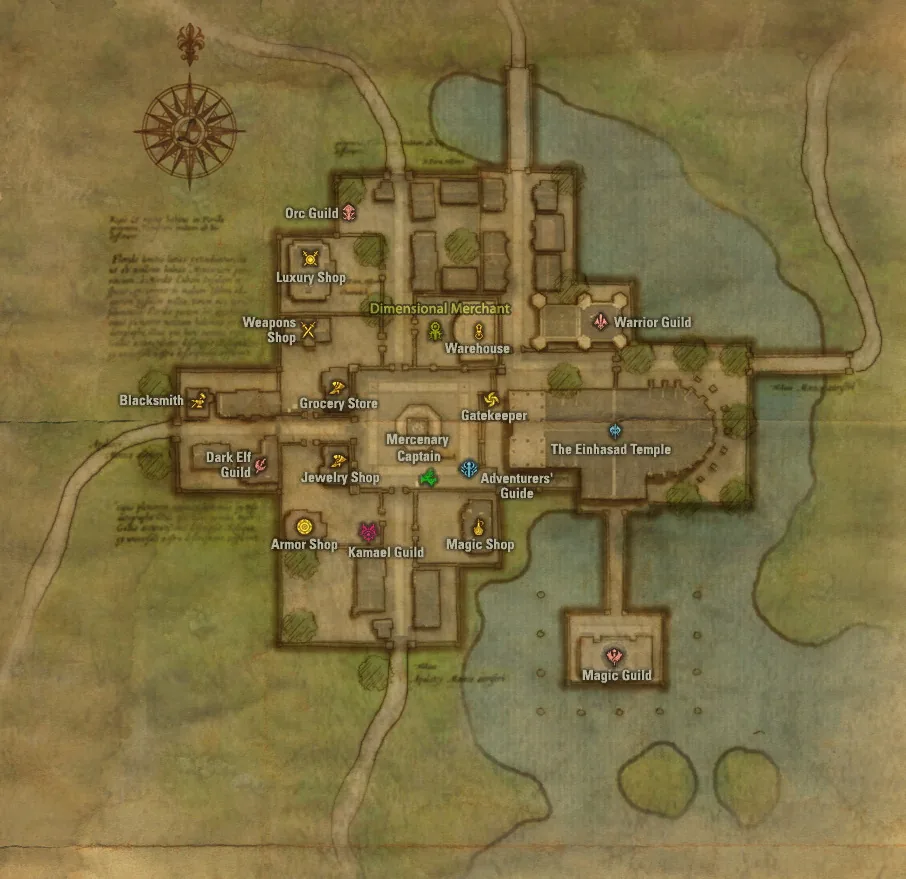
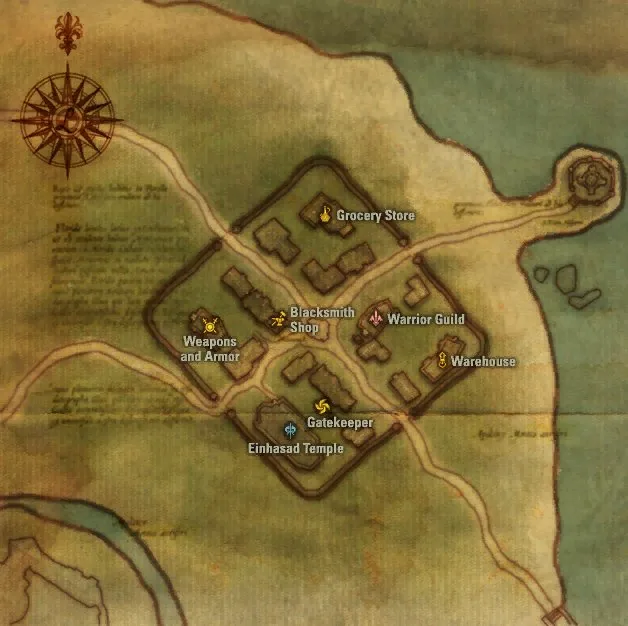
Town of Giran. Find Warehouse Keeper Valkon in the warehouse and take the quest. You receive:
 Valkon's Recommendation.
The quest is taken at level 35 in the warehouse of Giran from the NPC Warehouse Keeper Valkon. He announces that to pass the quest you must craft 7 rings, Journeyman Ring, for him. But first this scoundrel shakes 2k adena out of us, supposedly for charity. Oh well, we believe and pay.
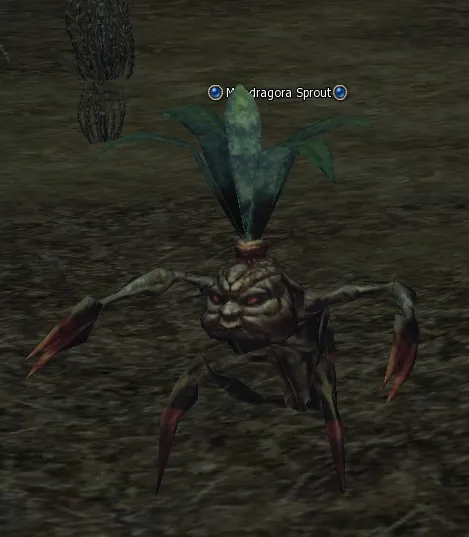
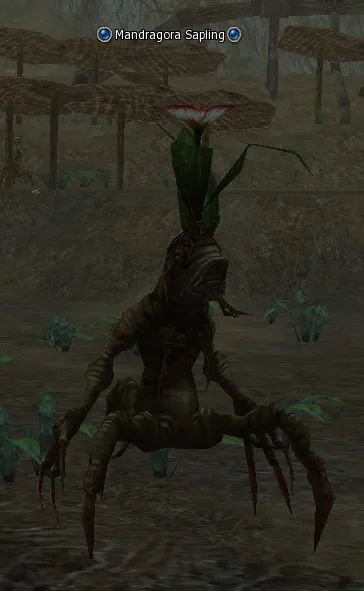
Mandragora Farm. Hunt Mandragora Sprout (lv. 21), Mandragora Sapling (lv. 23), Mandragora Blossom (lv. 25), Mandragora Sprout (lv. 20) until you have:
 Mandragora Berry.
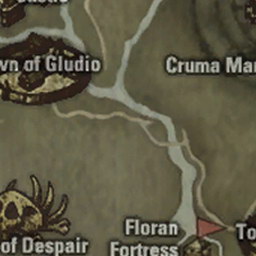
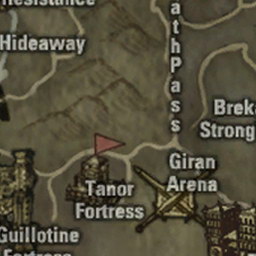
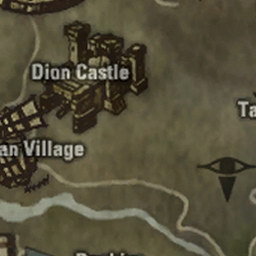
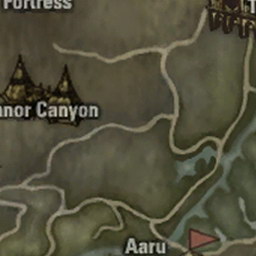
First of all we are sent to the Execution Grounds: you can run from Giran through the gate next to the smithy, or from Dion; the bulk of the mobs we need is next to the Heretic catacombs. Well, "sent": the NPC simply hints that it is not worth poking your nose in at the blacksmith on Talking Island without the item knocked out of the mandragoras. If you forget to get the item first, you simply lose time and adena, because the blacksmith sends you to the mandragoras for it all the same, and that means extra teleports. So first to the wooden ones. The mobs to hunt: Mandragora Sprout of level 20, Mandragora Sprout of level 21, Mandragora Sapling and Mandragora Blossom. We knock the quest item out.
Talking Island. Find Blacksmith Altran on the square. Hand over:
Mandragora Berry. You receive:  Recipe: Journeyman Ring.
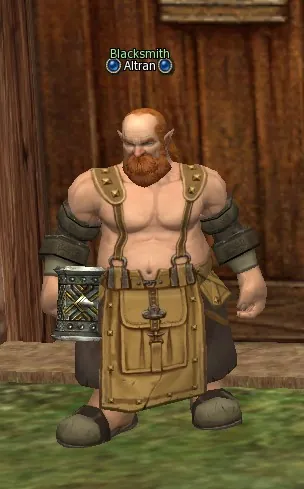
And we set off for the smithy of Talking Island (the starting village of the humans) and look for the blacksmith Altran. Blacksmith Altran gives us the recipe for crafting the Journeyman Ring (both crafters and spoilers can add it to the craft book, because the recipe is of the first level). Steel, varnish and D crystals are no problem to get; now let us sort out the other parts of the craft.
Seven deco beads from Pinter
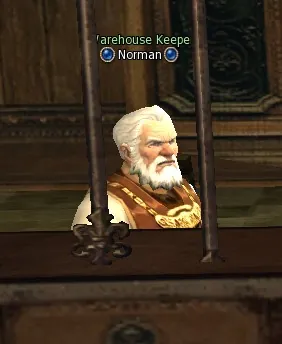
Gludin Village. Find Warehouse Keeper Norman in the warehouse. You receive:
 Norman's Instructions,
  Norman's Receipt.
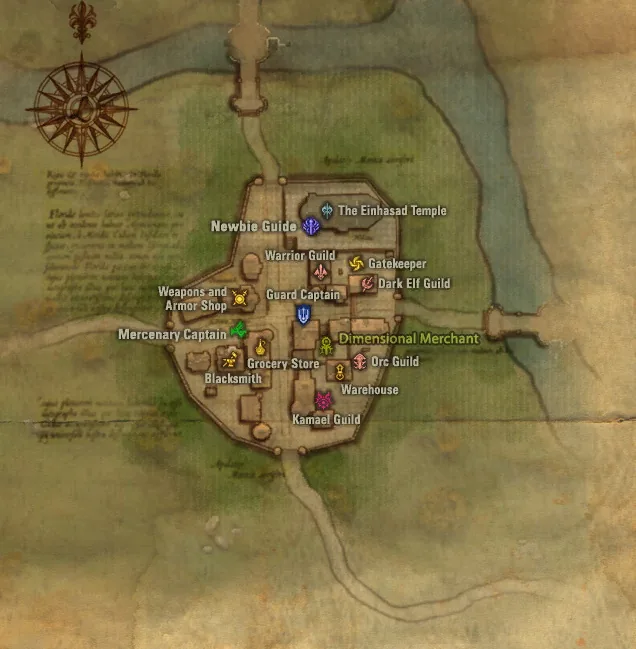
Journeyman Deco Beads. We teleport to Gludin Village and look in the warehouse for Warehouse Keeper Norman; he, in his turn, sends us to Gludio to the blacksmith Pinter.
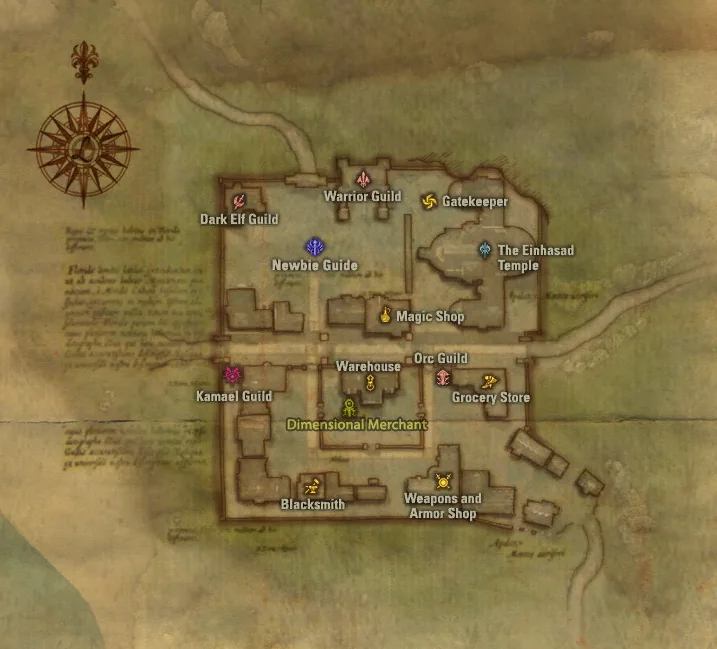
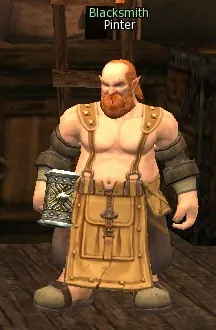
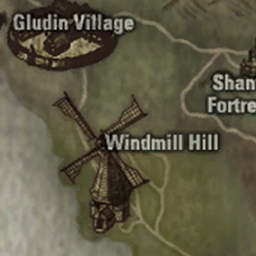
Town of Gludio. Find Blacksmith Pinter in the smithy. You receive:
 Pinter's Instructions, Recipe: Amber Bead.
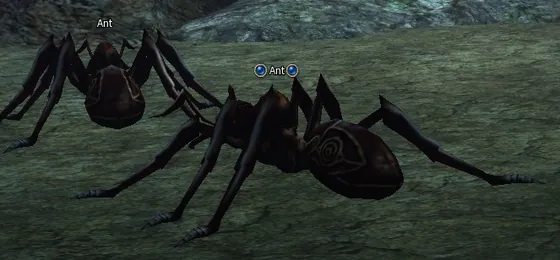
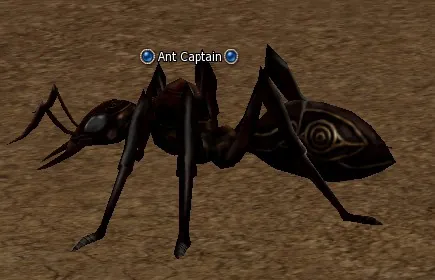
Pinter tells us that to craft the Journeyman Deco Beads he needs the material Amber Bead, which can be knocked out of the ants in the Ant Nest; Amber Lump can drop from them too, and from one of those 5 pieces of Amber Bead can be crafted. If you are a crafter, he gives you the recipe for the craft. And if you are a spoiler, he does not, because the recipe is of the second level and you could not learn it anyway, so the spoilers have to knock out only the Amber Beads. But another concession was made for the spoilers: if you spoil the ants, there is a chance of getting two beads at a time. The last time I did this quest for a crafter and a spoiler girl, the spoiler even collected the beads faster.
The Ant Nest (teleport from Town of Gludio). Hunt Ant (lv. 30), Ant Captain (lv. 31), Ant Overseer (lv. 32) until you have:
 Amber Lump ×70.
From Gludio we teleport to the Ant Nest (in many guides they write that the mobs have to be looked for in the Wasteland: listen to nobody) and go straight down into the dungeon; starting from the second room there will be the mobs we need, Ant, Ant Captain and Ant Overseer; two kinds of quest items can drop from one mob at the same time. We beat them and, when necessary, recraft the lumps into beads until we get 70 beads.
Town of Gludio. Return to Blacksmith Pinter in the smithy. You receive:
 Journeyman Deco Beads ×7.
We return to Pinter and get seven Journeyman Deco Beads.
Seven gems from Norman
Hunters Village. Find Blacksmith Duning in the smithy. You receive:
 Duning's Instructions.
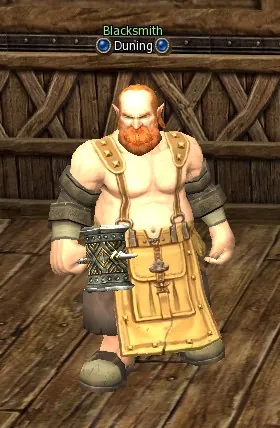
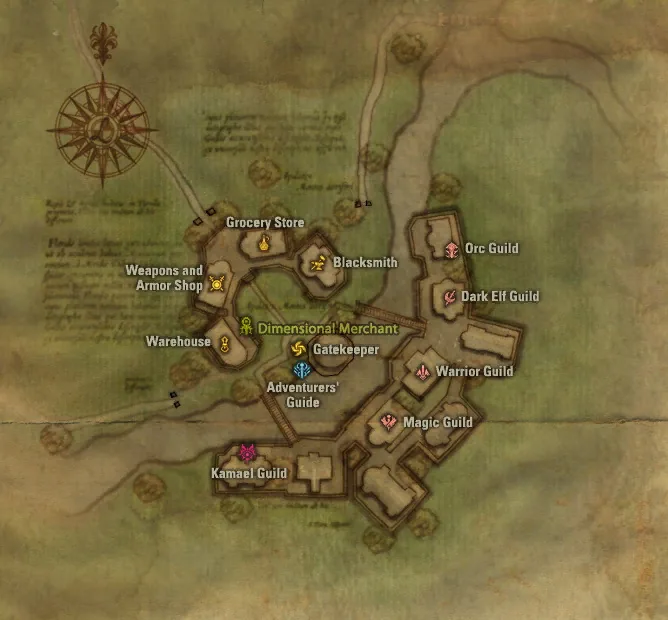
Journeyman Gem. We set off for Hunters Village and look in the smithy for Blacksmith Duning. He asks us to knock 30 keys out of various Breka Orcs in Breka's Stronghold (teleport from Giran).
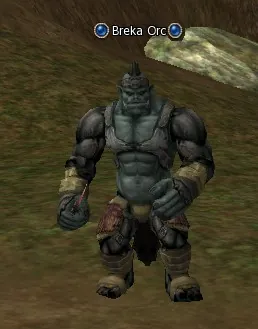
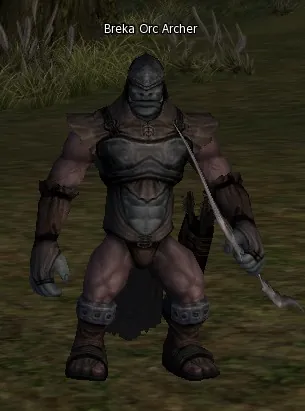
Breka's Stronghold (teleport from Town of Giran). Hunt Breka Orc (lv. 31), Breka Orc Archer (lv. 32), Breka Orc Shaman (lv. 34), Breka Orc Overlord (lv. 35), Breka Orc Warrior (lv. 33) until you have:
 Duning's Key ×30.
We go and beat. The drop there is somehow uneven: now from every mob, now I finish off a dozen and a half and nothing drops (on an x1 server I collected the items in a buff and a half, considering that there was a small buff from a prophet of level 48 and a Shillien Elder of level 42).
Hunters Village. Return to Blacksmith Duning in the smithy.
We knock out 30 keys and return to Duning. He asks us to carry the keys to Norman in the warehouse of Gludin.
Gludin Village. Return to Warehouse Keeper Norman in the warehouse. You receive:
 Norman's List.
Norman now agrees to make the Journeyman Gem for us; as always, we set off to knock out the ingredients. Two quest items drop from each mob at a time, the drop is 100%.
Execution Grounds. Hunt Strain (lv. 31), Ghoul (lv. 32) until you have:
 Gray Bone Powder ×70.
Gray Bone Powder, 70 pieces: the mobs Ghoul and Strain in the Execution Grounds.
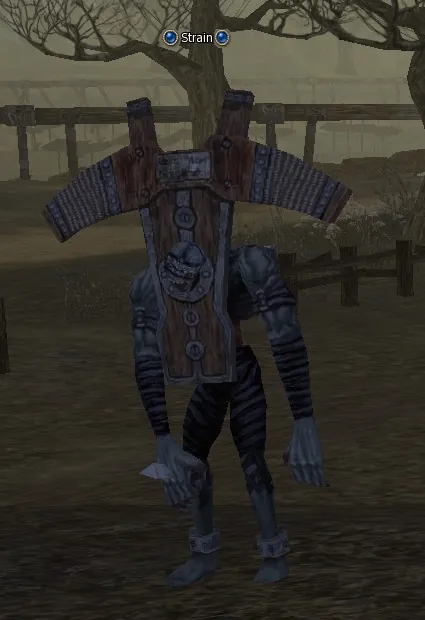
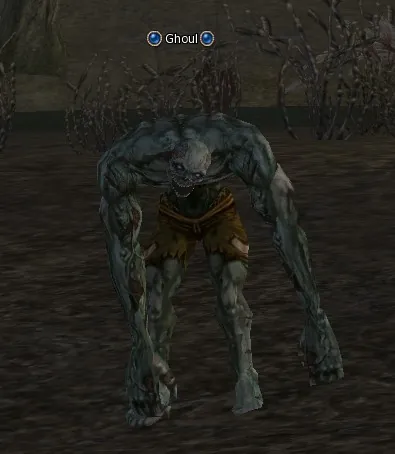
Ant Incubator. Hunt Granite Golem (lv. 33) until you have:
 Granite Whetstone ×70.
Granite Whetstone, 70 pieces: the mob Granite Golem in the Execution Grounds.
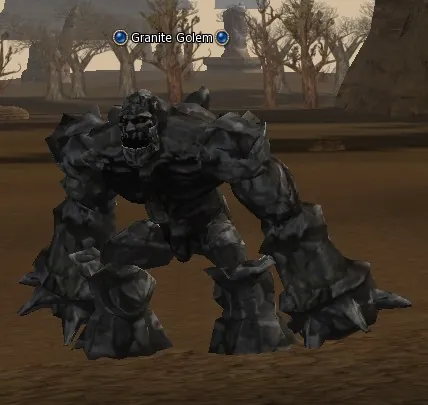
Execution Grounds. Hunt Dead Seeker (lv. 34) until you have:
 Red Pigment ×70.
Red Pigment, 70 pieces: the mob Dead Seeker in the Execution Grounds.
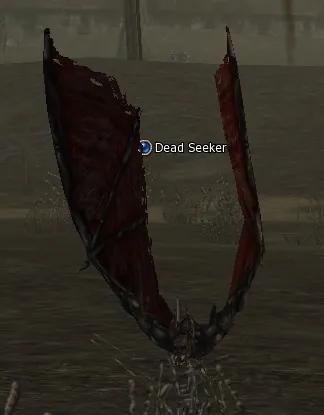
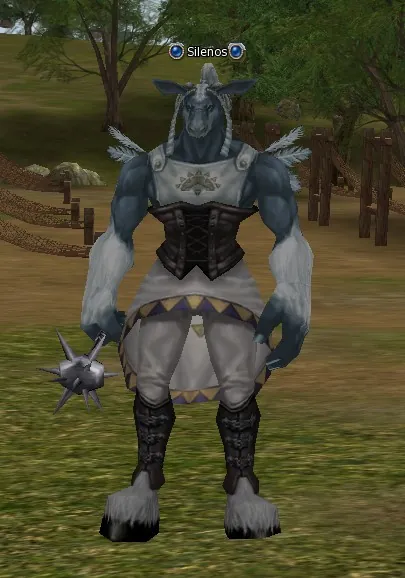
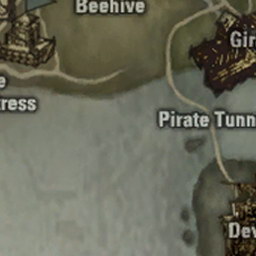
Dion Arena. Hunt Silenos (lv. 30) until you have:
 Braided Yarn ×70.
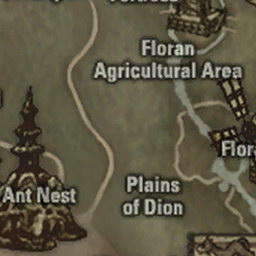
Braided Yarn, 70 pieces: the mob Silenos in the Plains of Dion; from the teleport point we climb the hill towards the Monster Derby Track.
Gludin Village. Return to Warehouse Keeper Norman in the warehouse. You receive:
 Journeyman Gem ×7.
We hand all the items in to Norman and get seven pieces of Journeyman Gem.
Journeyman rings
Learn
Recipe: Journeyman Ring and craft  Journeyman Ring ×7 from the gems and beads.
Town of Giran. Return to Warehouse Keeper Valkon in the warehouse to complete the quest. You receive:
Mark of Guildsman.Right there we craft seven rings, Journeyman Ring, and go to hand the quest in to the start NPC in Giran; when he asks his question, the first answer has to be chosen. We get the reward, the mark Mark of Guildsman, level up to 37 and go to do the next quest in the chain: Testimony of Prosperity.
Tips
- Both recipes are quest recipes: they are registered in the recipe book like ordinary ones and need the Create Item skill of a dwarf.
Warsmith class transfer quest: second mark (level 37)
Quest: Testimony of Prosperity · reward: Mark of Prosperity · given by Warehouse Keeper Parman
The quest stops halfway until level 38: do the first half at 37 and come back a level later.
The second quest for the second profession for all the dwarves (Bounty Hunter and Warsmith): Testimony of Prosperity. This is the second quest in the chain of three quests for the second profession of the dwarves; the reward for doing it is the second mark, Mark of Prosperity.
Recipe of Emily
Town of Giran. Find Warehouse Keeper Parman in the warehouse and take the quest. You receive:
 1st Ring of Testimony.
The quest is taken at level 37 in the warehouse of Giran from the NPC Warehouse Keeper Parman. He announces that to pass the quest you must bring him four testimonies of prosperity. Well, let us begin.
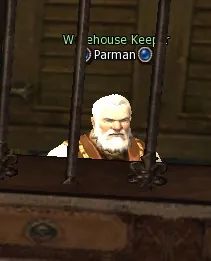
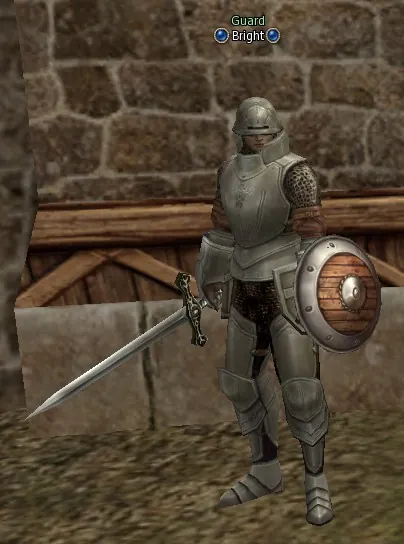
Town of Dion. Find Guard Bright at the town gate. You receive:
 Bright's List.
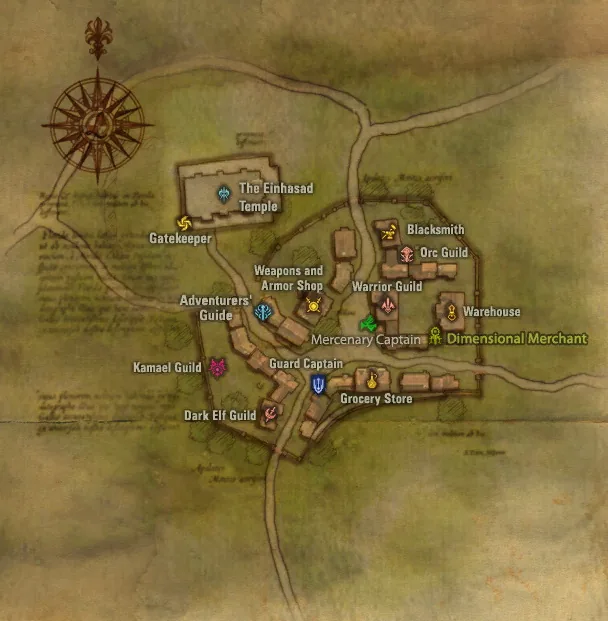
1. Guard Bright at the eastern gate of Dion. Items have to be collected.
Mandragora Farm. Hunt Mandragora Sprout (lv. 21), Mandragora Sapling (lv. 23), Mandragora Blossom (lv. 25), Mandragora Sprout (lv. 20) until you have:
 Mandragora Petal ×20.
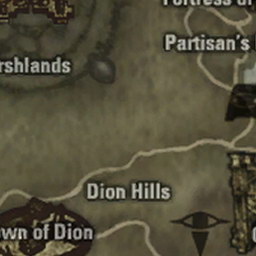
20 Mandragora Petal from various mandragoras: from Dion we run towards the Execution Grounds; near the Heretic catacombs there will be numerous fields with these mobs, we beat them all in a row, the drop is so-so. The mobs to hunt: Mandragora Sprout of level 20, Mandragora Sprout of level 21, Mandragora Sapling and Mandragora Blossom. It has been noticed that from the last mob the items drop with an almost 100% chance, from the mob of level 23 so-so, and from the smallest ones very rarely.
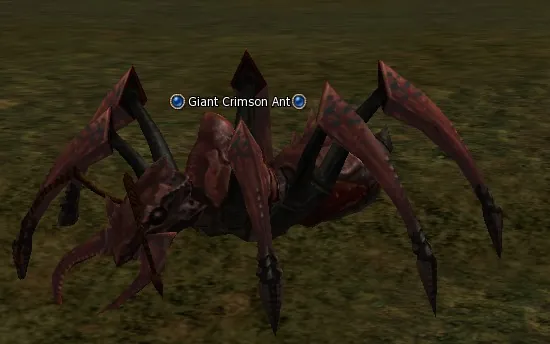
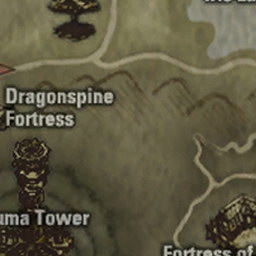
Cruma Tower (teleport from Town of Dion). Hunt Giant Crimson Ant (lv. 28) until you have:
 Crimson Moss ×10.
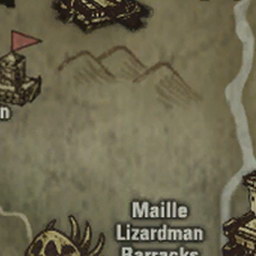
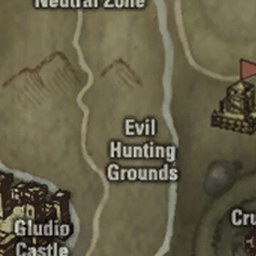
10 Crimson Moss from the Giant Crimson Ant: teleport from Dion to the Cruma Marshlands.
Town of Dion. Return to Guard Bright at the town gate. You receive:
 Mandragora Bouquet.
We knock them out and give everything to Bright; he crafts a little bouquet.
Talk to Emily. You receive:
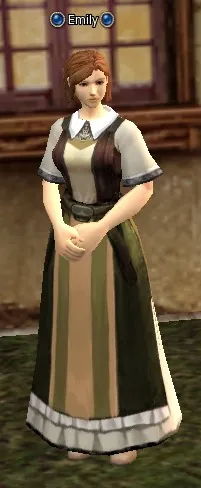
Emily's Recipe.We present it to Mum Emily (as if he could not take two steps himself, she stands close by, round the corner). We get the first testimony, Emily's Recipe.
Elven wafer and blessed seed
Talking Island. Find Warehouse Keeper Wilford in the warehouse. You receive:
 Crystal Brooch.
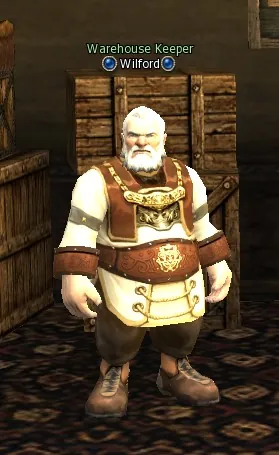
2. Teleport to the starting village of the humans on Talking Island; in the warehouse we look for Warehouse Keeper Wilford, and to his question we answer: An Elf more than 1,000 years old.
Find Lilith next to the temple. You receive:
 Lilith's Elven Wafer.
We look for the NPC Lilith; she stands at the side entrance of the temple of Talking Island. We get the second testimony, Lilith's Elven Wafer.
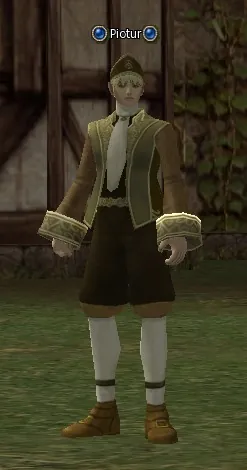
Orc Barracks (teleport from Gludin Village). Find Piotur at the ranch. You receive:
 Blessed Seed.
3. Next we set off for the Orc Barracks, teleport from Gludin; by a little house at the road stands the NPC Piotur. We get the third testimony, Blessed Seed.
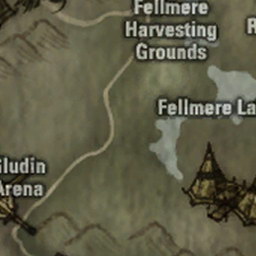
Account book of the Dwarven Village
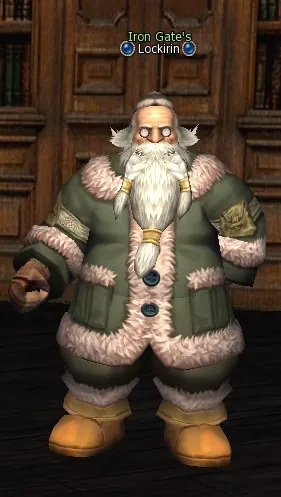
Dwarven Village. Find Iron Gate's Lockirin in the main hall of the village. You receive:
Collection License.4. Teleport to the dwarven village to Iron Gate's Lockirin (in the elders' house). He orders you to collect the tribute from the inhabitants of the dwarven village and hand it out to the elders in this house; first we go round all the old fogeys in a circle.
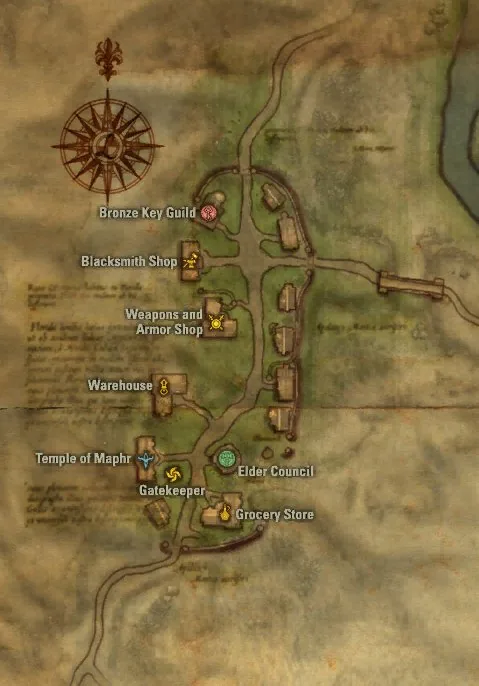
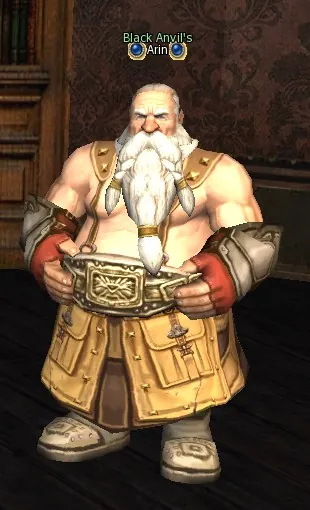
Golden Wheel's Spiron sends you to Trader Shari in the weapon shop. Silver Scale's Balanki sends you to Trader Mion in the magic shop and to Maryse Redbonnet to the right of the northern gate (the second has to be given 100
 Animal Skin, or she will not pay). Bronze Key's Keef sends you to Carrier Torocco (we go into the warehouse, come up to the far wall and type twice in the chat /target torocco). Gray Pillar's Filaur sends you to Miner Bolter: we run to the starting location, to the gremlins; before reaching it the NPC stands on the right. Black Anvil's Arin sends you to Master Toma (how to find him, see the walkthrough of the first-profession quest of the spoiler, Path of the Scavenger).
Talk to Iron Gate's Lockirin again. You receive:
 Old Account Book.
We do all the tasks and get the Old Account Book from Lockirin.
Town of Giran. Return to Warehouse Keeper Parman in the warehouse. You receive:
 2nd Ring of Testimony, Parman's Letter.
We return to Giran to Parman and hand the items in; oops, it turns out that was only the first part of the quest.
The Titan's box
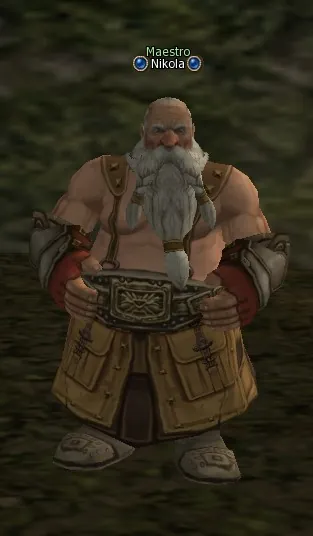
Cruma Tower (teleport from Town of Dion). Talk to Maestro Nikola. You receive:
 Clay Dough.
We teleport to the Cruma Tower (from Dion), go outside and run diagonally to the left to the NPC Maestro Nikola. Nikola gives a piece of clay and sends you into Cruma to take an impression of the keyhole of the chest Titan Box.
Talk to Box Of Titan. You receive:
Pattern of Keyhole.The chest stands on the FIRST floor of Cruma: as soon as we get to the first floor, we go down, turn right, in the first room go through the left exit, run past the room with the raid boss (it is on the left), and in the corridor, on the left in the corner, stands the Box of Titan. We take the impression.
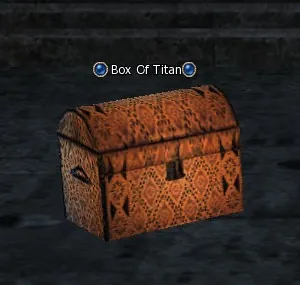
Return to Maestro Nikola. You receive:
Nikola's List, Recipe: Titan Key.And return to Nikola. Nikola gives out the recipe, Recipe: Titan Key; we add it to the craft book (both crafters and spoilers, the recipe is of the first level), look, are stunned and go to beat the items. The items are knocked out right here; with that everything good ends: the drop is utterly idiotic, you will be beating them for a long time; the mobs are to the left of Nikola, if you stand facing him.
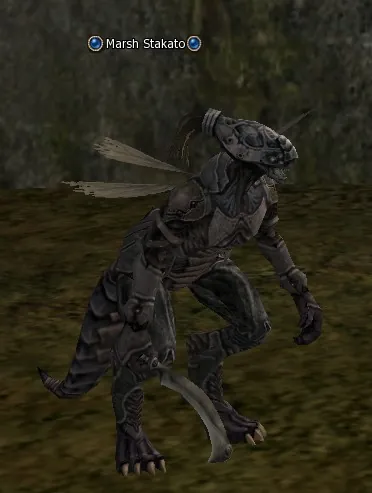
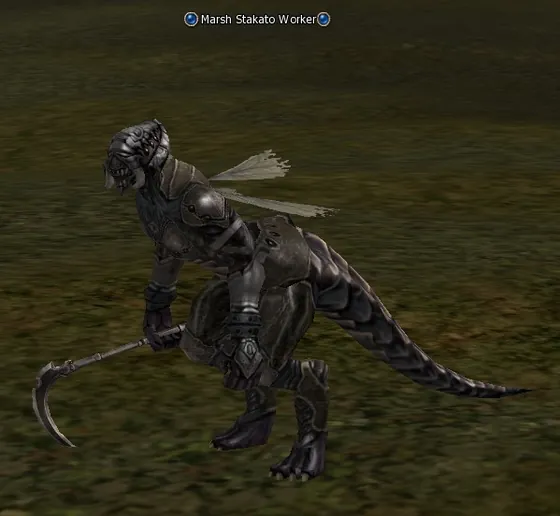
Hunt Marsh Stakato (lv. 29), Marsh Stakato Worker (lv. 31), Marsh Stakato Soldier (lv. 33), Marsh Stakato Drone (lv. 35) until you have:
 Stakato Shell ×20.
1. All the Stakato: 20 Stakato Shell.
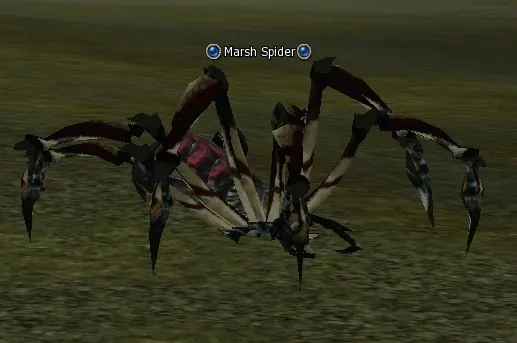
Hunt Marsh Spider (lv. 34) until you have:
 Marsh Spider's Thorn ×10.
2. Marsh Spider: 10 Spider Thorn.
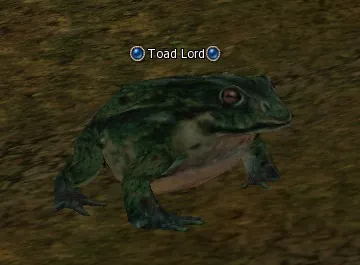
Hunt Toad Lord (lv. 32) until you have:
 Toad Lord Sac ×10.
3. Toad Lord: 10 Toad Lord Sac.
Learn
Recipe: Titan Key and craft Key of Titan from the collected materials.Return to Maestro Nikola.
We knock them out, craft the key and go to Nikola; he sends us to open the Titan Box with the key.
Return to Box Of Titan. You receive:
 Maphr Tablet Fragment.
We open it.
Return to Maestro Nikola.
To Nikola again, and we get the item.
Town of Giran. Return to Warehouse Keeper Parman in the warehouse to complete the quest. You receive:
Mark of Prosperity.And return to Warehouse Keeper Parman in Giran. We get the reward, the mark Mark of Prosperity, level up to 39 and go to do the next quest in the chain, but here our ways part: the crafters do the quest Test of the Maestro, and the spoilers another quest, Test of the Searcher.
Tips
- And now I will not gladden those who play on the C1 chronicles. There the chest stands on the second floor, in the tenth room from the teleport; getting there alone is unreal, the mobs are 50+ and we are 40 at most without the second profession, and nobody levels on the second floor. I do not know exactly how everything goes there on C1, but I was told that it is the hardest of all the second-profession quests.
- Parman starts the second part only with a character of level 38 or higher.
- Animal Skin is an ordinary crafting material: buy the hundred skins from players or collect them in advance.
Warsmith class transfer quest: third mark (level 39)
Quest: Test of the Maestro · reward: Mark of Maestro · given by Iron Gate's Lockirin
The third quest for the second profession of the crafter (Warsmith): Test of the Maestro. Both the spoilers and the crafters have to do the same quests at 35 and 37 (Trial of the Guildsman and Testimony of Prosperity), but at 39 the quests are different.
Dwarven Village. Find Iron Gate's Lockirin in the main hall of the village and take the quest.
The third quest for the second profession of the crafter is taken in the dwarven village at level 39, in the round house opposite the teleport, where all the elders stand: we come up to Lockirin, and he explains that three tasks have to be done and three recommendations got from the elders, who stand right here in the house. Recently an unpleasant point came to light, and why it happened I still do not know. I did this quest back on the C3 chronicles, five times, and the order of actions was exactly as written below. But recently, already on C4, I read in the chat that a dwarf was not being given the task of this quest (he was doing it by this very guide). I came to the dwarves, and together we found out that Arin really does not give the task; by trial and error we found that Balanki sends you to the orcs, and after that task was done Arin gave out his own. It is unclear what the slip was and why the order changed, but keep it in mind when you do the quest.
Recommendation of Arin
Find Black Anvil's Arin in the main hall of the village. You receive:
Paint of Teleport Device.1. Black Anvil's Arin gives you the Paint of Teleport Device, blah-blah-blah; in short, Master Toma, so dearly loved by all the spoilers, has pinched a teleporter, and it has to be returned to its place. How to find this rogue is described in detail in the walkthrough Path of the Scavenger; we read carefully and go to look for the dwarf.
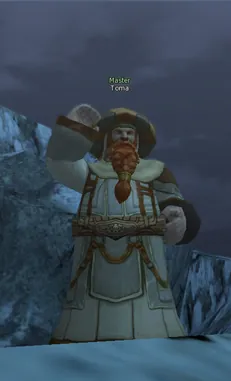
Talk to Master Toma.
We find the thief and present our claims; Toma says that the device does not work a bit, it is broken. And he suggests that we see for ourselves by pressing the teleport button. Nothing for it, we press: we are teleported somewhere deep into the dwarven lands, and three quest mobs appear nearby.



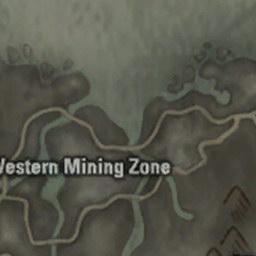
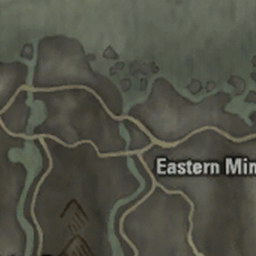
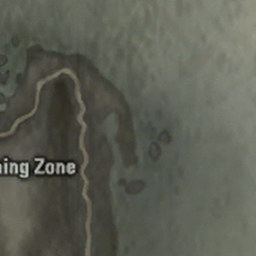
Hunt King Bugbear (lv. 32) until you have:
 Broken Teleport Device.
Return to Master Toma. You receive:
 Teleport Device ×5.
We beat them and quick-quick return to Master Toma. He repairs everything quickly and gives us 5 pieces of Teleport Device.
Return to Black Anvil's Arin in the main hall of the village. You receive:
Recommendation of Arin.We hand them in to Arin and get the first letter of recommendation.
Recommendation of Balanki
Find Silver Scale's Balanki in the main hall of the village. You receive:
 Letter of Solder Detachment.
2. Silver Scale's Balanki sends us to Chief Croto: this is the orc I often ran past, wondering why he stands here among the dwarves (he stands opposite the smithy).
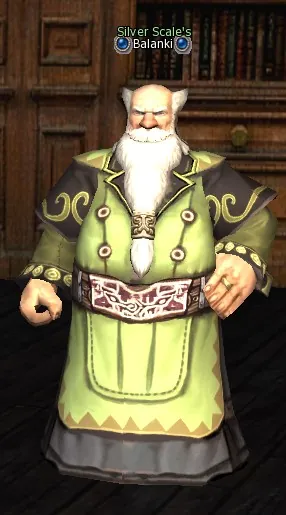
Talk to Chief Croto. You receive:
Paint of Kamuru.Croto sends you to the Cave of Trials (teleport from the orc village) in search of the orc Kamuru, who went missing somewhere here long ago.
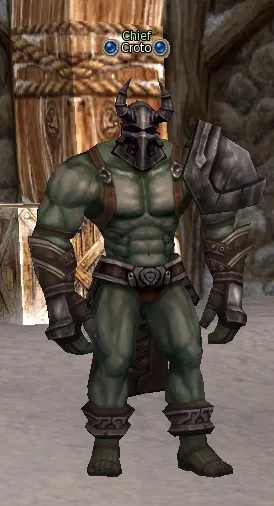
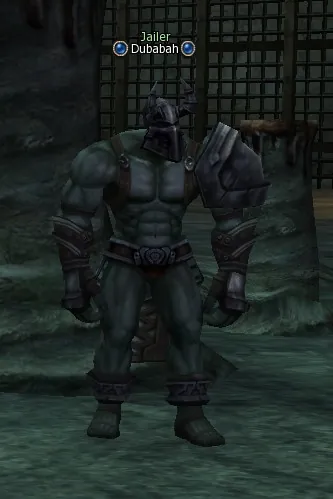
Cave of Trials (teleport from Orc Village). Talk to Jailer Dubabah.
We enter the cave and, crossing the bridge, turn left along the branch of the bridge. The corridor leads you to the prison cells, one of which will be open.
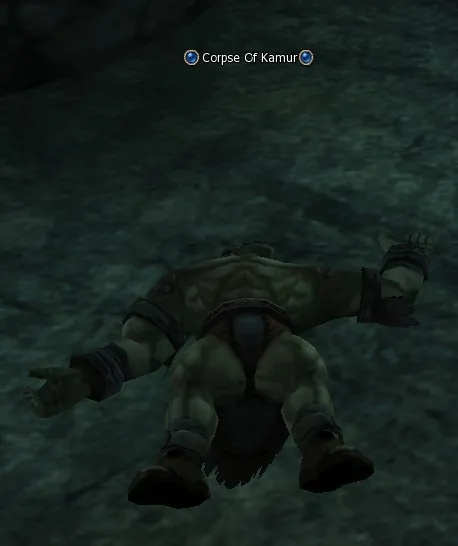
Talk to Corpse Of Kamur.
In it you find the corpse of Kamuru and talk to it. In general it should tell that the evil eye killed it, but I was told that there is no quest for me. That is no trouble, we continue the quest. One wall in the cell is false: poke at it and the character walks through the wall.
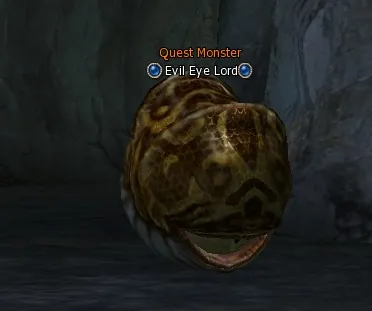
Kill Evil Eye Lord (lv. 37) to get:
 Necklace of Kamuru.
Farther on there will be a corridor that leads to the quest mob Evil Eye Lord of level 37; we kill it and get the Necklace of Kamuru.
Dwarven Village. Return to Chief Croto.
We give it to Croto and get a paper for Balanki.
Return to Silver Scale's Balanki in the main hall of the village. You receive:
Recommendation of Balanki.We hand this part in and get the second recommendation.
Recommendation of Filaur
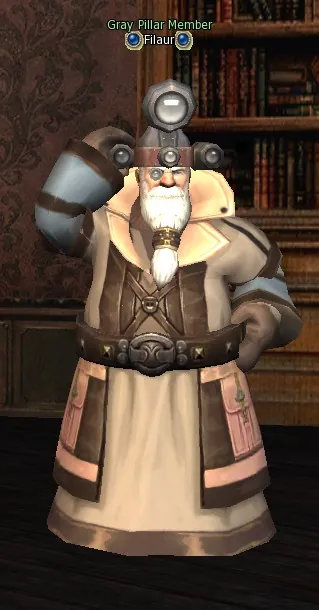
Find Gray Pillar Member Filaur in the main hall of the village. You receive:
Architecture of Cruma.3. Gray Pillar's Filaur: this scoundrel sends us to Cruma (teleport from Dion).
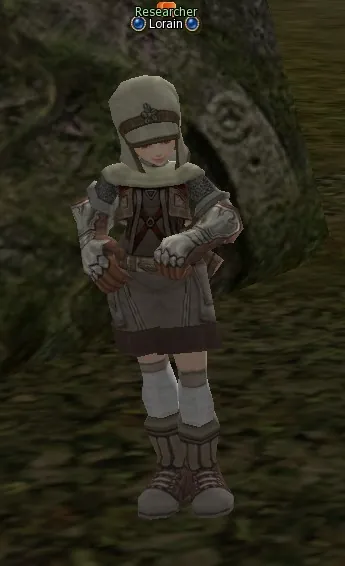
Cruma Tower (teleport from Town of Dion). Talk to Researcher Lorain. You receive:
Ingredients of Antidote.We teleport to the entrance of the tower, but do not go in: we turn our back to the tower, and by the exit on the right side stands the dwarf girl Lorain. She has to be helped to prepare an antidote for the poisoned researchers of Cruma.
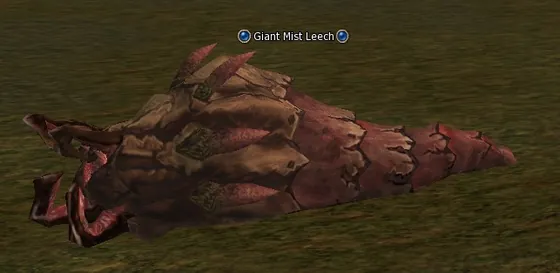
Cruma Marshlands (teleport from Town of Dion). Hunt Giant Mist Leech (lv. 25) until you have:
 Leech Blood ×10.
In the marshes of Cruma we hunt the Giant Mist Leech (from the entrance of Cruma we run straight until we bump into the leeches) and knock out 10 Blood of Leech.
Cruma Tower (teleport from Town of Dion). Hunt Stinger Wasp (lv. 30) until you have:
Stinger Wasp Needle ×10.Next we turn left (if the tower is behind your back) and look for the "striped wasp", Stinger Wasp, and knock out 10 Stinger Wasp Needle.
Hunt Marsh Spider (lv. 34) until you have:
 Marsh Spider's Web ×10.
We run still farther (it is not far) to the spider Marsh Spider and beat until we get 10 Marsh Spider's Web. It should be noted that here, unlike in the previous quests, the developers took pity on us, and the drop of the quest items is 100%.
Return to Researcher Lorain. You receive:
Report of Cruma.We hand everything in to Lorain and get the architectural plan of Cruma.
Dwarven Village. Return to Gray Pillar Member Filaur in the main hall of the village. You receive:
 Recommendation of Filaur.
And return to the dwarven village. We have handed the plan in to Filaur and got the third letter of recommendation.
Mark of Maestro
Return to Iron Gate's Lockirin in the main hall of the village to complete the quest. You receive:
Mark of Maestro.All the recommendations we hand in to Iron Gate's Lockirin and get the long-awaited mark Mark of Maestro; we check whether all three marks are in place, trot off to Giran to the head blacksmith and get the profession Warsmith.
Tips
- Lorain hides behind the rocks to the right of the Cruma Tower entrance; all three monsters for her antidote live in the marsh around the tower.
Changing the class to Warsmith (level 40)
With Mark of Guildsman, Mark of Prosperity, Mark of Maestro in the inventory, talk at level 40 to the head of your guild in any large town (Grand Master, Grand Magister, High Priest and others). He takes the marks and changes the class to Warsmith.
Next: Maestro third class transfer quest from level 76 (Saga of the Maestro).