Hawkeye class transfer quest
Quests: Trial of the Seeker → Testimony of Trust → Test of Sagittarius
To become a Hawkeye at level 40 you need three marks: Mark of Seeker, Mark of Trust and Mark of Sagittarius. Each one is the reward of its own quest, open from levels 35, 37 and 39. The whole way is below in order: open a step, do the quest and mark it as done, and the page shows the next one.
The path of the class: Rogue first class transfer quest → Hawkeye class transfer quest → Sagittarius third class transfer quest
- 1First markTrial of the Seeker · lv. 35

- 2Second markTestimony of Trust · lv. 37
- 3Third markTest of Sagittarius · lv. 39

- 4Class changeHawkeye · lv. 40
Hawkeye class transfer quest: first mark (level 35)
Quest: Trial of the Seeker · reward: Mark of Seeker · given by Master Dufner
The first quest for the second profession for all the daggers and archers (Abyss Walker, Hawkeye, Phantom Ranger, Plains Walker, Silver Ranger and Treasure Hunter): Trial of the Seeker.
First runestones
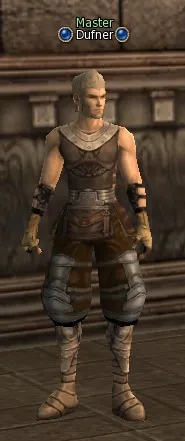
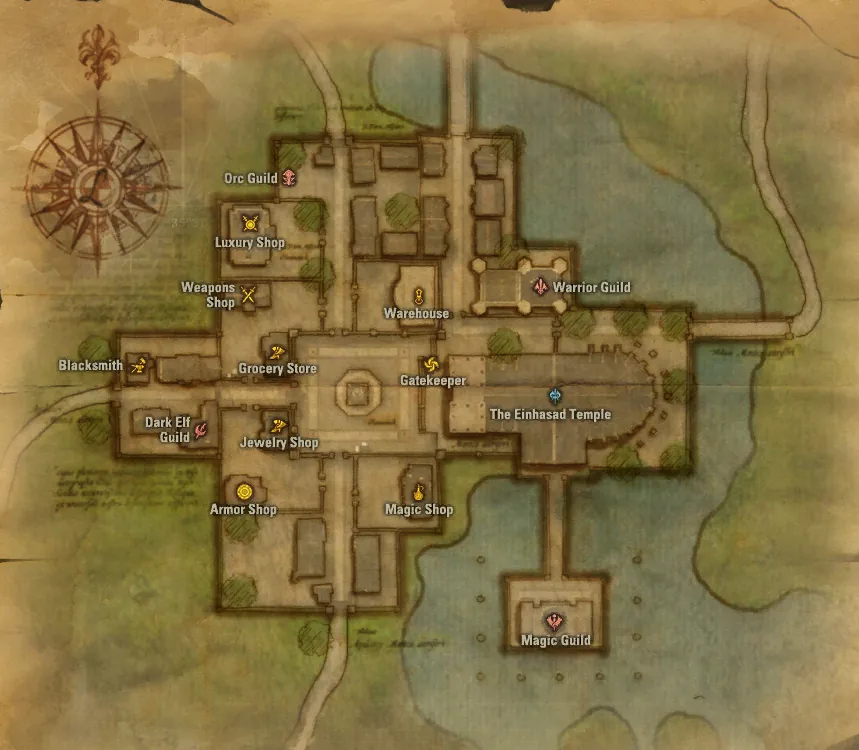
Giran Castle Town. Find Master Dufner in the Warriors Guild and take the quest. You receive:
 Dufners Letter.
The quest is taken at level 35 from the NPC Master Dufner in the warriors guild of Giran (to the right at the entrance).
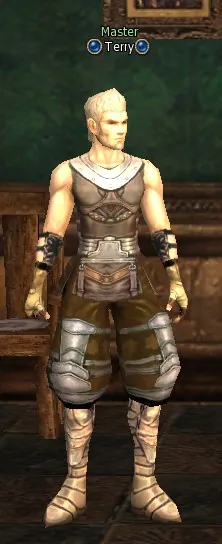
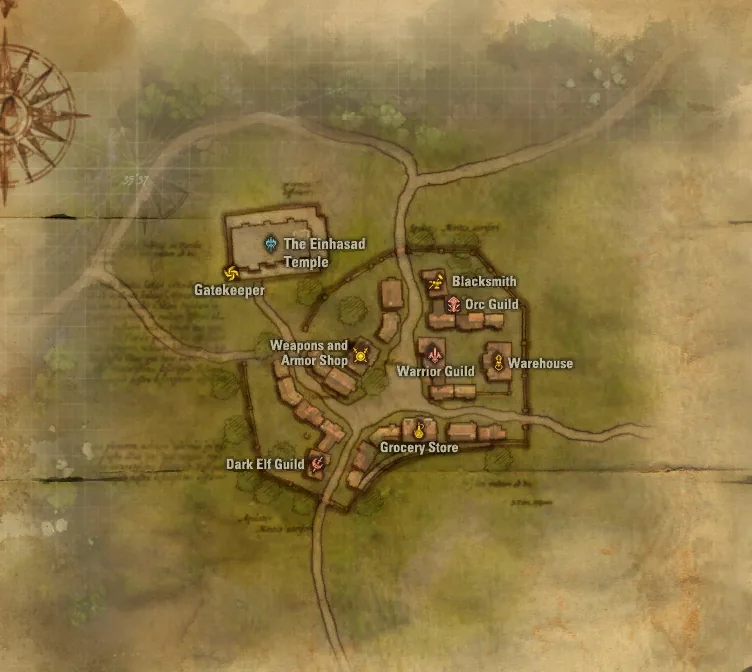
Town of Dion. Find Master Terry in the Warriors Guild. You receive:
 Terry's 1st Order.
Dufner sends you to Dion to the NPC Terry in the warriors guild.
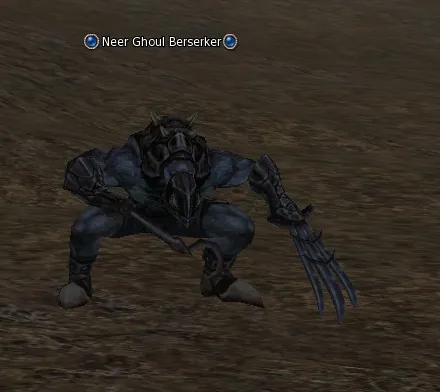
Execution Grounds. Hunt Neer Ghoul Berserker (lv. 29) until you have:
 Mysterious Runestone.
He, in his turn, sends you to knock a crystal out of the mobs Neer Ghoul Berserker in the location Execution Grounds. It is better to go from Giran: the mobs will be right at the entrance to the location, and if you go from Dion, you also have to climb up. The drop of the item is not 100%.
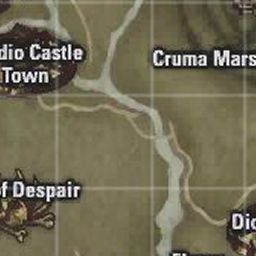
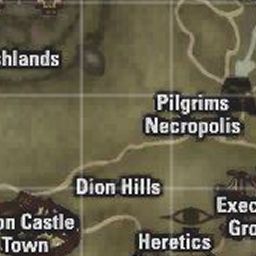
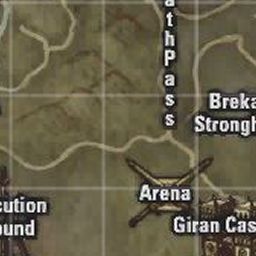
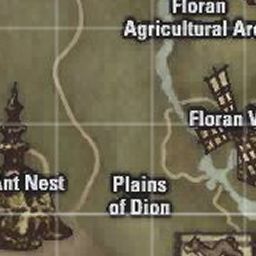
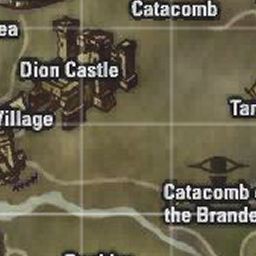
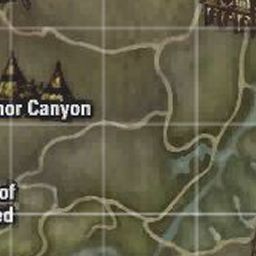
Town of Dion. Return to Master Terry in the Warriors Guild. You receive:
 Terry's 2nd Order.
We knock the crystal out and carry it back to Terry. The next task is to collect a few more crystals from various mobs.
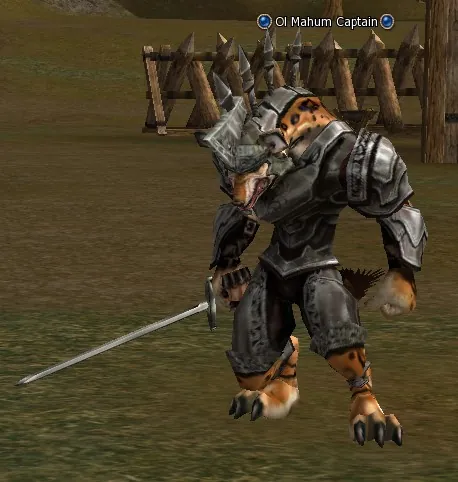
Fortress of Resistance (teleport from Town of Dion). Hunt Ol Mahum Captain (lv. 30) until you have:
 Ol Mahum Runestone.
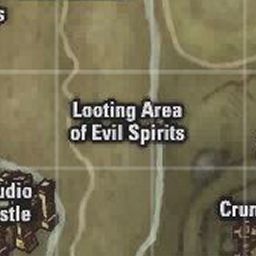
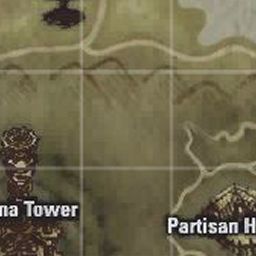
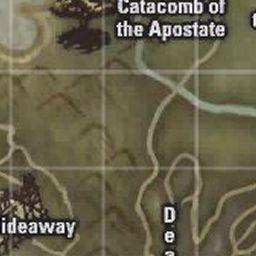
Ol Mahum Captain, level 30: teleport from Dion to the location Partisan's Hideaway, the mobs are right at the teleport point.
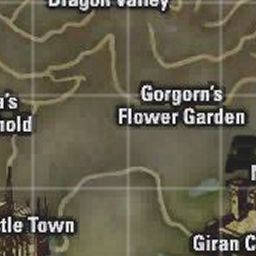
Gorgon Flower Garden. Hunt Turak Bugbear Warrior (lv. 33) until you have:
 Turak Bugbear Runestone.
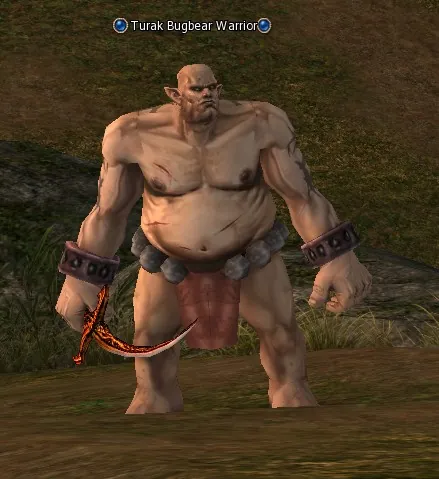
Turak Bugbear Warrior, level 33: we go out of Giran towards the castle, the mobs occupy the whole territory from the town to the castle.
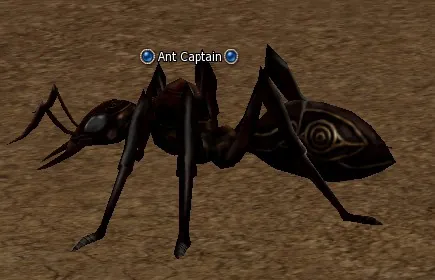
Wasteland (teleport from Gludin Village). Hunt Ant Captain (lv. 31) until you have:
 Ant Runestone.
Ant Captain, level 31: the location Ant Nest from Gludio, we go straight down into the dungeon to the ants.
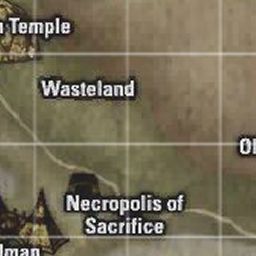
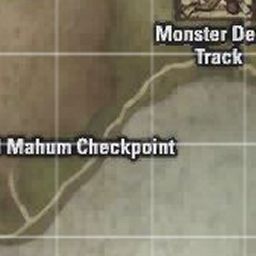
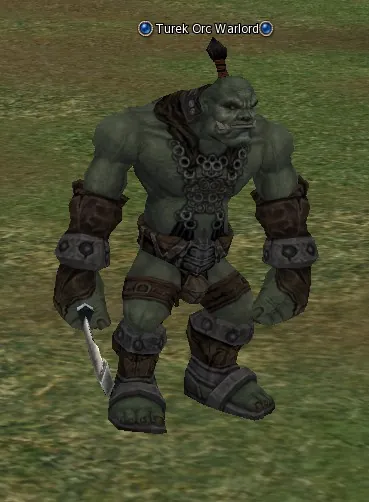
Orc Barracks (teleport from Gludin Village). Hunt Turek Orc Warlord (lv. 30) until you have:
 Turek Runestone.
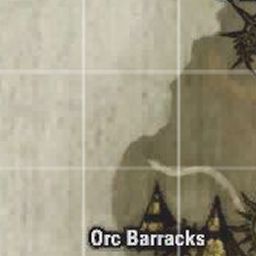
Turek Orc Warlord, level 30: from Gludin Village teleport to the location Orc Barracks; from the teleport point we run to the Stonehenge stones, they are seen from the teleport, and there around the raid boss the aggressive mobs we are looking for will roam (the raid boss may not be there, the mobs we need will be there all the same).
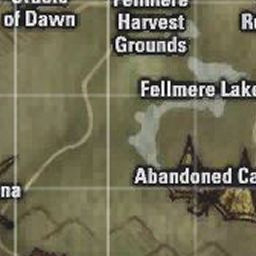
Town of Dion. Return to Master Terry in the Warriors Guild. You receive:
 Terry's Letter.
We knock out all four crystals and hand them in to Terry.
Research in Hunters Village and the Ivory Tower
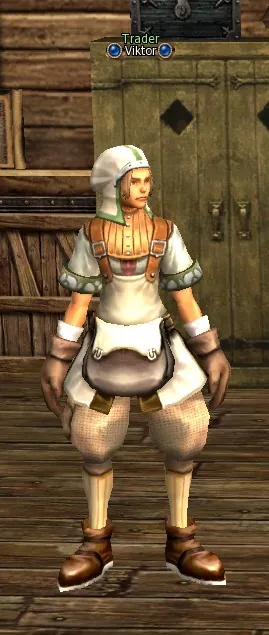
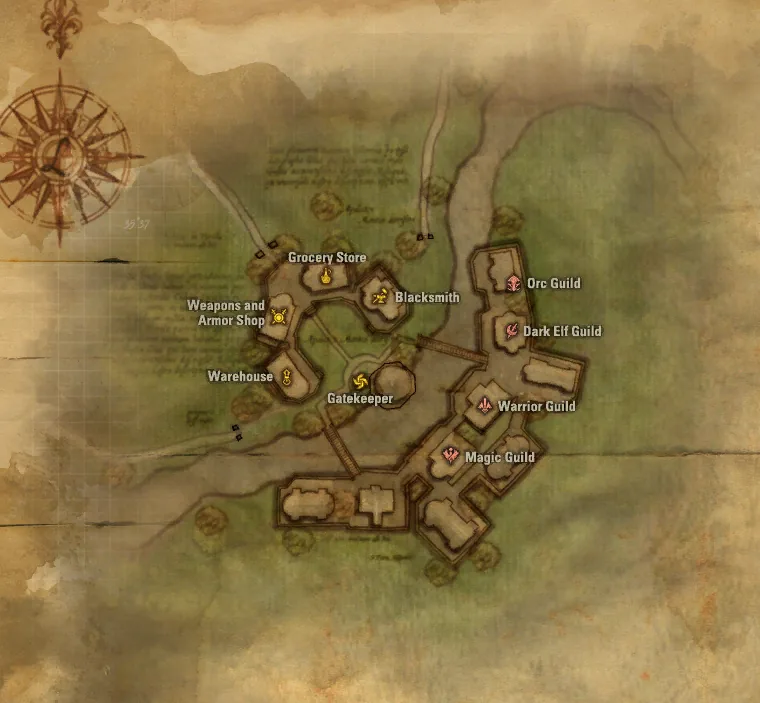
Hunters Village. Find Trader Viktor in the weapon and armor shop. You receive:
 Viktor's Request.
But that is not all: now he sends us to Hunters Village, to the NPC Trader Viktor, and in the dialogue with him the second answer has to be chosen, "Altebar Karryos". Viktor asks to bring him 10 items.
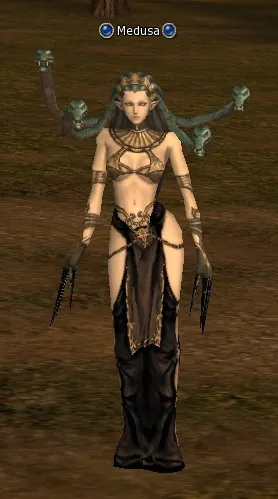
Gorgon Flower Garden. Hunt Medusa (lv. 34) until you have:
 Medusa Scales ×10.
They are knocked out of the mobs Medusa, level 34: that is near Giran, where we beat the Turak Bugbear Warrior.
Hunters Village. Return to Trader Viktor in the weapon and armor shop. You receive:
 Analysis Request.
We knock them out and carry them to Viktor.
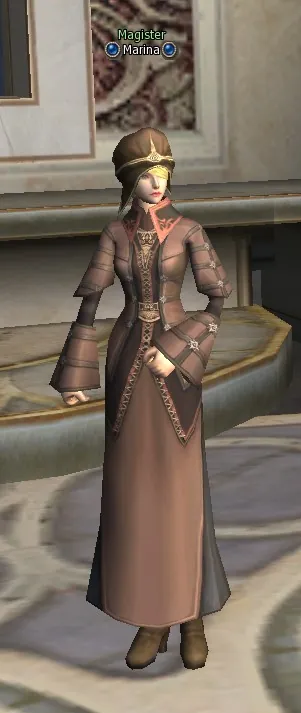
Ivory Tower. Talk to Magister Marina. You receive:
 Marina's Letter.
He redirects us to the second floor of the Ivory Tower, to the NPC Magister Marina.
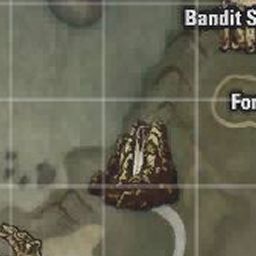
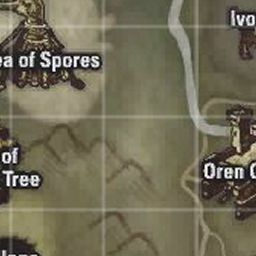
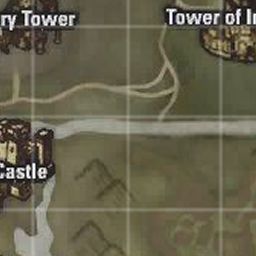
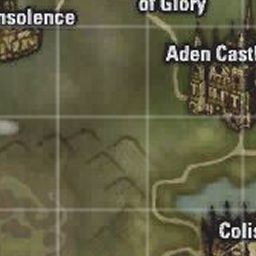
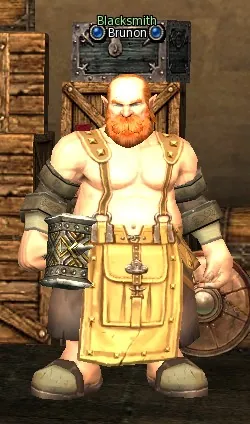
Dwarven Village. Find Blacksmith Brunon in the smithy. You receive:
 Experiment Tools.
And she sends us to the blacksmith Brunon in the dwarven village. From the blacksmith we get some little thingy.
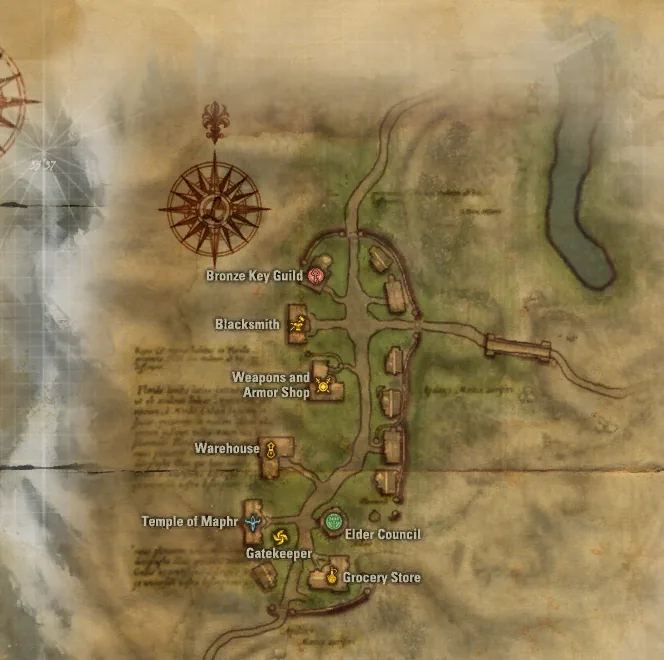
Ivory Tower. Return to Magister Marina. You receive:
 Analysis Result.
And we bring it back to Marina.
Four hosts of the abyss runestones
Town of Dion. Return to Master Terry in the Warriors Guild. You receive:
 List of Host.
With the report we return to Terry in Dion. Do you think that is all? No such luck: Terry needs more crystals, and the next mobs to hunt are these.
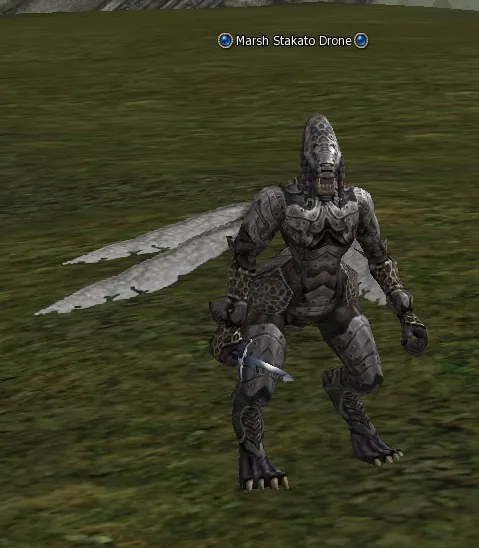
Cruma Tower (teleport from Town of Dion). Hunt Marsh Stakato Drone (lv. 35) until you have:
Abyss Runestone.Marsh Stakato Drone, level 35: in the location Cruma Marshlands, but we will teleport from Dion to the Cruma Tower, it is simply nearer that way: you only have to leave the tower and go round it by 180 degrees, and the mobs are close by.
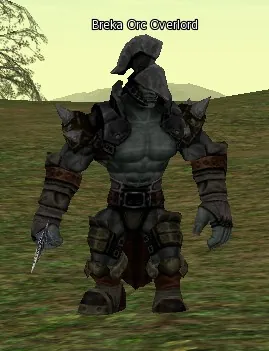
Breka's Stronghold (teleport from Giran Castle Town). Hunt Breka Orc Overlord (lv. 35) until you have:
Abyss Runestone.Breka Orc Overlord, level 35: teleport from Giran; from the teleport point look to the right, 2 such mobs will stand there.
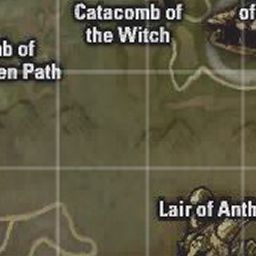
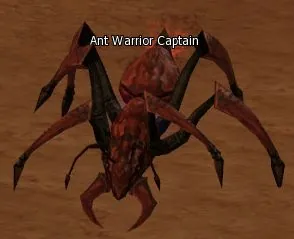
Wasteland (teleport from Gludin Village). Hunt Ant Warrior Captain (lv. 36) until you have:
Abyss Runestone.Ant Warrior Captain, level 36: deep in the Ant Nest (teleport from Gludio).
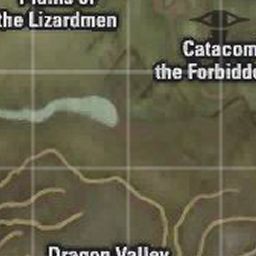
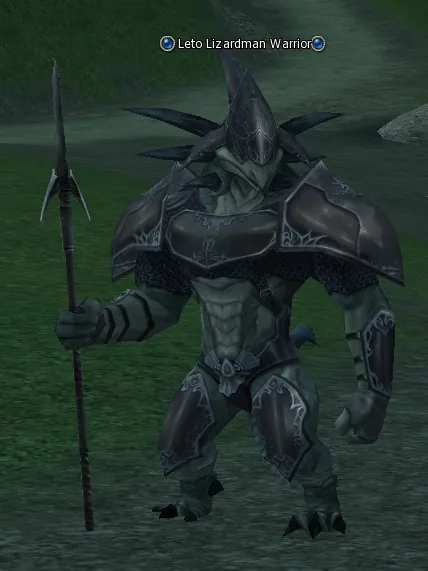
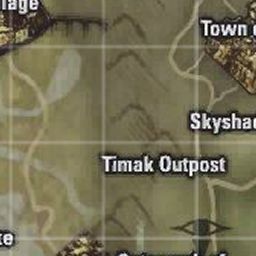
Plains of the Lizardmen (teleport from Town of Oren). Hunt Leto Lizardman Warrior (lv. 38) until you have:
 Abyss Runestone.
Leto Lizardman Warrior, level 38: we teleport from Oren to the location Plains of the Lizardmen.
Town of Dion. Return to Master Terry in the Warriors Guild. You receive:
 Terry's Report.
We knock out four crystals and hand them in to Terry.
Giran Castle Town. Return to Master Dufner in the Warriors Guild. You receive:
Mark of Seeker.Now that really is all: we return to Dufner in Giran and hand the quest in.
The second quest will be different for different races. The light elves go to do the quest Testimony of Life. The dark elves go to do the quest Testimony of Fate. And the humans the quest Testimony of Trust.
Tips
- If you choose the wrong name in the talk with Viktor, he sends you back to Terry: the master repeats his full name and writes the letter anew.
- A runestone is a rare drop: each monster on the lists has to be hunted until it gives its single stone, so expect a few dozen kills per name.
Hawkeye class transfer quest: second mark (level 37)
Quest: Testimony of Trust · reward: Mark of Trust · given by High Priest Hollint
The second quest for the second profession for all the humans: Testimony of Trust. The prophets, as in the first quest, will again have to rush round all the races; however, now, for a change, we must make them trust us. For the other classes this is new. I will tell it on behalf of a prophet, because for her and the bishop it is the hardest. Let us begin.
Trust of the Elves
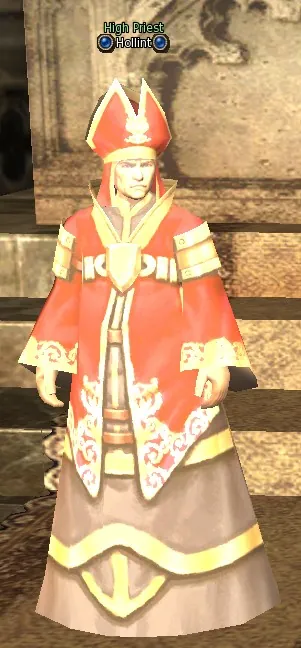
Town of Oren. Find High Priest Hollint in the temple and take the quest. You receive:
Letter to Elf,  Letter to Dark Elf.
The quest is taken at level 37 from the NPC High Priest Hollint in the temple of Oren.
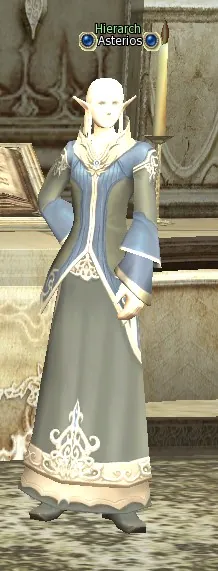
Elven Village. Find Hierarch Asterios in the temple. You receive:
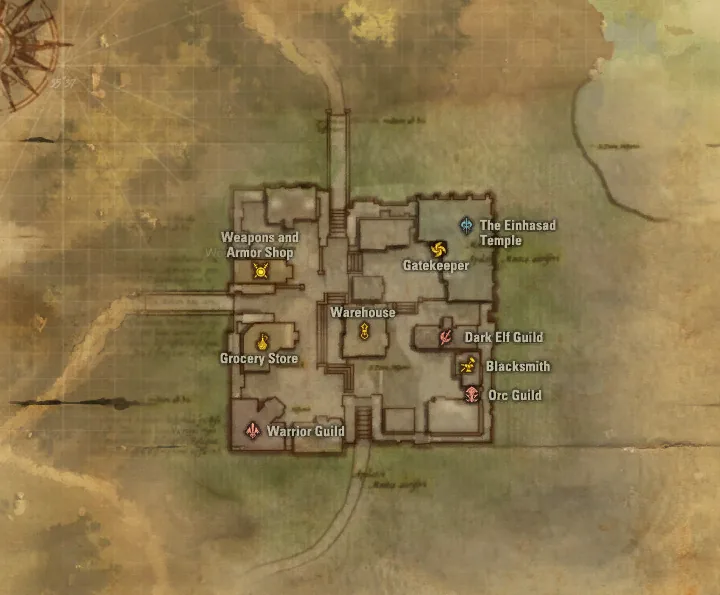
Order of Asterios.Hollint sends us to Hierarch Asterios in the village of the light elves. Asterios needs two quest mobs finished off, which come out of ordinary ones when we start bringing those ordinary ones down.
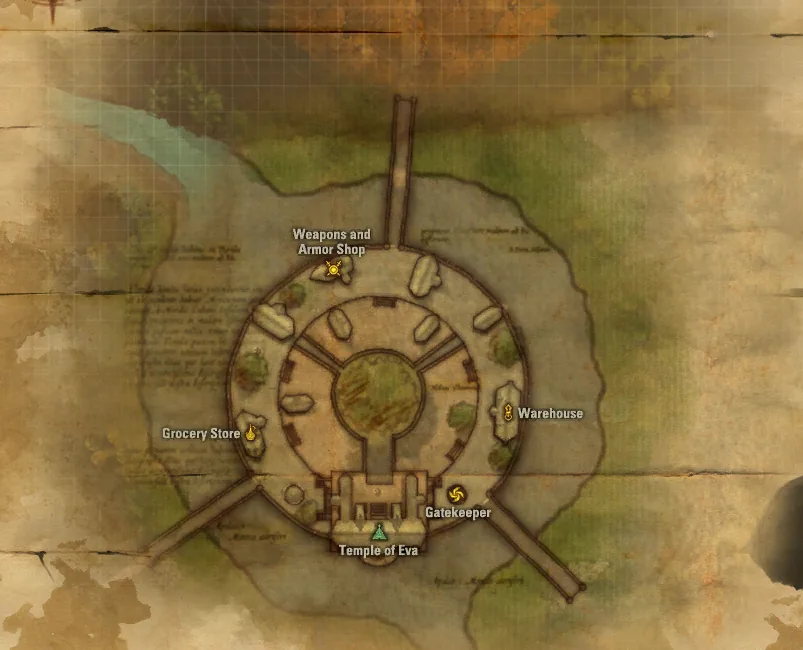
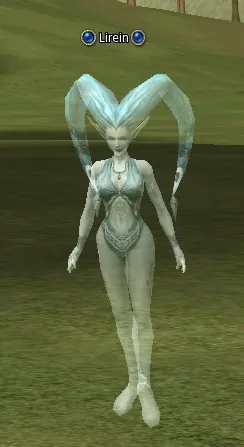
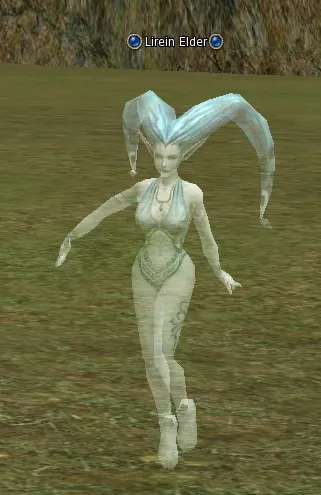
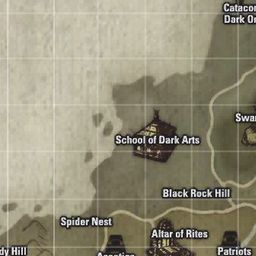
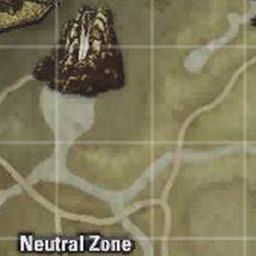
Hunt Lirein (lv. 18), Lirein Elder (lv. 19). Where: Undine Waterfall, The Neutral Zone.
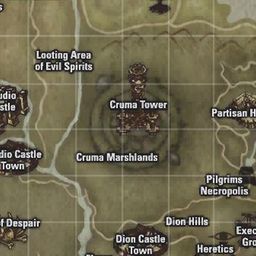
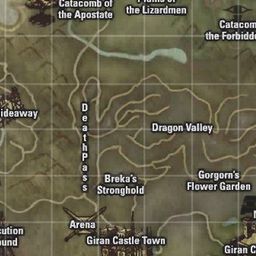
We teleport to the Neutral Zone (from the light or the dark village, it makes no difference) and move towards the light bridge (that is where we also spoiled the recipe for crafting VoP). We beat the mobs Lirein and Lirein Elder until the quest mob Luell of Zephyr Winds appears.
Kill Luell Of Zephyr Winds (lv. 37) to get:
 Breath of Winds.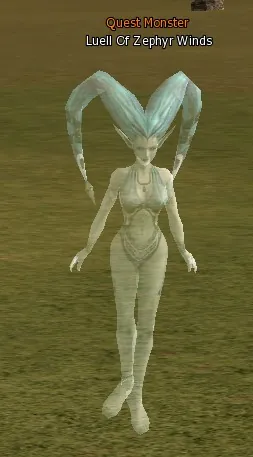
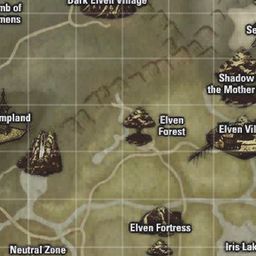
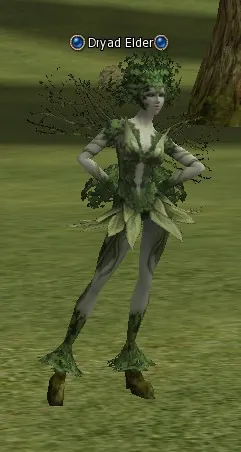
Elven Forest (teleport from Elven Village). Hunt Dryad (lv. 13), Dryad Elder (lv. 14).
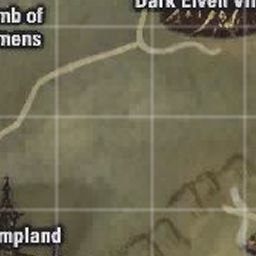
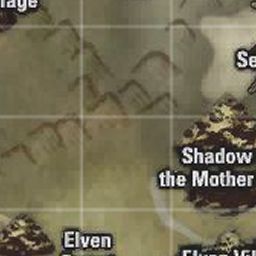
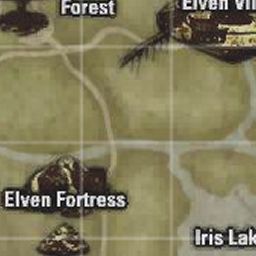
Next we go to where the mark is seen on the map and beat the mobs Dryad and Dryad Elder until the quest mob Actea of Verdant Wilds appears.
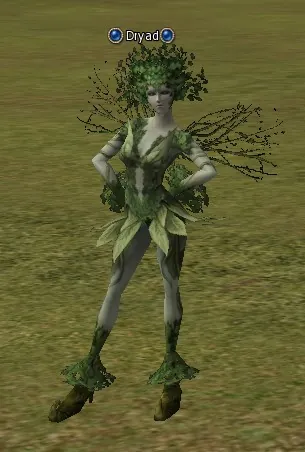
Kill Actea Of Verdant Wilds (lv. 37) to get:
 Seed of Verdure.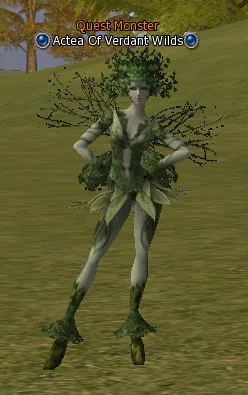
Elven Village. Return to Hierarch Asterios in the temple. You receive:
Scroll of Elf Trust.We kill the quest mob and return to Hierarch Asterios with the report. In the light village we have done everything needed.
Trust of the Dark Elves
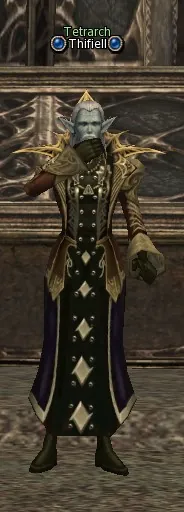
Dark Elf Village. Find Tetrarch Thifiell in the temple. You receive:
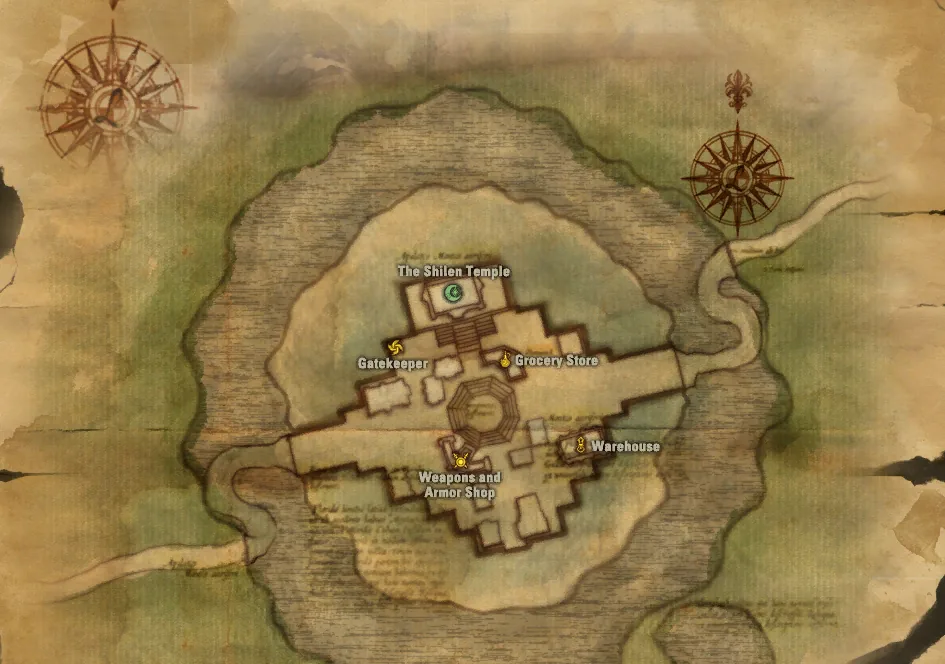
Letter of Thifiell.Now we set off for the village of the dark elves to the NPC Tetrarch Thifiell (he stands in the Temple of Shilen).
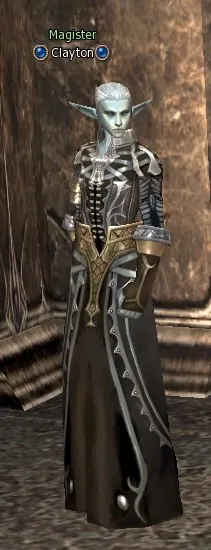
Town of Dion. Find Magister Clayton in the Dark Elven Guild. You receive:
Order of Clayton.Thifiell sends us to Dion, to the guild of the dark mages, to the NPC Magister Clayton, to whom three items have to be brought: Basilisk Plasma, Honey Dew and Stakato Ichor. Keep in mind that although the quest shows that one item of each has to be knocked out, in fact you have to knock out ten other items of each kind, which, when ten are gathered, turn into the one we need.
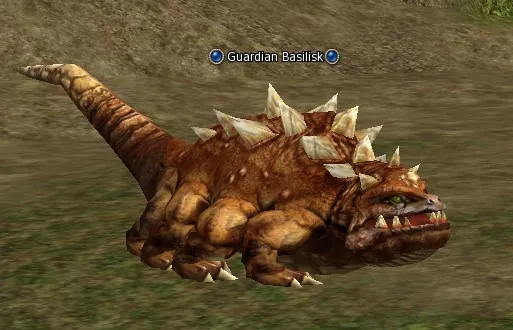
Death Pass. Hunt Guardian Basilisk (lv. 36) until you have:
 Blood of Guardian Basilisk ×10.
Basilisk Plasma is knocked out of the Guardian Basilisk in the Death Pass (teleport from Giran to Dragon Valley).
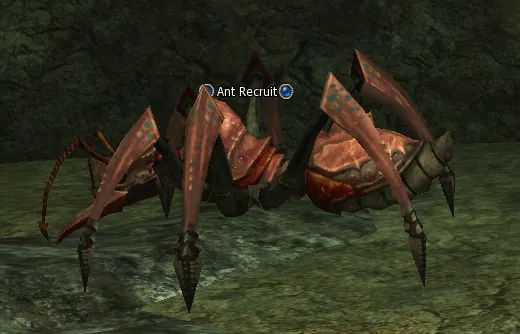
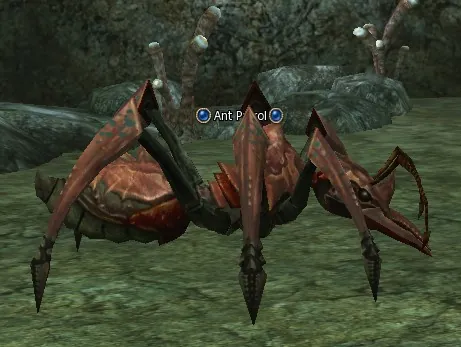
Wasteland (teleport from Gludin Village). Hunt Ant Recruit (lv. 33), Ant Patrol (lv. 34), Ant Guard (lv. 35), Ant Soldier (lv. 35), Ant Warrior Captain (lv. 36) until you have:
 Giant Aphid ×10.
Honey Dew from the Soldier Ant (it is written that you have to go to the Wasteland, but we go straight to the Ant Nest cave, there are many of these ants there).
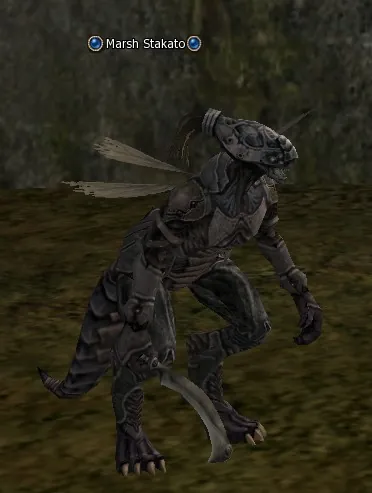
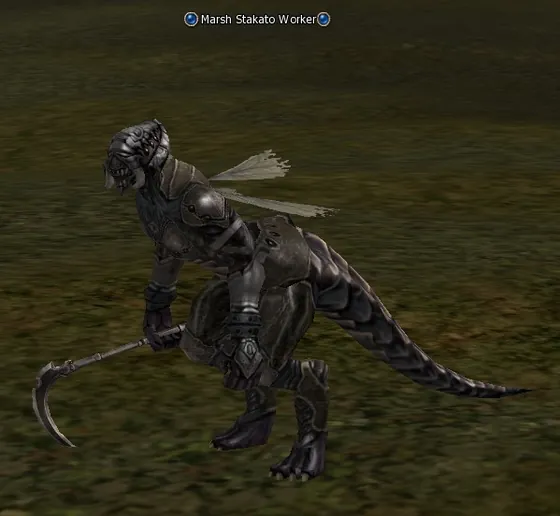
Cruma Tower (teleport from Town of Dion). Hunt Marsh Stakato (lv. 29), Marsh Stakato Worker (lv. 31), Marsh Stakato Soldier (lv. 33), Marsh Stakato Drone (lv. 35) until you have:
 Stakatos Fluids ×10.
Stakato Ichor from the Marsh Stakato in the location Cruma Marshlands (teleport from Dion).
Town of Dion. Return to Magister Clayton in the Dark Elven Guild.
We collect them and hand all the items in to Clayton.
Dark Elf Village. Return to Tetrarch Thifiell in the temple. You receive:
 Scroll of Dark Elf Trust.
We go with the report to the dark village to Tetrarch Thifiell.
Town of Oren. Return to High Priest Hollint in the temple. You receive:
 Letter to Seresin.
Then we return to the start NPC in Oren.
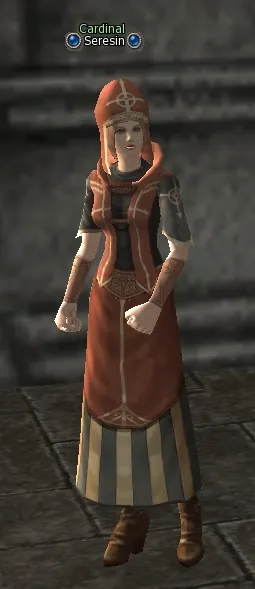
Talk to Cardinal Seresin. You receive:
Letter to Orc,  Letter to Dwarf.
The further tasks, connected with the races of the orcs and the dwarves, will be given to us by Cardinal Seresin, who stands right here, at the entrance to the temple in Oren.
Trust of the Orcs
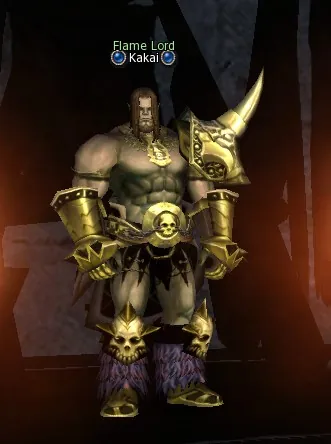
Orc Village. Find Flame Lord Kakai in the main hall of the village. You receive:
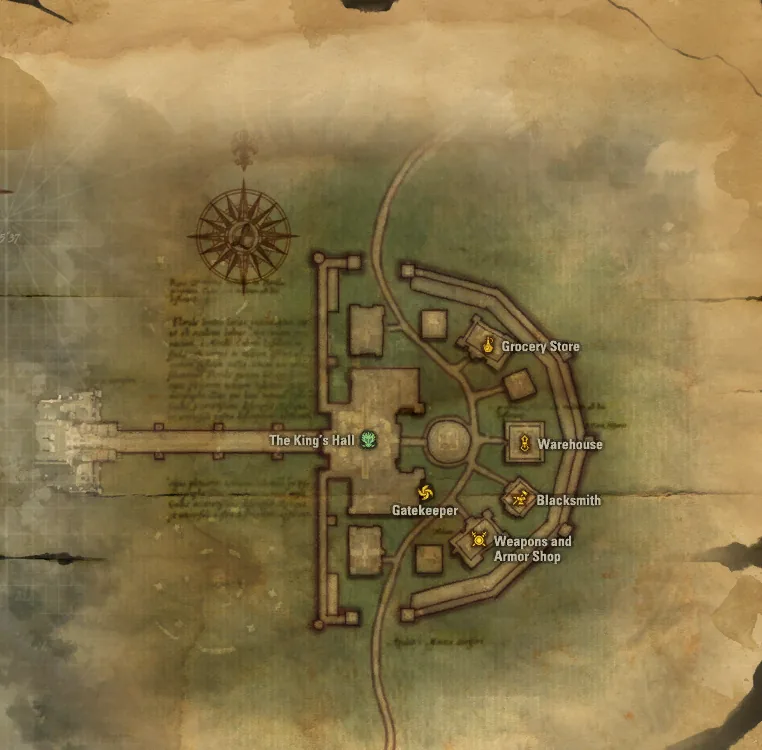
Letter to Manakia.First of all we go to the orc village and look there in the Kings Hall for Flame Lord Kakai (as far as I remember, you have to go up the stairs, he stands up there).
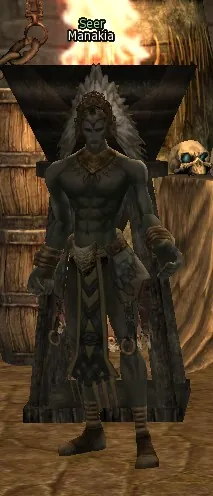
Giran Castle Town. Find Seer Manakia in the Orc Guild.
Kakai sends us to Giran; in the orc guild we look for Seer Manakia.
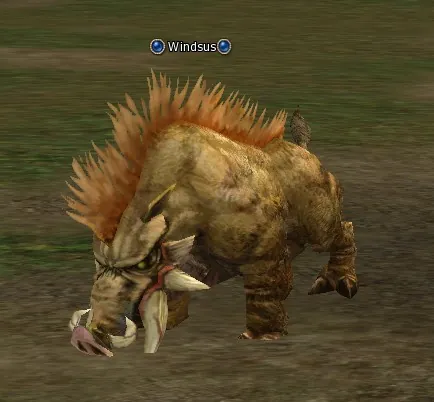
Plains of the Lizardmen (teleport from Town of Oren). Hunt Windsus (lv. 39) until you have:
 Parasite of Lota ×10.
On his task we teleport to the Death Pass through Dragon Valley (from Giran) and start destroying the boars Windsus to get ten items Parasite of Lota.
Giran Castle Town. Return to Seer Manakia in the Orc Guild. You receive:
 Letter of Manakia.
We hand the items in to Manakia.
Orc Village. Return to Flame Lord Kakai in the main hall of the village. You receive:
 Scroll of Orc Trust.
And return to the orc village to Kakai. That is it, the orcs trust us now too.
Trust of the Dwarves
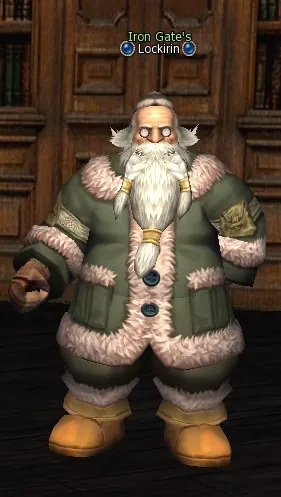
Dwarven Village. Find Iron Gate's Lockirin in the main hall of the village. You receive:
Letter to Nikola.And the last one is the NPC Iron Gate's Lockirin, who stands in the round house in the dwarven village next to the teleport.
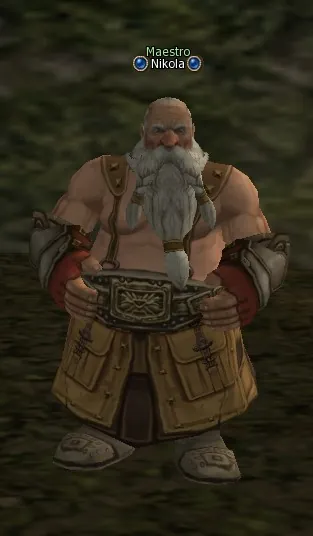
Cruma Tower (teleport from Town of Dion). Talk to Maestro Nikola. You receive:
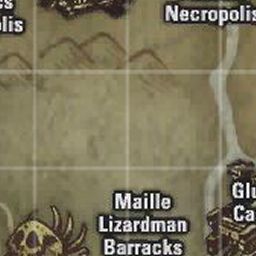
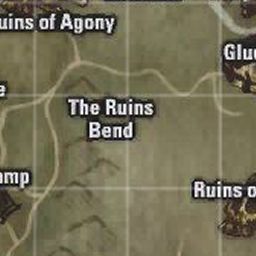
Order of Nikola.Everything is simple here: we set off to Maestro Nikola in the marshes of Cruma. It is handier to teleport to the tower itself, it is nearer to run from it.
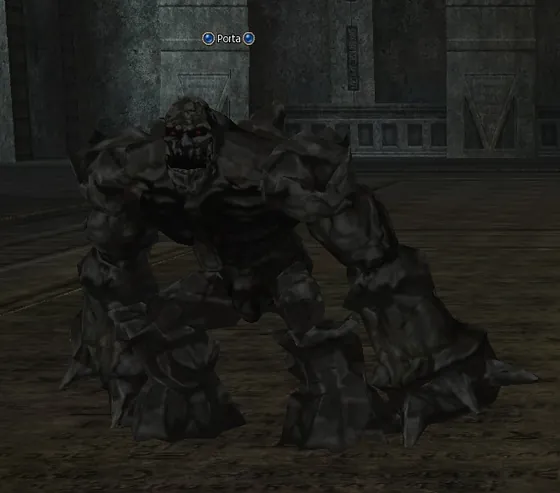
Hunt Porta (lv. 40) until you have:
 Heartstone of Porta ×10.
Nikola demands that we go into the Cruma Tower and collect for him the items Heartstone of Porta, which are knocked, naturally, out of the mobs Porta: those are such golems on the first floor of the tower. Here again there may be a slip in how the items are shown: it may be written that only one is needed, in fact ten are needed.
Return to Maestro Nikola.
We knock them out and hand them in to Nikola.
Dwarven Village. Return to Iron Gate's Lockirin in the main hall of the village. You receive:
Scroll of Dwarf Trust.We return to the dwarves. That is it, the dwarves believe us too. Naive ones...
Mark of Trust
Town of Oren. Return to High Priest Hollint in the temple. You receive:
 Recommendation of Hollint.
With the report we go to Oren to Hollint; he announces that we have done everything right.
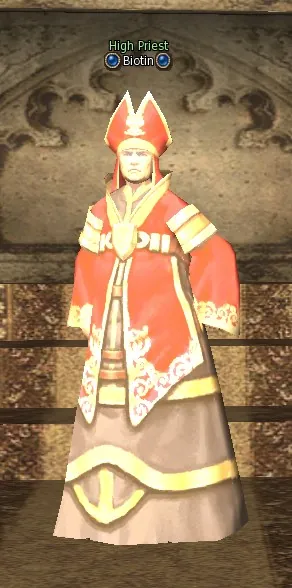
Talking Island. Find High Priest Biotin in the temple. You receive:
Mark of Trust.And he sends us to the human village, to the temple of Talking Island, to the NPC High Priest Biotin, to get the reward in the form of dimensional diamonds and the mark Mark of Trust.
The future Prophet go to do Test of the Reformer. The future Dark Avenger and Necromancer go to do Test of Witchcraft. The future Gladiator go to do Test of the Duelist. The future Treasure Hunter go to do Test of the Searcher. The future Hawkeye go to do Test of Sagittarius. The future Warlock (the cat keepers) go to do Test of the Summoner. The future Sorcerer go to do Test of Magus. The future Paladin and Bishop go to do Test of the Healer. The future Warlord go to do Test of the Champion.
Hawkeye class transfer quest: third mark (level 39)
Quest: Test of Sagittarius · reward: Mark of Sagittarius · given by Guild President Bernard
The third quest for the second profession for all the archers (Hawkeye, Silver Ranger and Phantom Ranger): Test of Sagittarius. This quest is the final one, and it is much simpler than the two previous ones (as it seems to me).
Runes in the ant nest
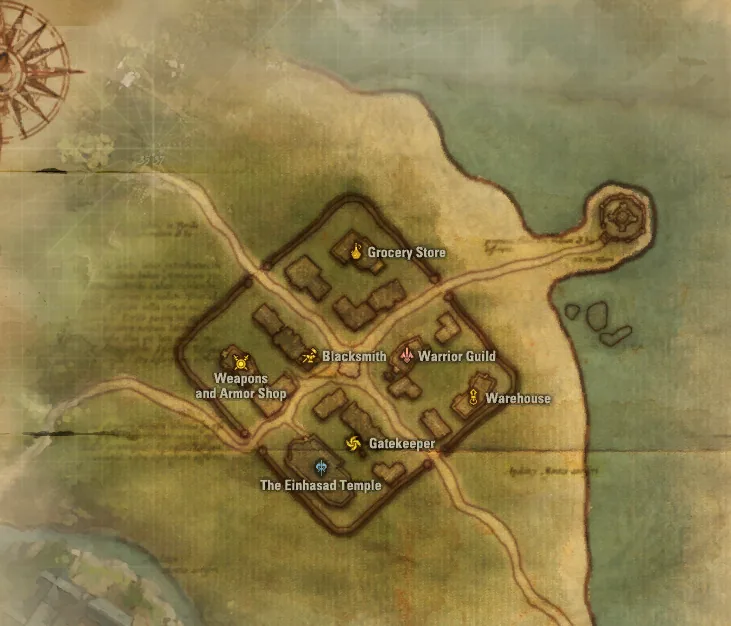
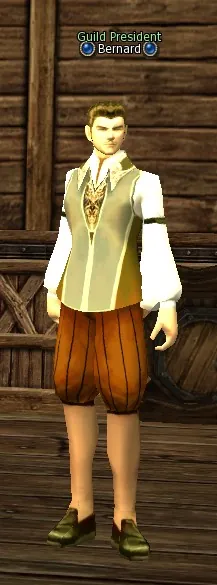
Hunters Village. Find Guild President Bernard in the Warriors Guild and take the quest. You receive:
Bernard's Introduction.The quest is taken at level 39 from Guild President Bernard in the building behind the gatekeeper's back in Hunters Village.
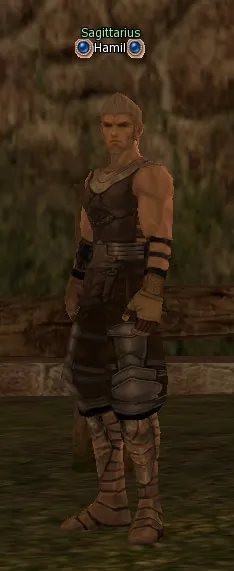
Floran Village. Find Sagittarius Hamil by the bridge. You receive:
Hamil's 1st Letter.Bernard sends us to the NPC Sagittarius Hamil, who is next to Floran Village, not in the village itself but by the windmill. Hamil is the key NPC of this quest. To get to him we teleport from Dion to the location Plains of Dion and run towards Floran; on seeing the windmill, we swim across the puddle and find ourselves by the NPC. The mobs that aggro on the way need not be beaten, they will not swim after you.
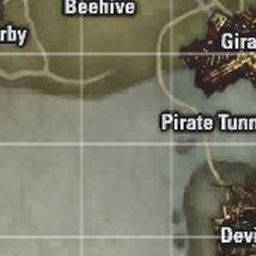
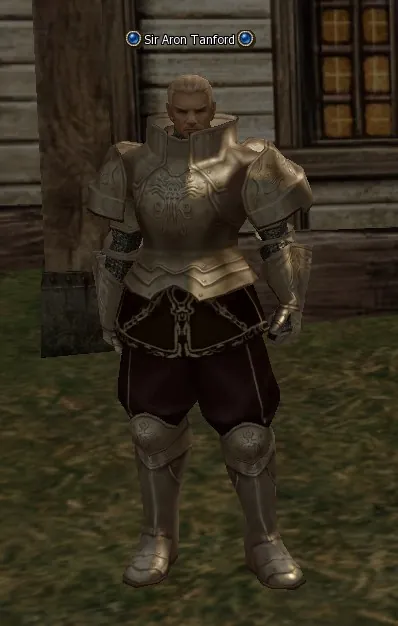
Wasteland (teleport from Gludin Village). Find Sir Aron Tanford at the ranch.
Without going into the lyrics of the quest, let us say that Hamil sends you to the location Wasteland (teleport from Gludin Village); from the teleport point we run to the sea, and by a little house stands Sir Aron Tanford. If you do not want to spend adena on the teleport, you can run on foot from Hamil to Aron, it is not that far.

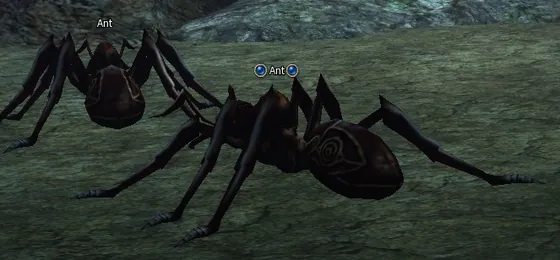
The Ant Nest (teleport from Town of Gludio). Hunt Ant (lv. 30), Ant Captain (lv. 31), Ant Overseer (lv. 32), Ant Patrol (lv. 34), Ant Guard (lv. 35), Noble Ant (lv. 37), Noble Ant Leader (lv. 38) until you have:
 Hunter's 1st Rune ×10.
Aron Tanford sends you to the Ant Nest (teleport from Gludio). We go inside the anthill and beat various small ants until we get 10 Hunter's Rune.
Floran Village. Return to Sagittarius Hamil by the bridge. You receive:
Hamil's 2nd Letter.We collect them and return to Hamil at Floran Village (there is no need to go to Aron).
The snake talisman
Giran Castle Town. Find Prefect Vokian in the Orc Guild.
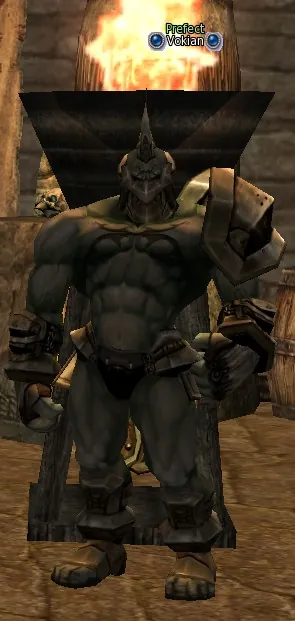
As the next point we are sent to the orcs in Giran, namely to Prefect Vokian; naturally, he stands in the orc guild of Giran.
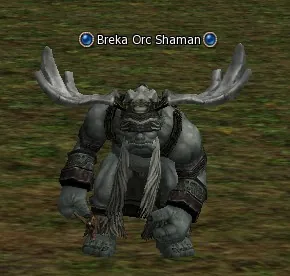
Breka's Stronghold (teleport from Giran Castle Town). Hunt Breka Orc Shaman (lv. 34), Breka Orc Overlord (lv. 35) until you have:
Hunter's 2nd Rune ×10.Vokian sends us to the location Breka's Stronghold (teleport from Giran); to the right of the teleport point there will be two mobs Breka Orc Overlord and two mobs Breka Orc Shaman. We dash between them and beat; runes will drop from the mobs, and as soon as we knock out 10 pieces, we at once get the Talisman of Snake as well.
Giran Castle Town. Return to Prefect Vokian in the Orc Guild.
With all this stuff we go to Vokian.
Floran Village. Return to Sagittarius Hamil by the bridge. You receive:
Hamil's 3rd Letter.And after that to Hamil again.
Crescent Moon Bow
Ivory Tower. Find Magister Gauen on the Elven floor of the tower.
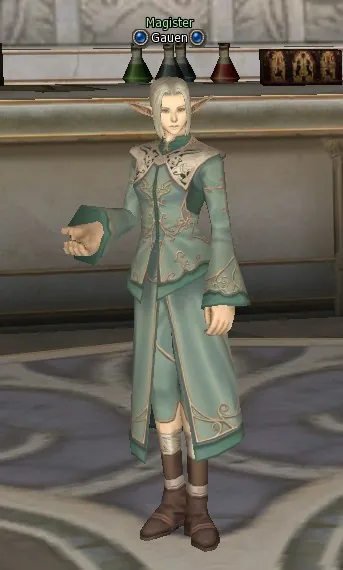
From Hamil our way lies to the Ivory Tower (teleport from Oren). In the tower we teleport to the third floor (you have to choose the item "teleport to other floors") to the NPC Magister Gauen, who loads us with a new task. We have to find and beat four mobs until we get four items from them.
Hunt Manashen Gargoyle (lv. 40) until you have:
 Manashen's Horn.
The mob Manashen Gargoyle in the location Ivory Tower Crater, until we get the item Manashen's Horn.
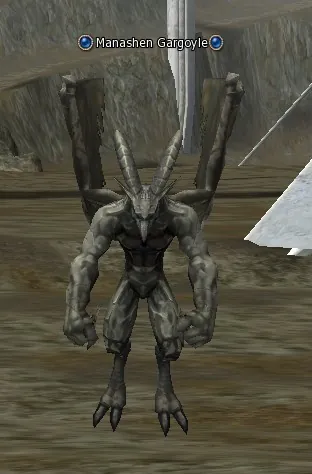
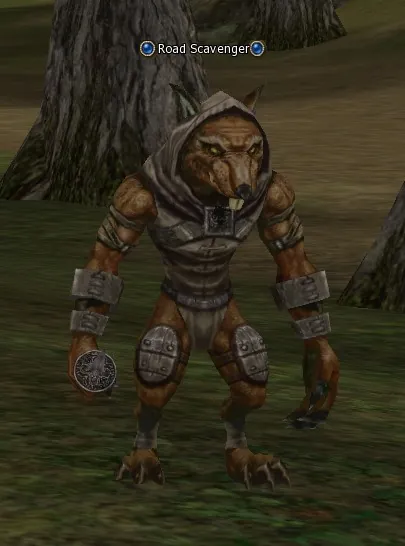
Death Pass. Hunt Road Scavenger (lv. 37) until you have:
 Mithril Clip.
The mob Road Scavenger in the location Death Pass, until we get the item Mithril Clip.
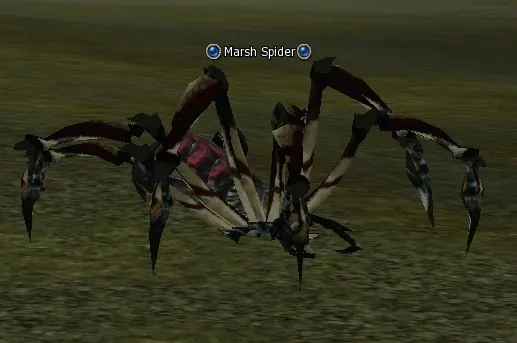
Cruma Tower (teleport from Town of Dion). Hunt Marsh Spider (lv. 34) until you have:
 Reinforced Bowstring.
The mobs Marsh Spider and Marsh Stakato Drone in the location Cruma Marshlands, until we get the items Reinforced Bowstring and Stakato Chitin respectively.
Hunt Marsh Stakato Worker (lv. 31), Marsh Stakato Soldier (lv. 33), Marsh Stakato Drone (lv. 35) until you have:
Stakato Chitin.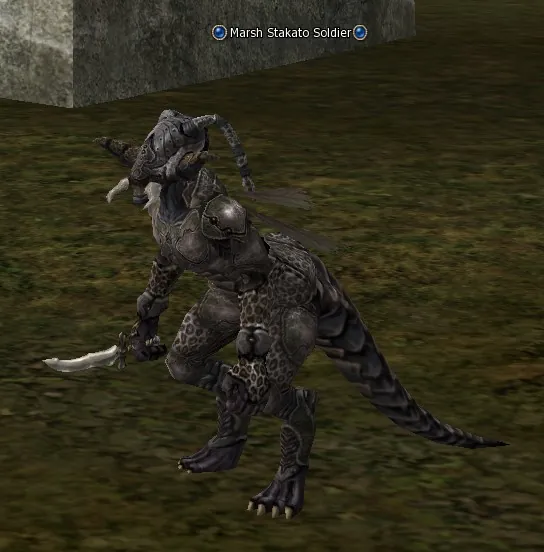
Ivory Tower. Return to Magister Gauen on the Elven floor of the tower. You receive:
 Crescent Moon Bow.
As soon as we knock out all the items, we return to the Ivory Tower to Magister Gauen, hand them in and get a no-grade bow (attack 34) and a dozen arrows, also no-grade, with which we have to return to Hamil. Here I will warn you at once that you will beat the last quest mob precisely with this no-grade bow, so right away, in the nearest shop, buy some no-grade arrows (what if you are strikingly unlucky and the 10 arrows you were given are not enough) and no-grade soulshots for a warrior (I think 100 pieces will do).
Kadesh
Floran Village. Return to Sagittarius Hamil by the bridge.
We show the bow to Hamil, and he at once sends you to the last quest mob. Hurrah, one step is left until the end of the quest. But! The developers would not be the developers if they had not thought up this thing: for the quest mob to appear, a hundred ordinary ones have to be finished off. Wow, how unexpected.
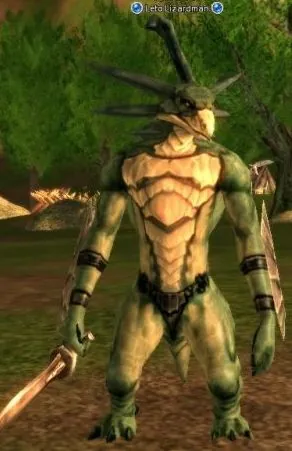
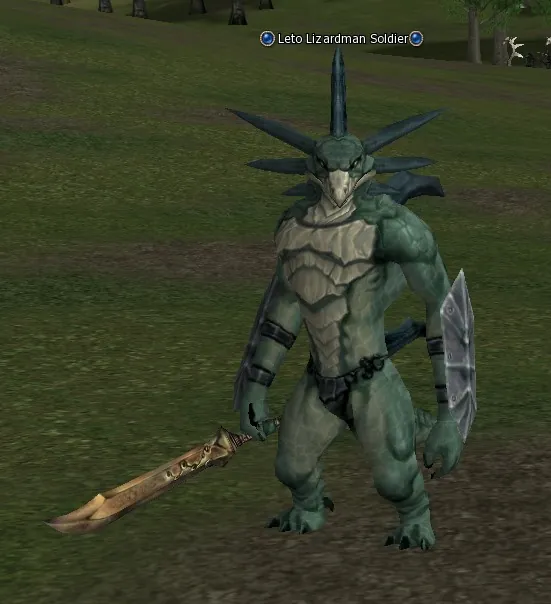
Plains of the Lizardmen (teleport from Town of Oren). Hunt Leto Lizardman (lv. 35), Leto Lizardman Archer (lv. 36), Leto Lizardman Soldier (lv. 37), Leto Lizardman Warrior (lv. 38), Leto Lizardman Shaman (lv. 39), Leto Lizardman Overlord (lv. 40).
In short, our way lies farther to the location Plains of the Lizardmen (teleport from Oren), where, strange as it may seem, we will beat lizards, and precisely those that have the words Leto Lizardman in the name. The item Blood of Lizardman will drop from them. The drop is 100%, and more than 100 pieces have to be collected. After the hundred the quest mob can climb out of any corpse. The last time it appeared for me on the 129th body.
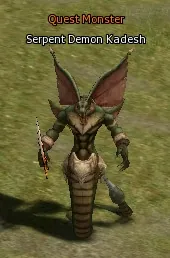
Kill Serpent Demon Kadesh (lv. 41) to get:
 Talisman of Kadesh.
As soon as this very quest Serpent Demon Kadesh appears, we take the quest bow and arrows in hand and start firing them at the mob. Do not forget to switch on the no-grade soulshots (I switched the soulshots on in advance and put the quest bow on the quick panel).
Floran Village. Return to Sagittarius Hamil by the bridge. You receive:
Mark of Sagittarius.From the mob we get the Talisman of Kadesh and go to Hamil to get the mark Mark of Sagittarius. The quest is done.
After doing all three quests and getting the three marks, the Silver Ranger and the Hawkeye have to go to the warriors guild in Giran to Grand Master Hannavalt, and the Phantom Ranger to the dark elven guild in Giran to Grand Master Angus. In the dialogue choose the top line, the one about asking about a change of profession, choose our profession and press the line "change the profession". Congratulations, you have got the second profession.
Tips
- Each of the four bow parts is a single rare drop, so the materials take longer than the numbers suggest. The marsh spiders and stakatos are around Cruma Tower, the manashen gargoyles in the crater of the Ivory Tower and the road scavengers in Death Pass.
Changing the class to Hawkeye (level 40)
With Mark of Seeker, Mark of Trust, Mark of Sagittarius in the inventory, talk at level 40 to the head of your guild in any large town (Grand Master, Grand Magister, High Priest and others). He takes the marks and changes the class to Hawkeye.
Next: Sagittarius third class transfer quest from level 76 (Succession to the Legend, Sagittarius).