Shillien Knight class transfer quest
Quests: Trial of Duty → Testimony of Fate → Test of Witchcraft
To become a Shillien Knight at level 40 you need three marks: Mark of Duty and Mark of Fate. Each one is the reward of its own quest, open from levels 35, 37 and 39. The whole way is below in order: open a step, do the quest and mark it as done, and the page shows the next one.
The path of the class: Palus Knight first class transfer quest → Shillien Knight class transfer quest → Shillien Templar third class transfer quest
- 1First markTrial of Duty · lv. 35

- 2Second markTestimony of Fate · lv. 37

- 3Third markTest of Witchcraft · lv. 39
- 4Class changeShillien Knight · lv. 40
Shillien Knight class transfer quest: first mark (level 35)
Quest: Trial of Duty · reward: Mark of Duty · given by Grand Master Hannavalt
The first quest for the second profession for all the tanks (Paladin, Dark Avenger, Temple Knight and Shillien Knight): Trial of Duty.
Honour of Sir Herod
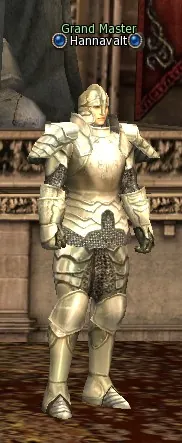
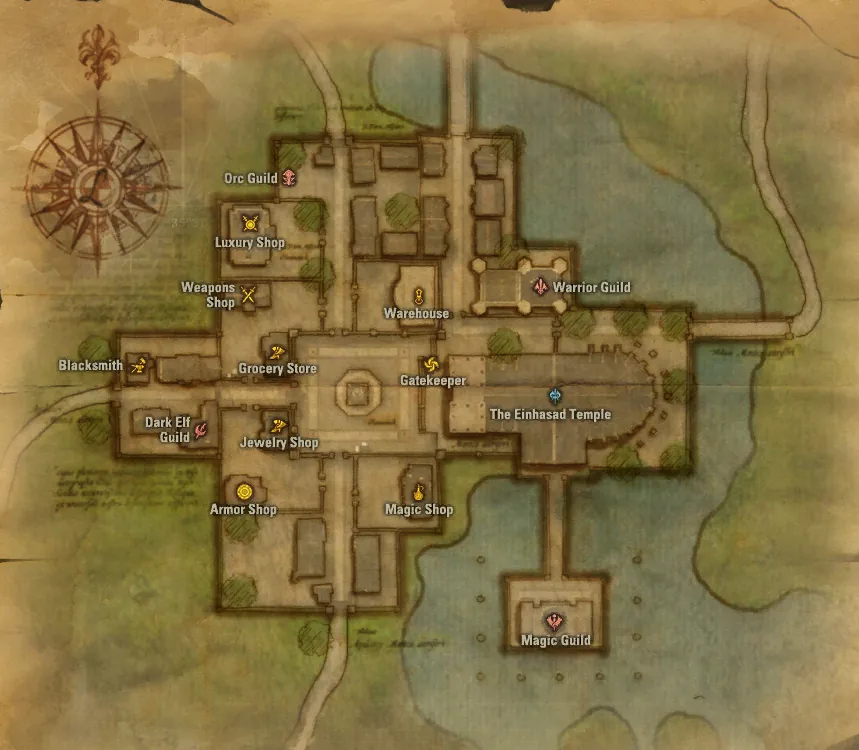
Giran Castle Town. Find Grand Master Hannavalt in the Warriors Guild and take the quest.
The quest is taken at level 35 from Grand Master Hannavalt, who stands in the warriors guild of Giran.
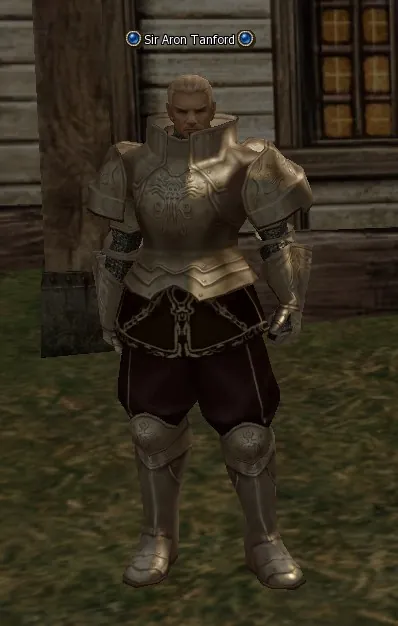
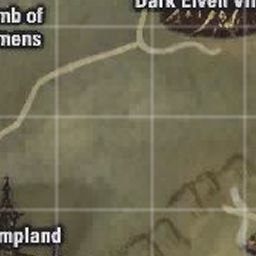
Wasteland (teleport from Gludin Village). Find Sir Aron Tanford at the ranch. You receive:
 Old Knight's Sword.
From Hannavalt we teleport to the Wasteland location (from Gludin Village); there by a little house stands the NPC Sir Aron Tanford. Dear Aron gives you a special sword, the Old Knight's Sword (no grade), with which we must kill the quest mob Spirit of Sir Herod (well, kill is putting it strongly, but the last blow must be struck precisely with this sword, otherwise the quest item is not given).
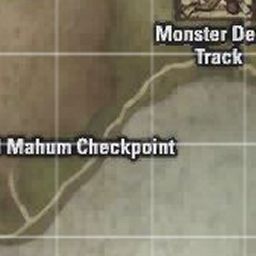
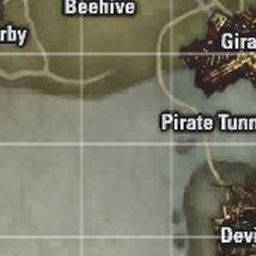

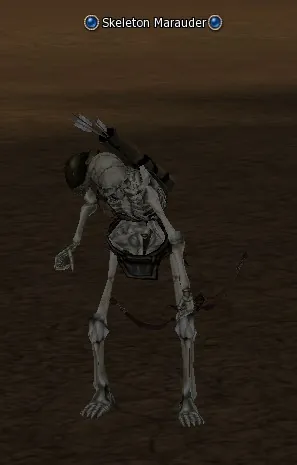
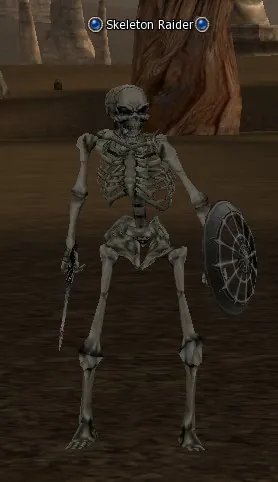
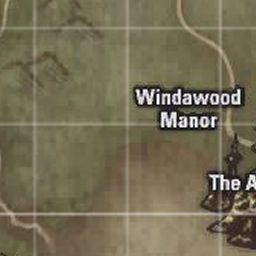
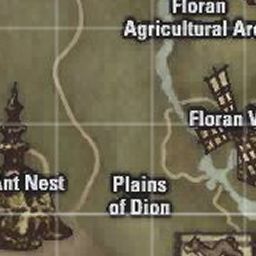
Hunt Skeleton Marauder (lv. 29), Skeleton Raider (lv. 30). Where: Dion Arena, The Ant Nest.
We return to the teleport point and go into the Wasteland. We need the mobs Skeleton Raider and Skeleton Marauder, they stand there below, not far from the teleport point. They have to be beaten until the quest mob appears; I beat probably about 40 of them, if not more, but waited it out.
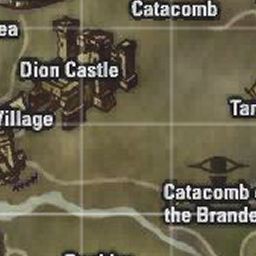
Kill Spirit of Sir Herod (lv. 35) to get:
 Knights Tear.
Do not forget that the last blow is struck with the quest sword.
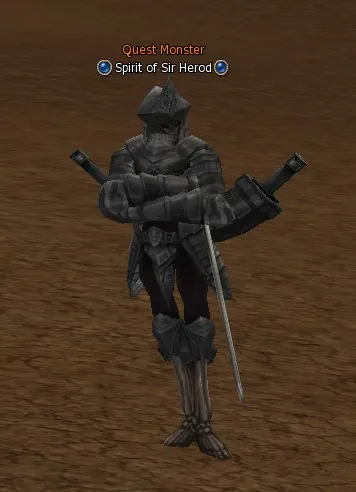
Return to Sir Aron Tanford at the ranch.
The item we knocked out we carry to Aron.
Report of Sir Talianus
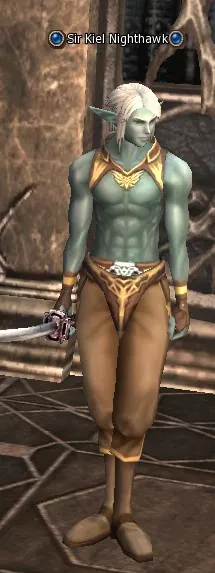
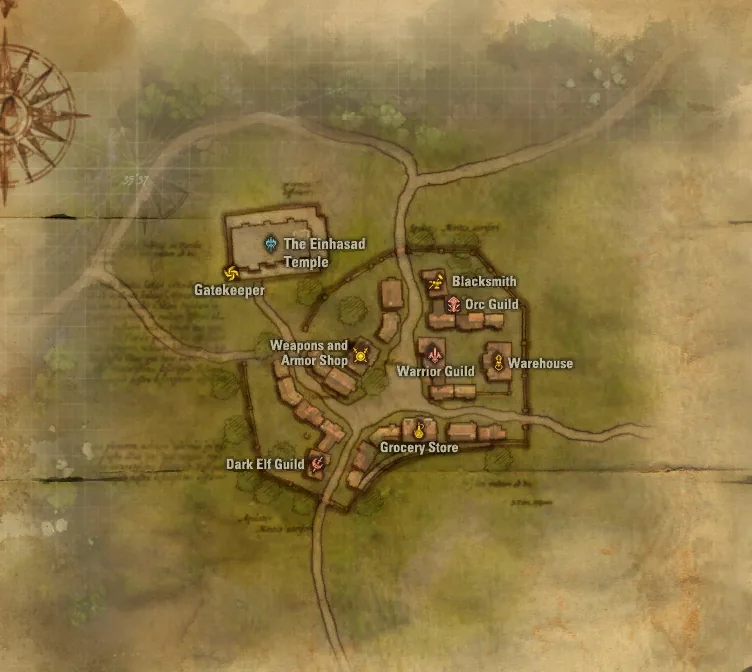
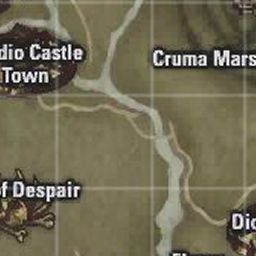
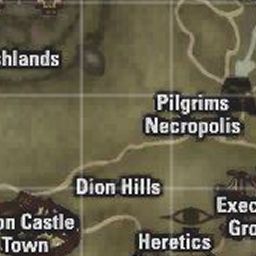
Town of Dion. Find Sir Kiel Nighthawk in the Dark Elven Guild.
Next we go to the dark elven guild of Dion to the NPC Sir Kiel Nighthawk.
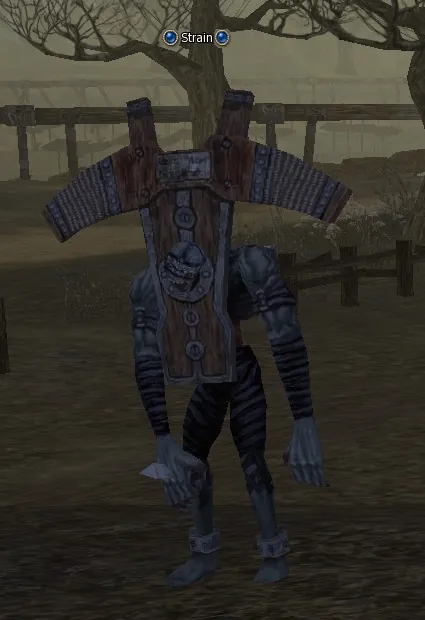
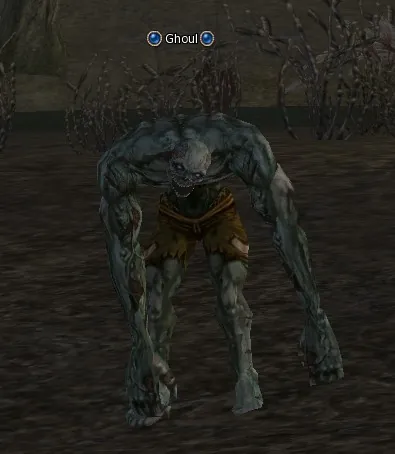
Execution Grounds. Hunt Strain (lv. 31), Ghoul (lv. 32) until you have:
 Report Piece ×10.
His task is to knock 10 items Report Piece out of the mobs Ghoul and Strain in the location Execution Grounds.
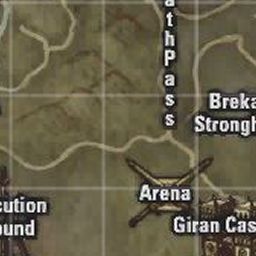
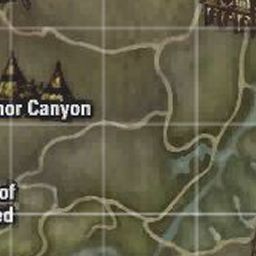
Town of Dion. Return to Sir Kiel Nighthawk in the Dark Elven Guild.
The items we knocked out we carry to Sir Kiel Nighthawk.
Execution Grounds. Hunt Hangman Tree (lv. 35).
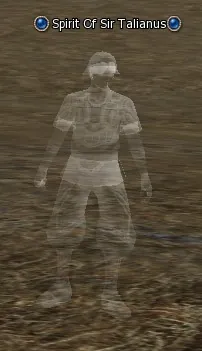
And we run to the Execution Grounds again; this time the mob Hangman Tree has to be beaten until the NPC Spirit of Sir Talianus appears out of it.
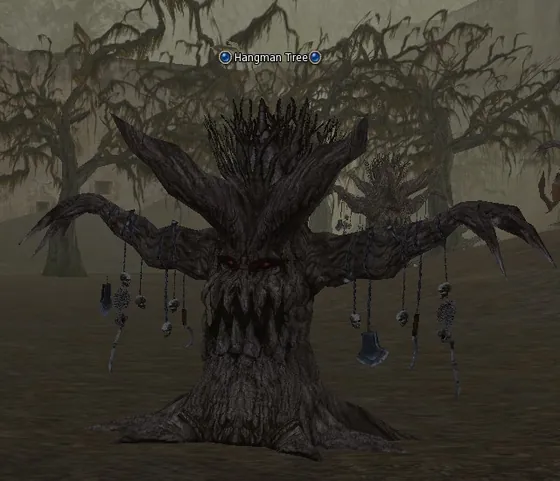
Talk to Spirit Of Sir Talianus. You receive:
 Tear of Confession.
We talk to the NPC.
Town of Dion. Return to Sir Kiel Nighthawk in the Dark Elven Guild. You receive:
 Tear of Loyalty.
And return to Sir Kiel Nighthawk once more.
Belongings of the militia
Hunters Village. Find Isael Silvershadow on the square.
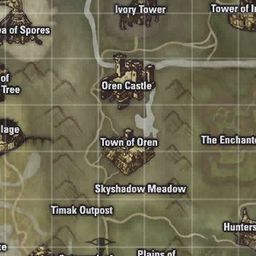
Next we are sent to the NPC Isael Silvershadow, who stands on the square in Hunters Village. She has to be brought 20 items Militia's Article.
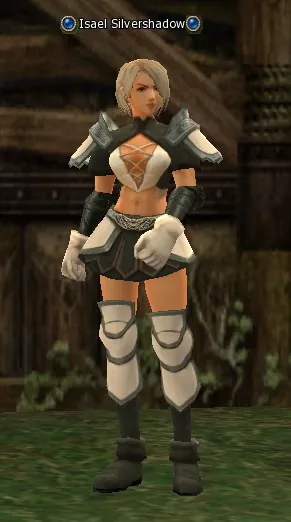
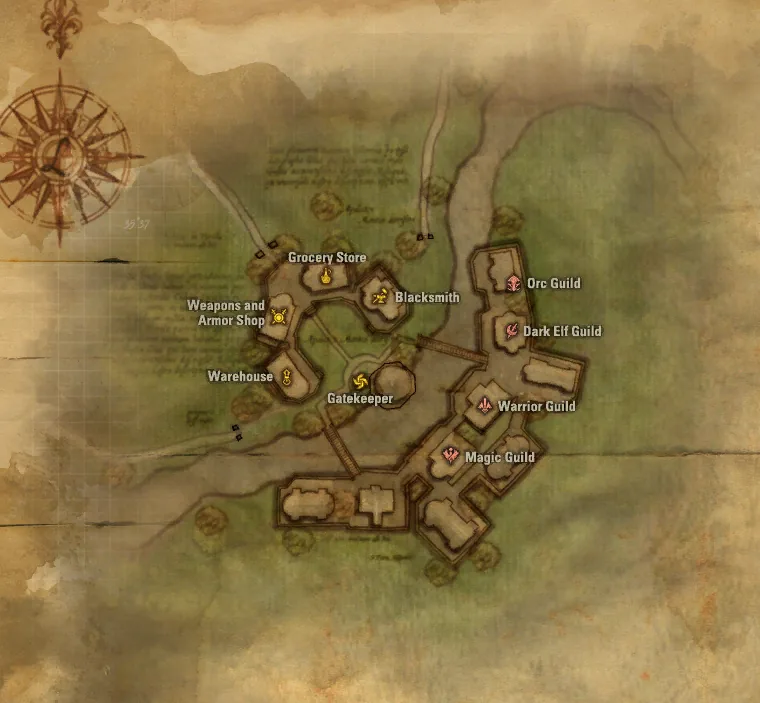
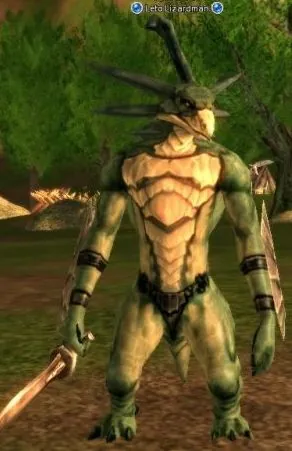
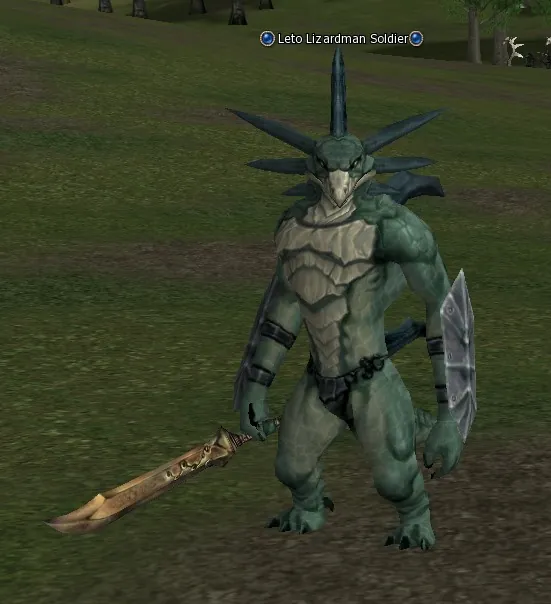
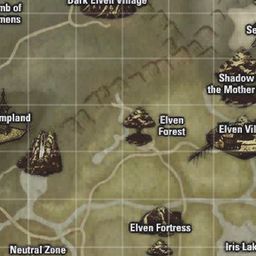
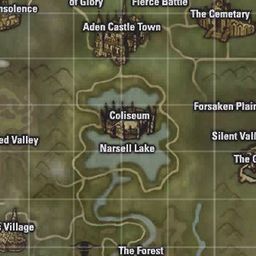
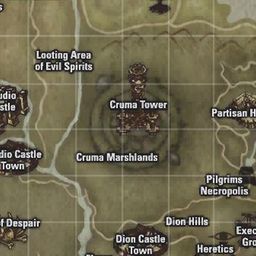
Plains of the Lizardmen (teleport from Town of Oren). Hunt Leto Lizardman (lv. 35), Leto Lizardman Archer (lv. 36), Leto Lizardman Soldier (lv. 37), Leto Lizardman Warrior (lv. 38), Leto Lizardman Shaman (lv. 39), Leto Lizardman Overlord (lv. 40) until you have:
 Militas Article ×20.
They are knocked out of the mobs in the location Plains of the Lizardmen. Any Leto Lizardmen will do.
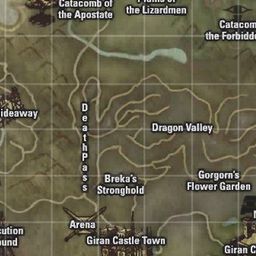
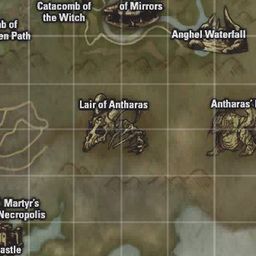
Hunters Village. Return to Isael Silvershadow on the square.
Bones of Leon Athebaldt
Giran Castle Town. Find Priest Dustin in the temple.
After handing in those 20 items we go to the temple of Giran to the NPC Priest Dustin.
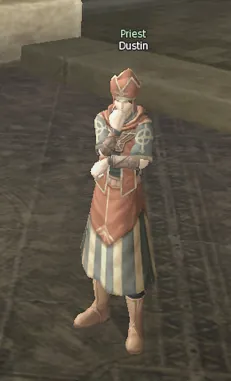
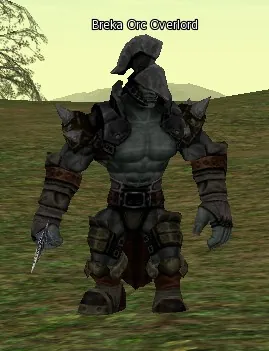
Breka's Stronghold (teleport from Giran Castle Town). Hunt Breka Orc Overlord (lv. 35) until you have:
 Athebaldt's Skull,
  Athebaldt's Ribs,
  Athebaldt's Shin.
He sends us to the location Breka's Stronghold (teleport from Giran, the bottom line) to knock three quest items out of the mobs Breka Orc Overlord. Two overlords stand to the right of the teleport point.
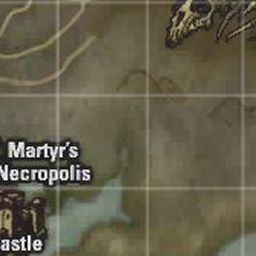
Giran Castle Town. Return to Priest Dustin in the temple. You receive:
 Saints Ashes Urn.
The items we knocked out we give to Priest Dustin.
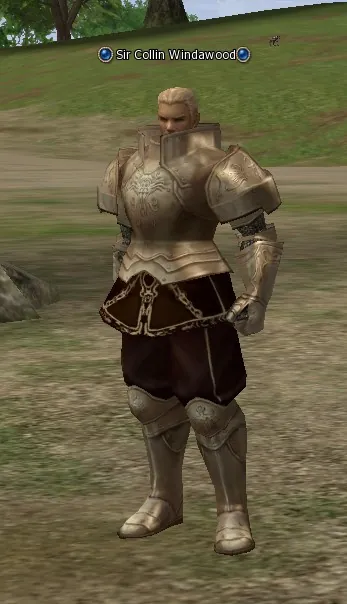
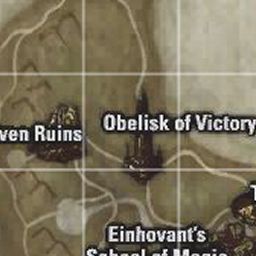
Obelisk of Victory. Talk to Sir Collin Windawood. You receive:
 Letter of Windawood.
The next point is a visit to the NPC Sir Collin Windawood, who stands by the Obelisk of Victory, to which there is a teleport from the human village. We get a letter from the NPC.
Giran Castle Town. Return to Priest Dustin in the temple. You receive:
 Letter of Dustin.
And we carry it to the temple of Giran to Priest Dustin.
Return to Grand Master Hannavalt in the Warriors Guild. You receive:
Mark of Duty.After which nothing is left for him but to direct us to the start NPC, Grand Master Hannavalt, in the warriors guild of Giran, who hands you the mark Mark of Duty.
After that the future Dark Avenger and Paladin go to do the second, racial quest for all the humans, Testimony of Trust. The future Shillien Knight go to do the second quest for the dark elves, Testimony of Fate. The future Temple Knight go to do the quest for all the elves, Testimony of Life. And the orcs and the dwarves go nowhere, because they have no tanks at all, and if you are an orc or a dwarf, I will ask you this question: what are you doing here at all?
Tips
- Sir Aron Tanford stands at a ranch south of the Wastelands, a short run from Gludio; the skeletons for his task roam right behind it.
Shillien Knight class transfer quest: second mark (level 37)
Quest: Testimony of Fate · reward: Mark of Fate · given by Magister Kaira
The second quest for the second profession for all the dark elves: Testimony of Fate. Doing this quest can become a problem only for the Shillien Elder, but her we will surely help by asking one of the players to run beside us and, if need be, to bring the mobs down to low HP so that we can finish them off ourselves; all the other dark elves will manage without outside help. And in general it is a rather murky quest, but what can you do. By the example of this quest I am convinced once more: the more mawkish the story NCsoft invented for a quest, the more tedious the quest turns out.
Belladonna for Metheus
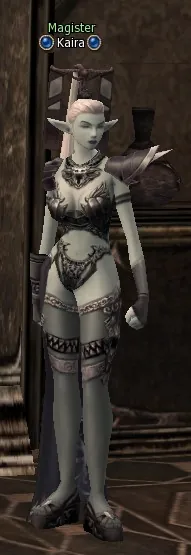
Giran Castle Town. Find Magister Kaira in the Dark Elven Guild and take the quest. You receive:
 Kaira's Letter.
The quest is taken at level 37 from Magister Kaira, who stands in the dark elven guild of Giran.
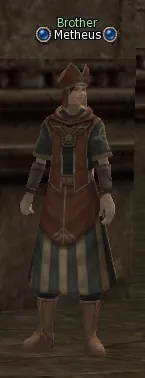
Find Brother Metheus behind the temple. You receive:
Metheus's Funeral Jar.Kaira sends us to the NPC Brother Metheus, who (as she asserts) stands in the temple of Einhasad in Giran; in fact he stands outside the temple, at its side.
Execution Grounds. Hunt Hangman Tree (lv. 35) until you have:
 Kasandra's Remains.
Brother Metheus needs an item that is knocked out of the mob Hangman Tree (a tree of that kind) in the location Execution Grounds; we run there quickly (from Dion or from Giran) and knock out the item Kasandra's Remains.
Giran Castle Town. Return to Brother Metheus behind the temple. You receive:
 Herbalism Textbook.
And return to Metheus.
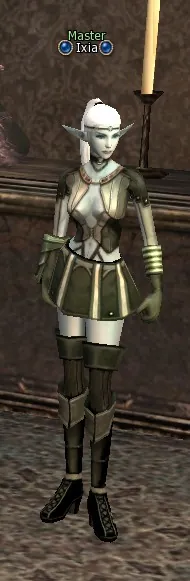
Town of Dion. Find Master Ixia in the Dark Elven Guild. You receive:
 Ixia's List.
The next step is making the poison called belladonna, which heaven knows who can make (the quest does not mention a concrete NPC), but you have to go to the dark elven guild of Dion to Master Ixia. She needs 10 items collected from each of five mobs. The drop is not at all 100%, especially on the medusas, do not get too angry.
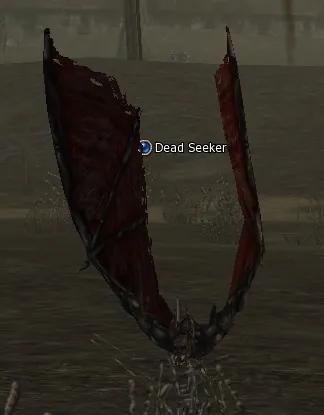
Execution Grounds. Hunt Dead Seeker (lv. 34) until you have:
 Dead Seeker Dung ×10.
10 Dead Seeker Dung in the location Execution Grounds from the mobs Dead Seeker (bats).
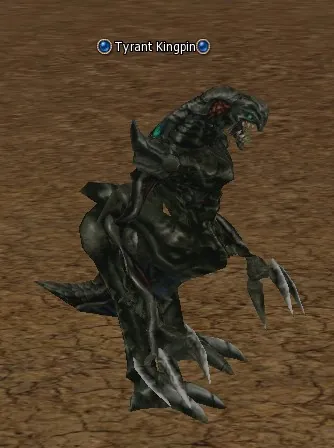
Wasteland (teleport from Gludin Village). Hunt Tyrant (lv. 35), Tyrant Kingpin (lv. 36) until you have:
 Tyrant's Blood ×10.
10 Tyrant's Blood in the location Ant Nest from the mobs Tyrant. There is no need to go down into the cave, the mobs are on the surface. From the teleport we run straight and to the left past the basilisks, skeletons and golems. Some quest mobs will stand nearby there too. They say that the items drop from the Tyrant Kingpin as well. You can come from the side of the Wasteland, there you only have to run straight.
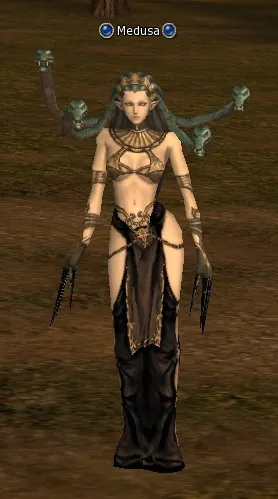
Gorgon Flower Garden. Hunt Medusa (lv. 34) until you have:
 Medusa's Ichor ×10.
10 Medusa's Ichor in the location Gorgon Flower Garden between the town of Giran and Giran Castle, on the map nearer to the catacombs, from the mobs Medusa.
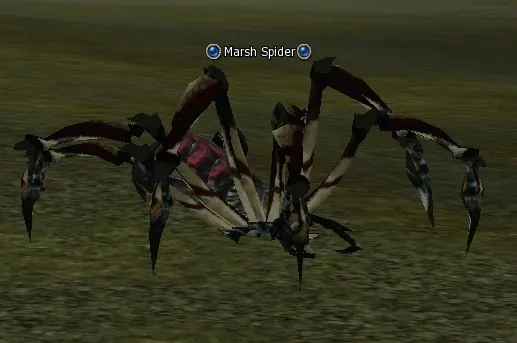
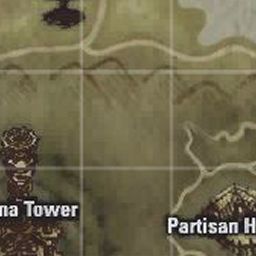
Cruma Tower (teleport from Town of Dion). Hunt Marsh Spider (lv. 34) until you have:
 Marsh Spider Fluids ×10.
10 Marsh Spider Fluids in the location Cruma Marshlands from the mobs Marsh Spider.
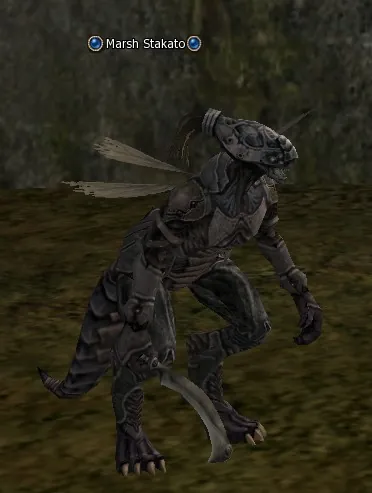
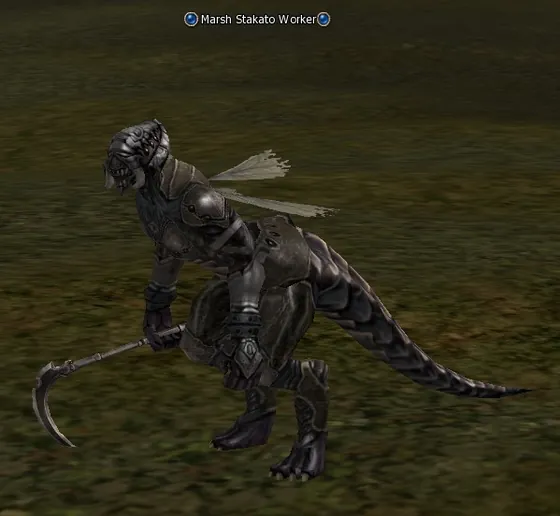
Hunt Marsh Stakato (lv. 29), Marsh Stakato Worker (lv. 31), Marsh Stakato Soldier (lv. 33), Marsh Stakato Drone (lv. 35) until you have:
 Nightshade Root ×10.
10 Nightshade Root in the same place, under the Cruma Tower, from various Marsh Stakato.
Town of Dion. Return to Master Ixia in the Dark Elven Guild. You receive:
 Belladonna.
We knock them out, carry everything to Ixia and get the poison from her.
Giran Castle Town. Return to Brother Metheus behind the temple. You receive:
Alder's Skull.And hurry to Brother Metheus. We hand the belladonna in and get some skull in return.
Kaysha's Revelations
Return to Magister Kaira in the Dark Elven Guild.
We carry it to Kaira. Oh, it was the skull of some fellow whose spirit at once appeared next to Kaira.
Talk to Alders Spirit.
We communicate with Alders Spirit (it turned out to be a regular spiritualist séance).
Talk to Magister Roa. You receive:
 Alder's Receipt.
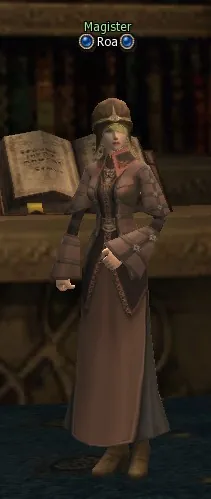
After such close communication with a ghost we go to the mages guild of Giran (to the right of the temple of Einhasad, you also have to run across a little bridge there) to the NPC Magister Roa; when you talk to him, choose the second answer (Even with you hands put on, the moon will shine).
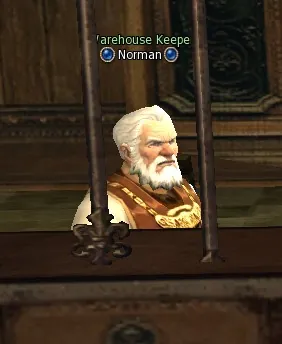
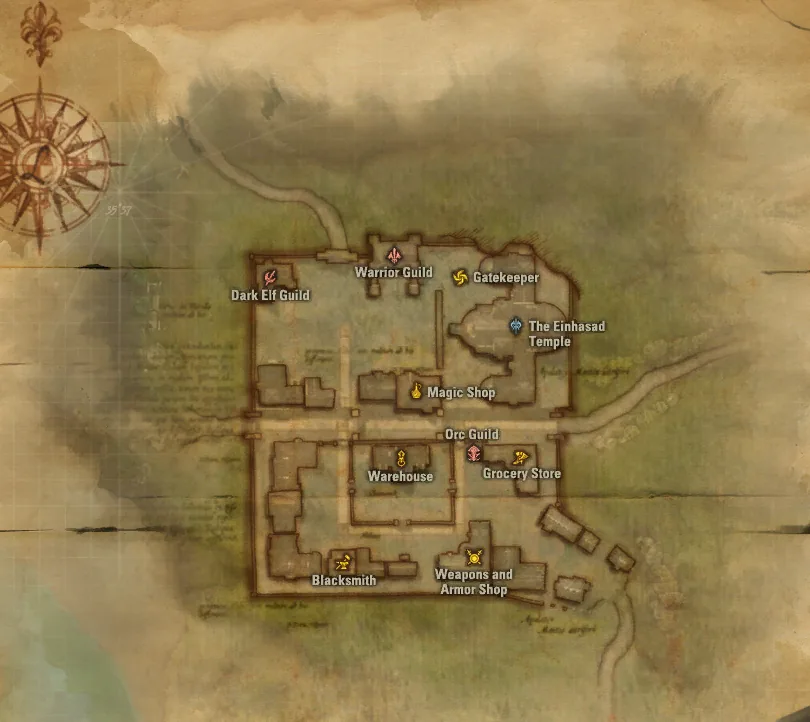
Gludin Village. Find Warehouse Keeper Norman in the warehouse. You receive:
 Revelations Manuscript.
Roa readdresses us to Gludin Village, to Norman, who sits there in the warehouse (a nasty fellow, he takes part in many quests); from Norman we get a book.
Giran Castle Town. Return to Magister Kaira in the Dark Elven Guild. You receive:
Kaira's Recommendation.And carry it to Kaira in Giran. Here, it seems, everything is done.
The Shilen Circle
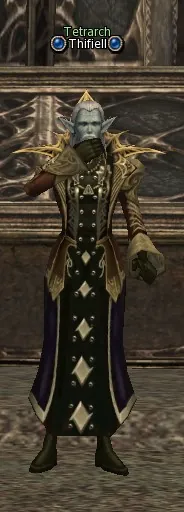
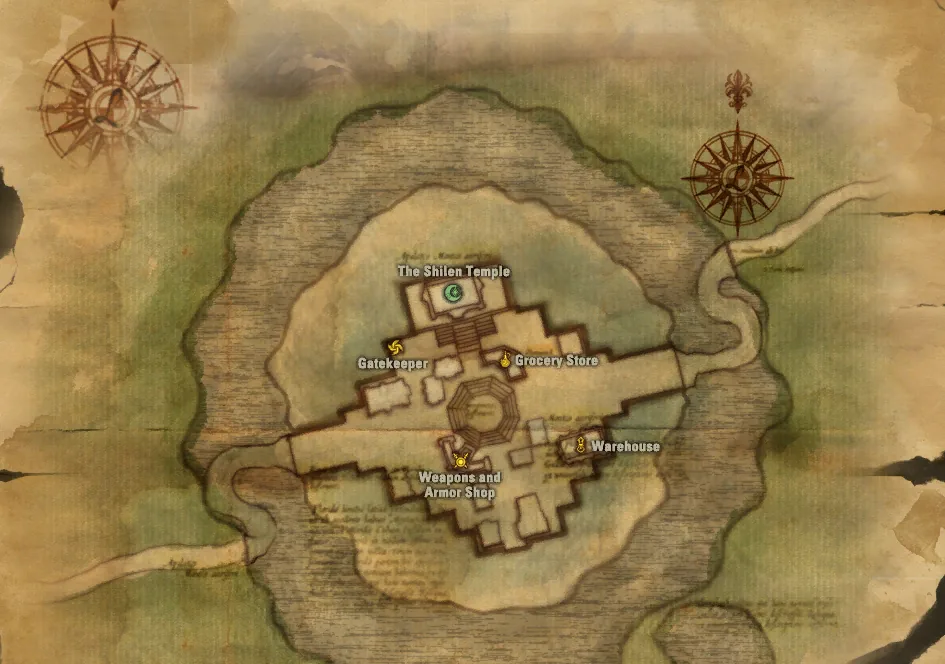
Dark Elf Village. Find Tetrarch Thifiell in the temple. You receive:
 Palus Charm, Thifiel's Letter.
Kaira sends you far away, namely to our starting village, to Tetrarch Thifiell (in the temple of Shilen, by the entrance).
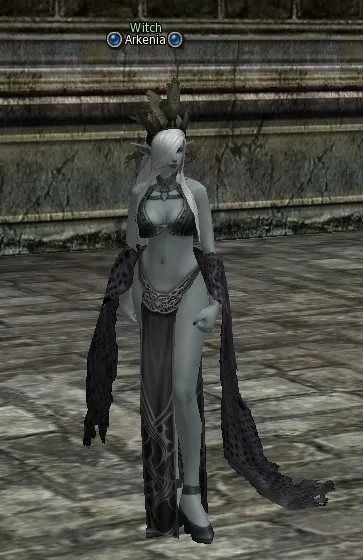
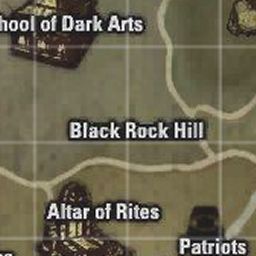
Altar of Rites. Talk to Witch Arkenia. You receive:
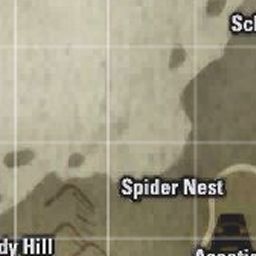
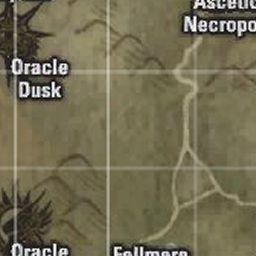
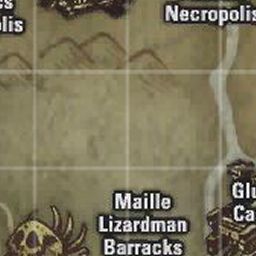
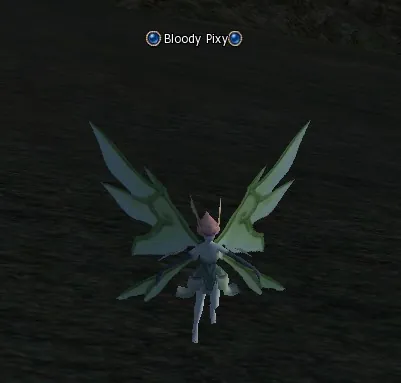
Arkenia's Note.And that little wretch gives you nothing but sends you on to Arkenia at the Altar of Rites (she also takes part in several quests, but for those who do not know: you have to teleport to the Spider Nest from the dark elven village and run to her on foot). We run. We get the tasks from her. What we have to do now: as you may have noticed more than once when running through these parts, the NPCs Bloody Pixy (a flying fairy) and Blight Treant (a bearded tree) keep turning up there. You probably wondered why on earth there are so many of them and why they roam here. Well, now it is clear why they roam; true, it is not clear why there are so many. In short, you have to talk to any of the pixies and to any tree, and they will say what has to be knocked out of whom.
Swampland (teleport from Dark Elf Village). Talk to Blight Treant. You receive:
 Blight Treant Seed.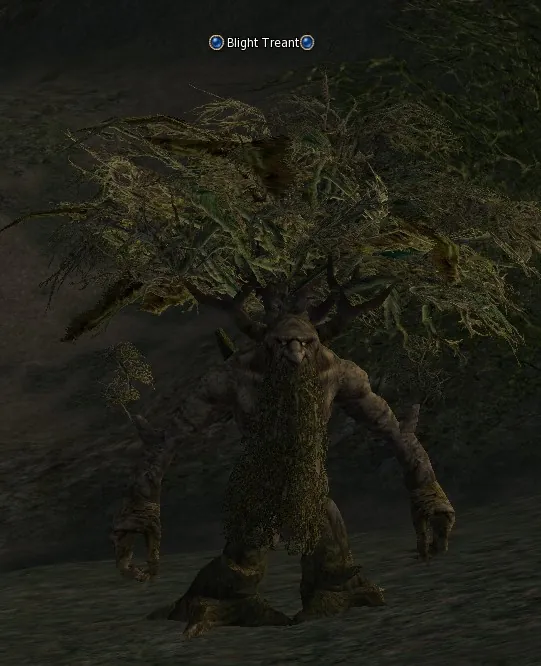
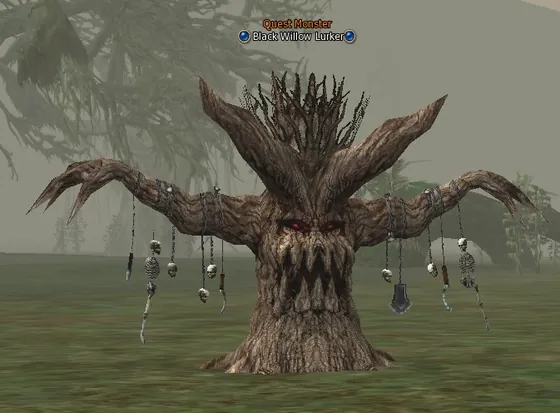
Hunt Black Willow Lurker (lv. 39) until you have:
 Black Willow Leaf.
With the wooden one everything is simple: after the talk with it you have to teleport to the location Swampland (from the dark elven village) and turn towards the marsh. You will see the quest tree of level 39, Black Willow Lurker. For me the item always drops from the first tree.
Talk to Bloody Pixy. You receive:
 Pixy Garnet.
But with the pixy not everything is so smooth: the pest sends you to beat many more mobs and knock a heap of quest items out of them. This is exactly the place where it is recommended to help the Shillien Elder, because half the mobs are level 40, and without a decent buff it will be hard for her. Bring the mobs' HP down, and the elder will finish them off.
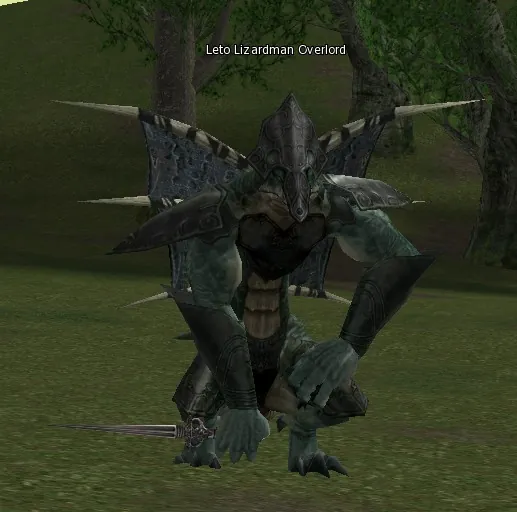
Plains of the Lizardmen (teleport from Town of Oren). Hunt Leto Lizardman Overlord (lv. 40) until you have:
 Leto Overlord Skull ×10.
10 Leto Overlord Skull from the mobs Leto Lizardman Overlord in the location Plains of the Lizardmen.
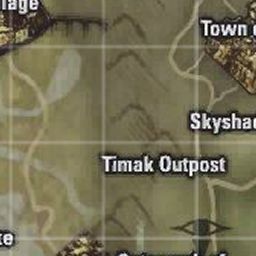
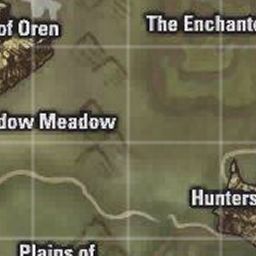
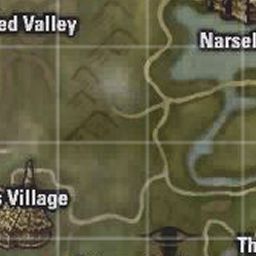
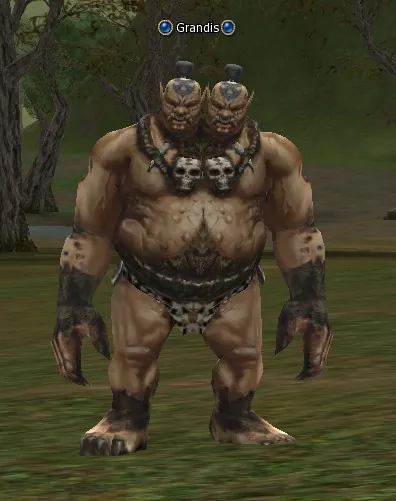
Hardin's Academy. Hunt Grandis (lv. 40) until you have:
 Grandis's Skull ×10.
10 Grandis's Skull from the mobs Grandis in the location Death Pass.
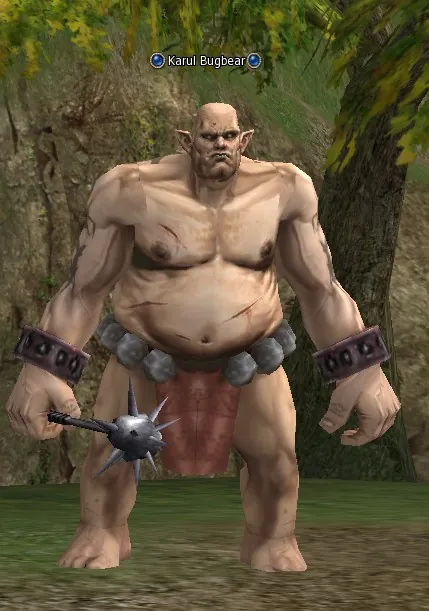
Hunters Valley. Hunt Karul Bugbear (lv. 40) until you have:
 Karul Bugbear Skull ×10.
10 Karul Bugbear Skull from the mobs Karul Bugbear below Hunters Village, in the location Hunters Valley: there is no teleport here, you can run through the exit next to the Olympiad pillar, the mobs are near there.
Breka's Stronghold (teleport from Giran Castle Town). Hunt Breka Orc Overlord (lv. 35) until you have:
Breka Overlord Skull ×10.10 Breka Overlord Skull from the mobs Breka Orc Overlord in the location Breka's Stronghold (teleport from Giran, two mobs on the right side of the teleport point).
Swampland (teleport from Dark Elf Village). Return to Bloody Pixy. You receive:
 Red Fairy Dust.
When you have knocked out all the items, we return to the dark elves, teleport to the Spider Nest and next to the Altar of Rites look for any pixy and any tree; we give them the looted, that is, collected goods and get the reward.
Return to Blight Treant. You receive:
 Blight Treant Sap.
Altar of Rites. Return to Witch Arkenia. You receive:
Arkenia's Letter.And we carry everything to Arkenia at the altar.
Dark Elf Village. Return to Tetrarch Thifiell in the temple. You receive:
Mark of Fate.After the talk with Arkenia we return to the village to Tetrarch Thifiell. And, oh horror, it turns out the quest is over, and I was counting on being messed about for another two hours. Hurrah, hurrah, we have won, congrats to all ). We get the mark Mark of Fate and wander off to do the last quests before getting our professions.
The future Shillien Elder go to do Test of the Reformer. The future Shillien Knight go to do Test of Witchcraft. The future Bladedancer go to do Test of the Duelist. The future Abyss Walker go to do Test of the Searcher. The future Phantom Ranger go to do Test of Sagittarius. The future Phantom Summoner go to do Test of the Summoner. The future Spellhowler go to do Test of Magus.
Tips
- Kaira gives the recommendation only to a character of level 38 or higher.
- Bloody Pixy and Blight Treant are not single NPCs: there are many of them in the forest and swamp around the Dark Elven Village, and any one will do.
Shillien Knight class transfer quest: third mark (level 39)
Quest: Test of Witchcraft · given by Orim of the Shadow
There is no step-by-step text for this chronicle yet; the quest journal of the client is on the page of the quest: Test of Witchcraft
Changing the class to Shillien Knight (level 40)
With Mark of Duty, Mark of Fate in the inventory, talk at level 40 to the head of your guild in any large town (Grand Master, Grand Magister, High Priest and others). He takes the marks and changes the class to Shillien Knight.
Next: Shillien Templar third class transfer quest from level 76 (Succession to the Legend, Shillien Templar).